

Outlook: Add a non-personal mailbox
In this manual you can read how to configure a non-personal mailbox on a UU computer using Outlook 2016. A non-personal mailbox can be a group or department mailbox for example. This manual is meant for Outlook 2016 at UU computers, but the import is similar for Outlook 365.
Using a NPM means:
- You can read mails from a group mailbox and send replies using the name of that mailbox (i.e. “ICT Servicedesk”)
- Send items will be saved in the group mailbox send folder, not your personal one
- You can set up colored categories that are the same for everyone using the group mailbox
- The contact list of the group mailbox is also available as address list
- For every new mail you will see a notification at the bottom of your screen
-

If you are experiencing issues with your non-personal mailbox you can remove it and add it again. Read more about how to remove a non-personal mailbox at the end of this manual.
-
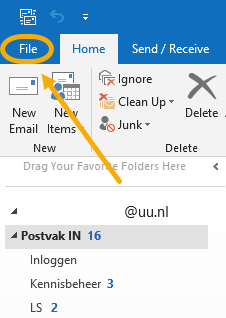
Step 1
- Click on “File” in the top left corner.
-

Step 2
- Then click on “Account Settings” and again on “Account Settings”.
-

Step 3
- Click on “New”.
-
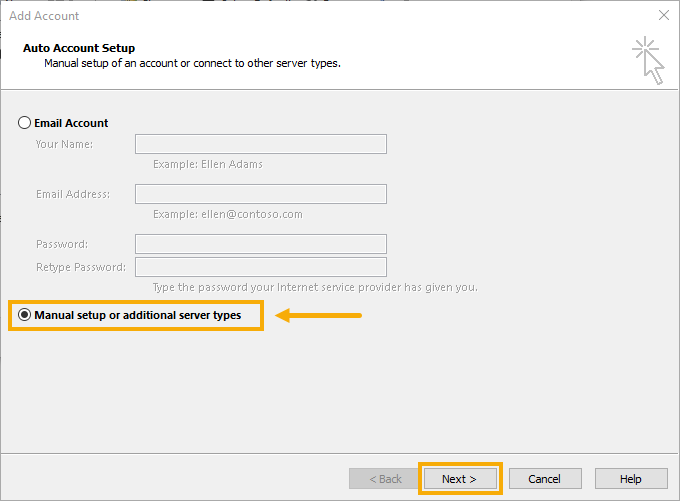
Step 4
- Select “Manual setup or additional server types”.
- Click “Next”.
-
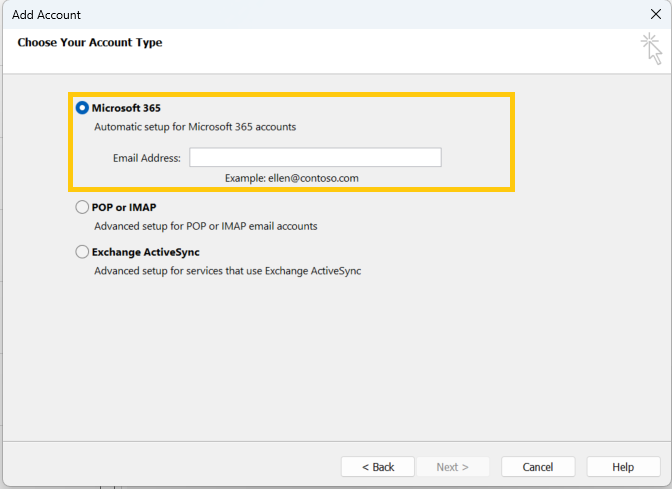
Step 5
- Select “Microsoft 365”.
- Enter the full mail address of the non-personal mailbox
- Click “Next”.
-
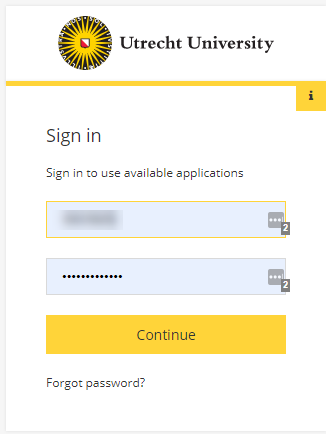
Step 6
- Log in using your own e-mail address and solis-password.
Please note: Do not use the e-mail address of the non-personal mailbox here, even if it is automatically filled in.
-

Step 7
- Enter your 2FA verification code here.
-
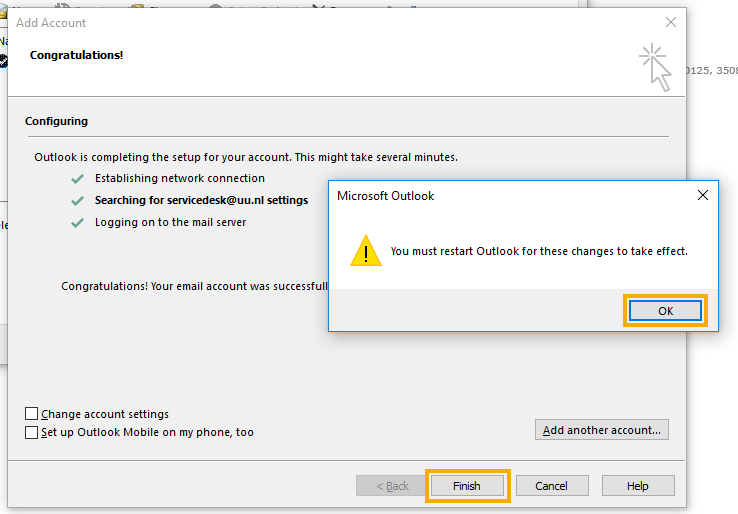
Step 8
- Make sure the option “Set up Outlook Mobile on my phone, too” is not selected.
- Click “Finish”.
- Click “Ok” in the pop-up you see.
- Restart Outlook
The non-personal mailbox has now been connected to your Outlook, you will find it in the menu bar on the left underneath your own inbox.
-

Possibly this NPM has been added using a different method: additionally rather then as a separate account. To remove this type of NPM you:
- Go to “File”>”Info”>”Account settings”> “Account settings”
- Double click your own e-mail account
- Go to “More Settings”
- Go to “Advanced”
- Here you will see the NPM and it’s possible to remove it
- Click on “OK” and “Finish”
When you have the rights to a specific non-personal mailbox you can use the link below to log in to it using your own student UU e-mail address (j.smith@students.uu.nl) and password.
Replace the bit “emailoftheNPM” with the name of the NPM you want to log in to in the link below:
http://outlook.office365.com/emailoftheNPM
To remove a non-personal mailbox, follow the first 2 steps of this manual. You then select the mailbox you want to remove from the list and click on “Remove”.

If you get a pop-up, click “Ok”.

Last modified: 17/07/2023