

OneDrive for Business for Windows 10
When using a Windows 10 computer as a Utrecht University student or employee you can use Onedrive for Business. Onedrive provides 1 TB or storage per account. You can use OneDrive in the explorer, it will function the same as the ‘My Documents’ folder on your U-drive. In this manual you will find the steps on how to install OneDrive.
-

Step 1
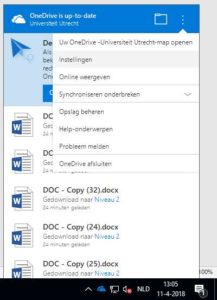
Click on the OneDrive icon on the right side of the task bar (it looks like two grey clouds).
-

If the OneDrive icon is not visible, click the arrow pointing upwards.

The OneDrive icon will then become visible in the pop-up. Click the OneDrive icon.
-
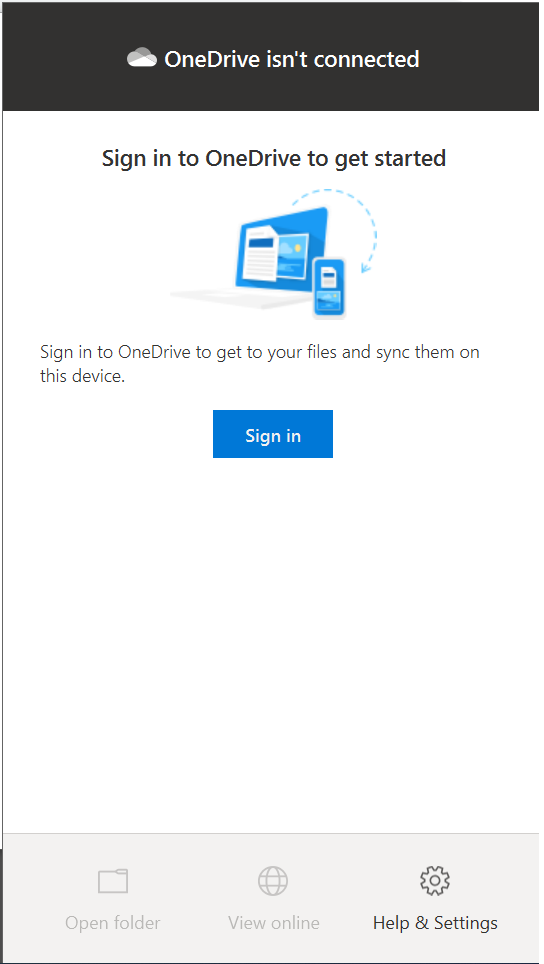
Step 2
Click “Sign in” to log in.
-
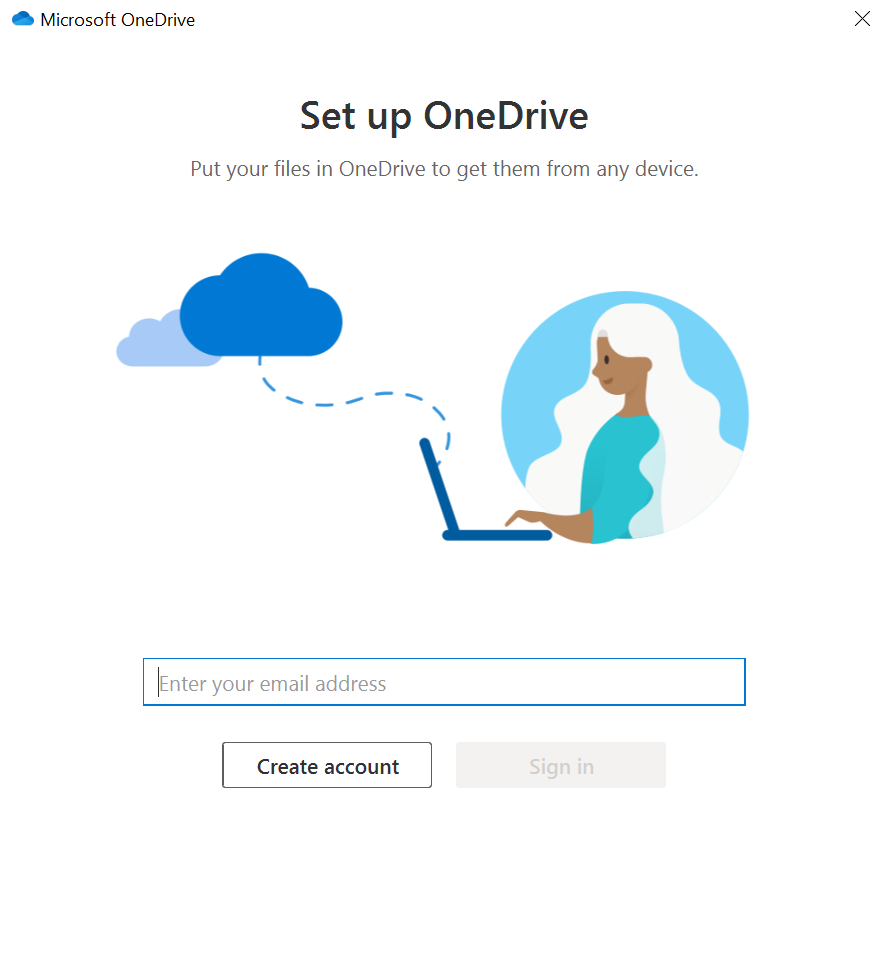
Step 3
- Enter your @students.uu.nl or @uu.nl email address.
- Then click “Sign in”.
-

Step 4
This pop-up shows the folder on your PC that will be synchronized with your OneDrive folder.
In this folder you will find the files that are on your OneDrive. The documents you save in this folder will be visible when you log on to OneDrive elsewhere. This could be on a tablet, smartphone or different laptop. The documents can also be accessed via any internet browser.
You can do this by going to this link https://portal.office.com and then:
- Choose OneDrive
- Log in using your @students.uu.nl or @uu.nl email address
- The default location for your OneDrive files is C:\Users\[your solis id]\OneDrive – University Utrecht
- Click “Next”
-
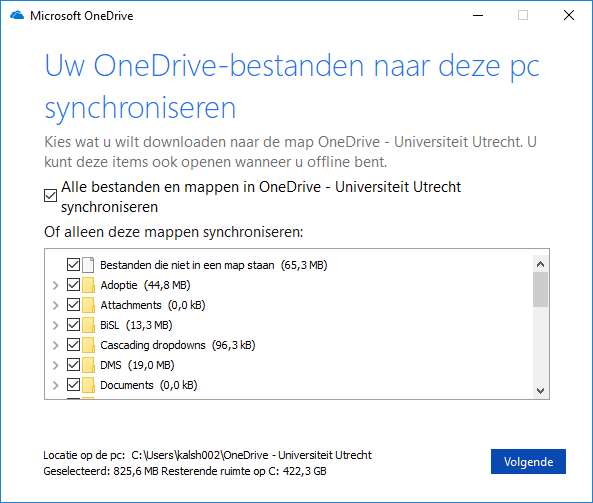
Step 5
This pop-up enables you to choose which files you want to synchronize to your computer.
If this is your first time using OneDrive only the first option (Files) will be shown. The selection you make here can be changed later on.
Select the files you want to sync and click “Next”.
-
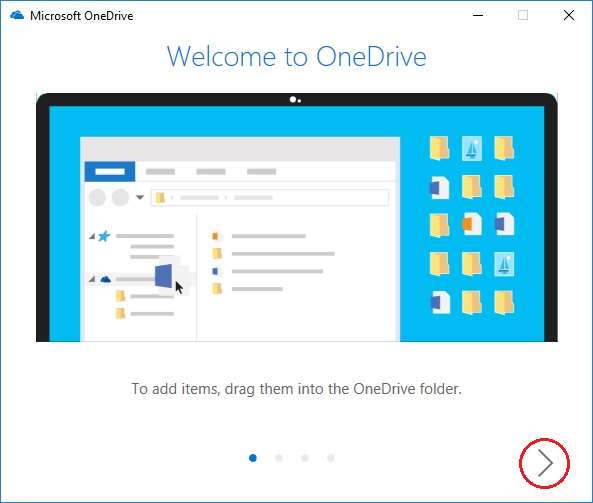
Step 6
You will now see several windows explaining more about how OneDrive works. You can go to the next step by clicking the arrow in the right bottom corner.
-

Step 7
You are now almost ready to start using OneDrive.
- Click “Open my OneDrive folder”.
-
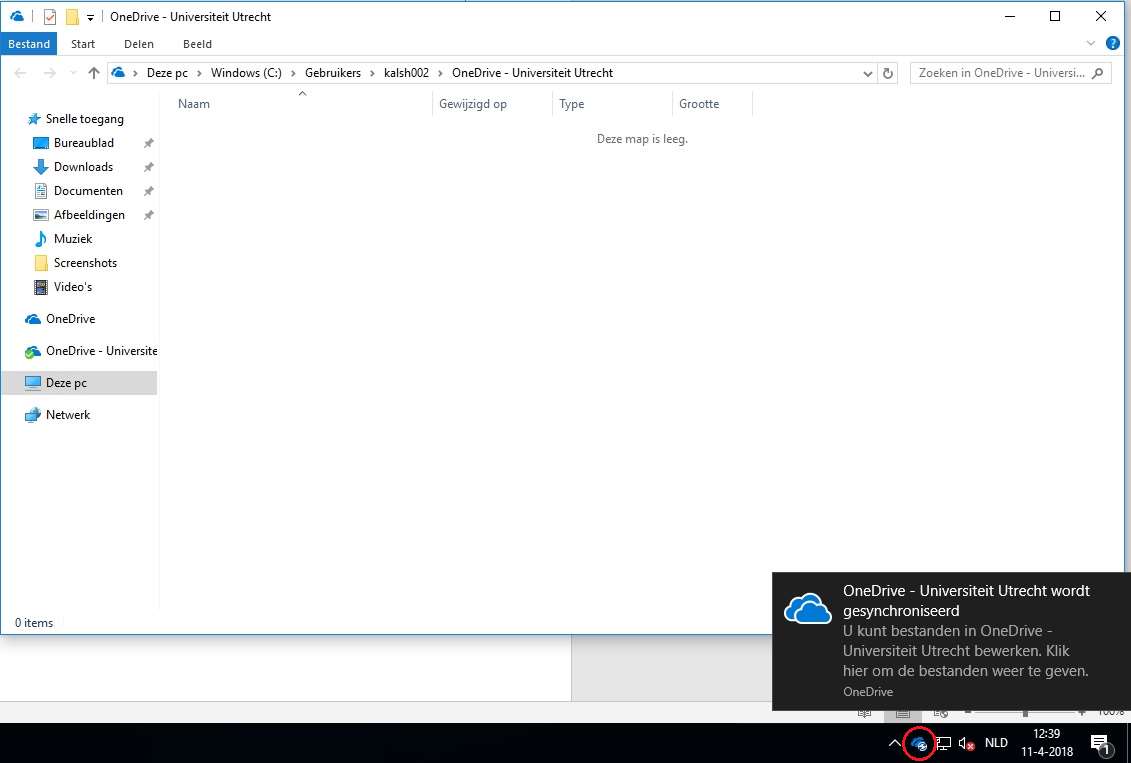
Step 8
This opens your local OneDrive folder in Windows Explorer. In the bottom right corner you will see a pop-up indicating that your OneDrive is being synchronized.
This is also indicated by an icon with two blue clouds and two circular arrows. Once this process has finished you can start using OneDrive.
Please note: You might see two OneDrive folders in your explorer. The right one is OneDrive – Universiteit Utrecht.
-
Step 9
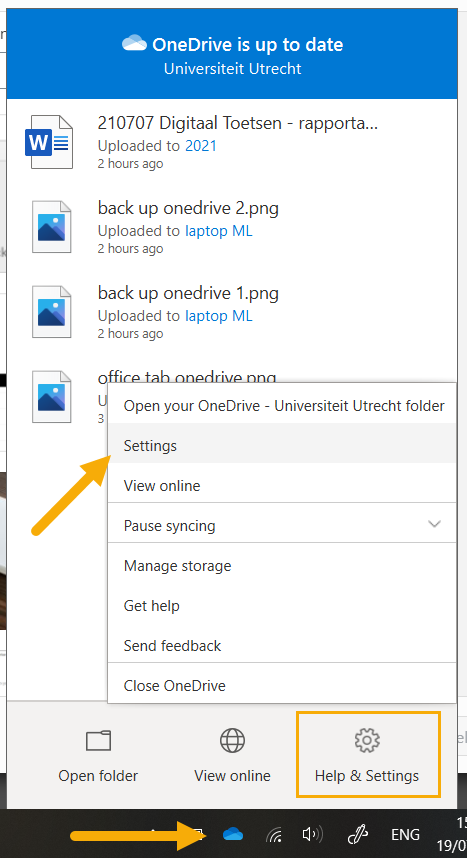
Changing settings in OneDrive
To change certain settings in Onedrive you click on the Onedrive icon in your taskbar (little blue cloud). Then click on ‘Help & Settings’ and on ‘Settings’. Below you will find some more information about settings we recommend. Most of these will be set up like this by default.
-
Step 10
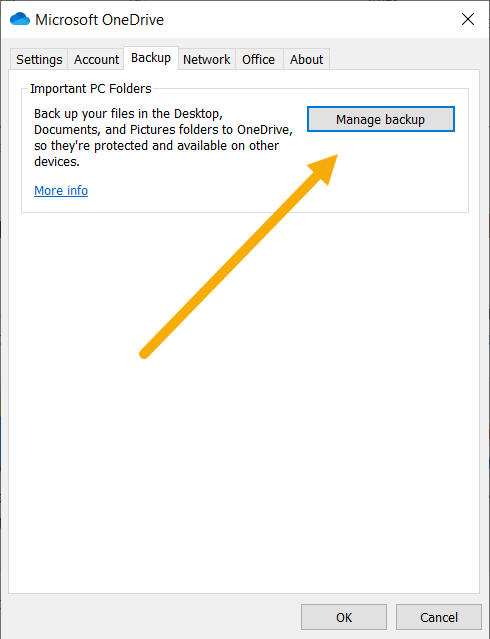
Back-up important folders
One of the recommended settings is making sure the three most used folder on your computer are automatically synced to the Cloud as a back-up. These folders are ‘Documents’, ‘Pictures’ en ‘Desktop’.
To set this up, go to ‘Settings’ (see previous step) en select the tab ‘Back-up’.
-
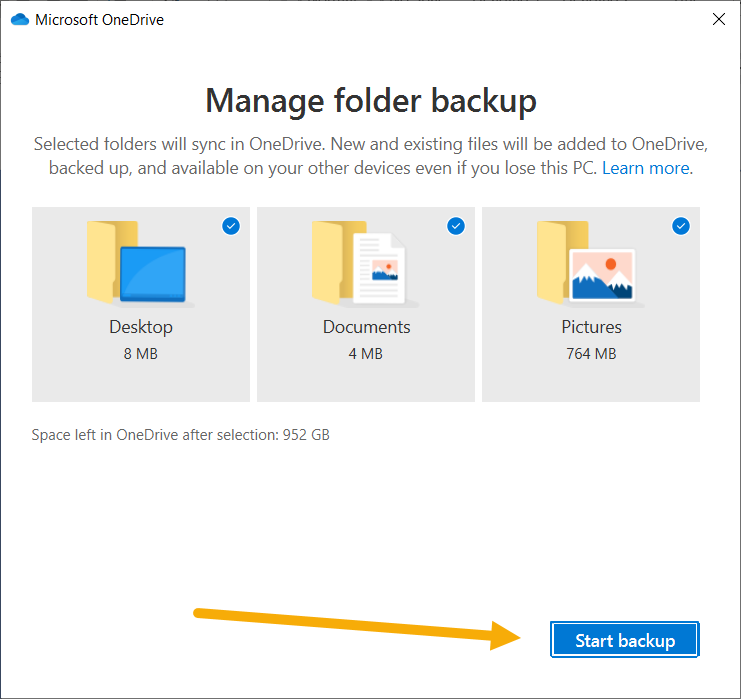
Step 11
- Select the folders you want to synchronize
- Click ‘Start Backup’
Once this proces has finished you will always have your files accessible and safe online. More information about this can be found here: Microsoft Support .
-
Step 12
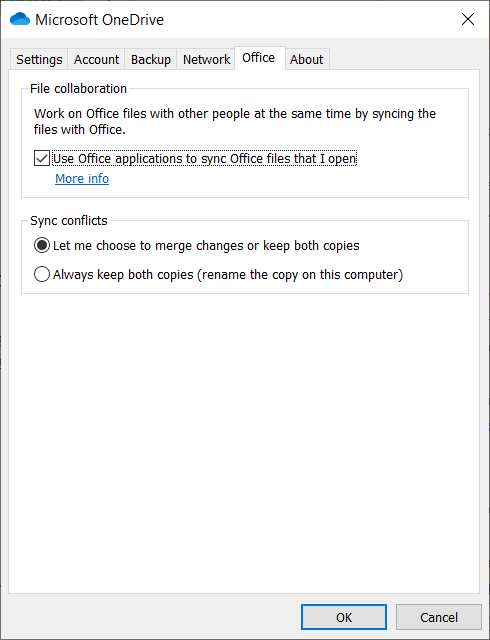
Other useful Onedrive settings are:
- “Files On Demand”: turning this on means your files will only be synced locally (on your C-drive) when you actively use them. This will ensure your local drive will nog fill up as fast.
- The notification “Before many files that I deleted on my PC are removed from the cloud” on tab ‘Settings’ will make sure there is an extra check before you remove files permanently.
- In the Office tab: “File Collaboration and Sync conflicts” the settings as in the image on the right are recommended.
-
Step 13
Check out this video explaining more about uploading you data to Onedrive: Uploading to Onedrive.Op the folder where you’ve saved the file you want to share. Then right click on the file and choose ‘Share’. You can then enter the email addresses of the people you wish to share the file with. Before you do this you can choose the level of access you want people to have.
Click ‘People you specify can..’ and you will see the options below. We recommend, due to security and privacy reasons, to restrict the access other people have to your files as much as possible.
 For more information about sharing information and personal data, see this page: https://intranet.uu.nl/en/knowledgebase/how-and-when-to-share-personal-data.
A guest of the UU may have temporary access to Office 365 at the invitation of a UU employee. This access expires automatically when someone has been inactive for more than 90 days:
- If a guest user has not logged into Teams, SharePoint site or the shared files for more than 90 days, the guest account will automatically be removed from the O365 environment due to security guidelines. The guest user will no longer have access to Teams, SharePoint site or the shared files.
- The guest user can always be given access to Teams, SharePoint site or shared files again using the same external mail address.
For other issues, please contact the IT Servicedesk.

Last modified: 11/12/2023