
Start software on a computer for teachers (PD)
This manual describes how to start software on this public computer for teachers.
Please follow the steps below in the given order.
Information about this computer:
- Windows 10 and Office 365 and Teams are installed
-

First: Search for it via SolisWorkspace
-
Step 1
- Open a web browser. For example Edge, Google Chrome or Firefox. This example uses Edge.
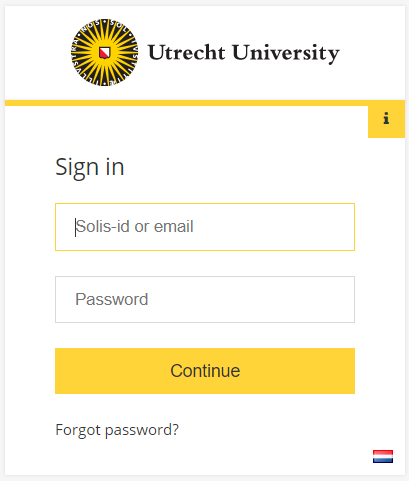
The home page is set to http://SolisWorkspace.uu.nl by default. - Enter your Solis-id or University email address as username
- Enter your Solis-password at “Password”.
- After this, click on “Continue”.
- Open a web browser. For example Edge, Google Chrome or Firefox. This example uses Edge.
-

Step 2
You are now logged into SolisWorkspace. SolisWorkspace shows your Favorites by default after logon.
Click on the icon “APPS”.
-
Step 3
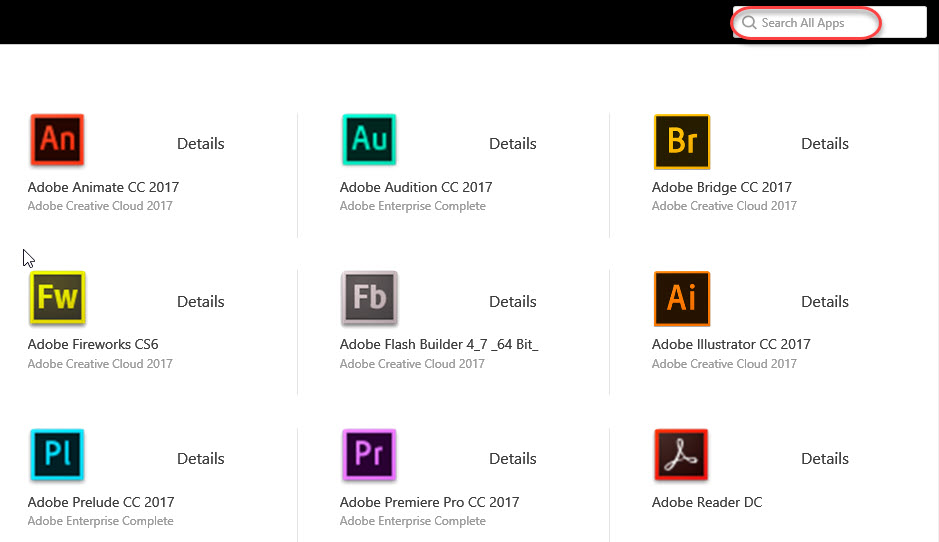
All available software (apps) is shown here. Click on an icon to start the software.
You can also use the search function at the top right of the screen.
-
Step 4
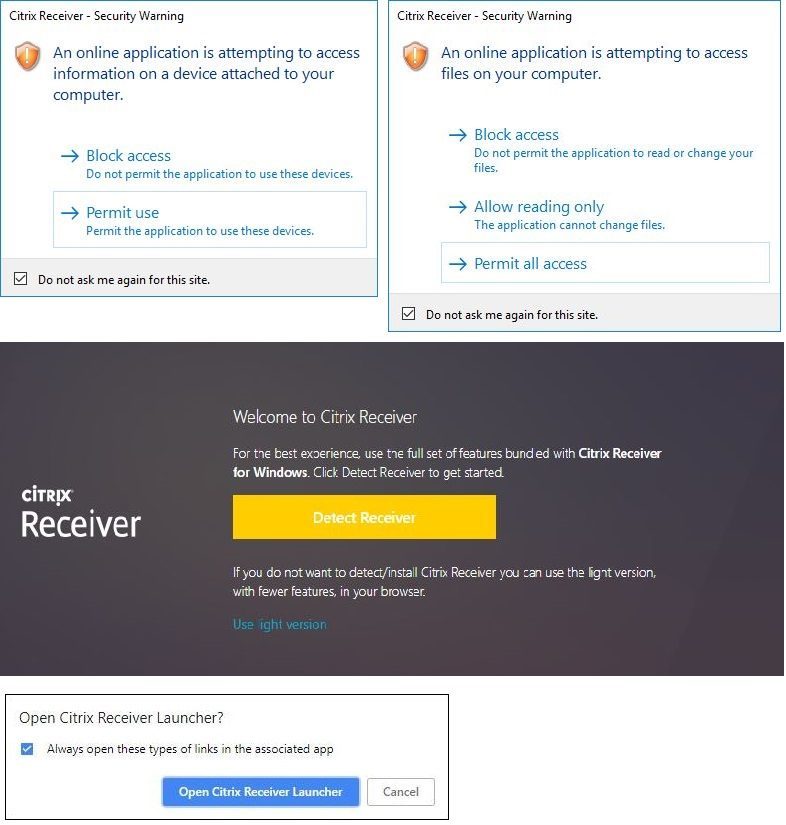
During the use of SolisWorkspace you may receive one of the notification as shown on the left.
- The images at the top: check “Do not ask me again for this site” and click “Permit use” or “Permit all Access”.
- Middle image: click “Detect Receiver”.
- Bottom image: check “Always open these types of links in the associated app” and click “Open Citrix Receiver Launcher”.
-
Second:
Find it in the Start menu
-
Step 5
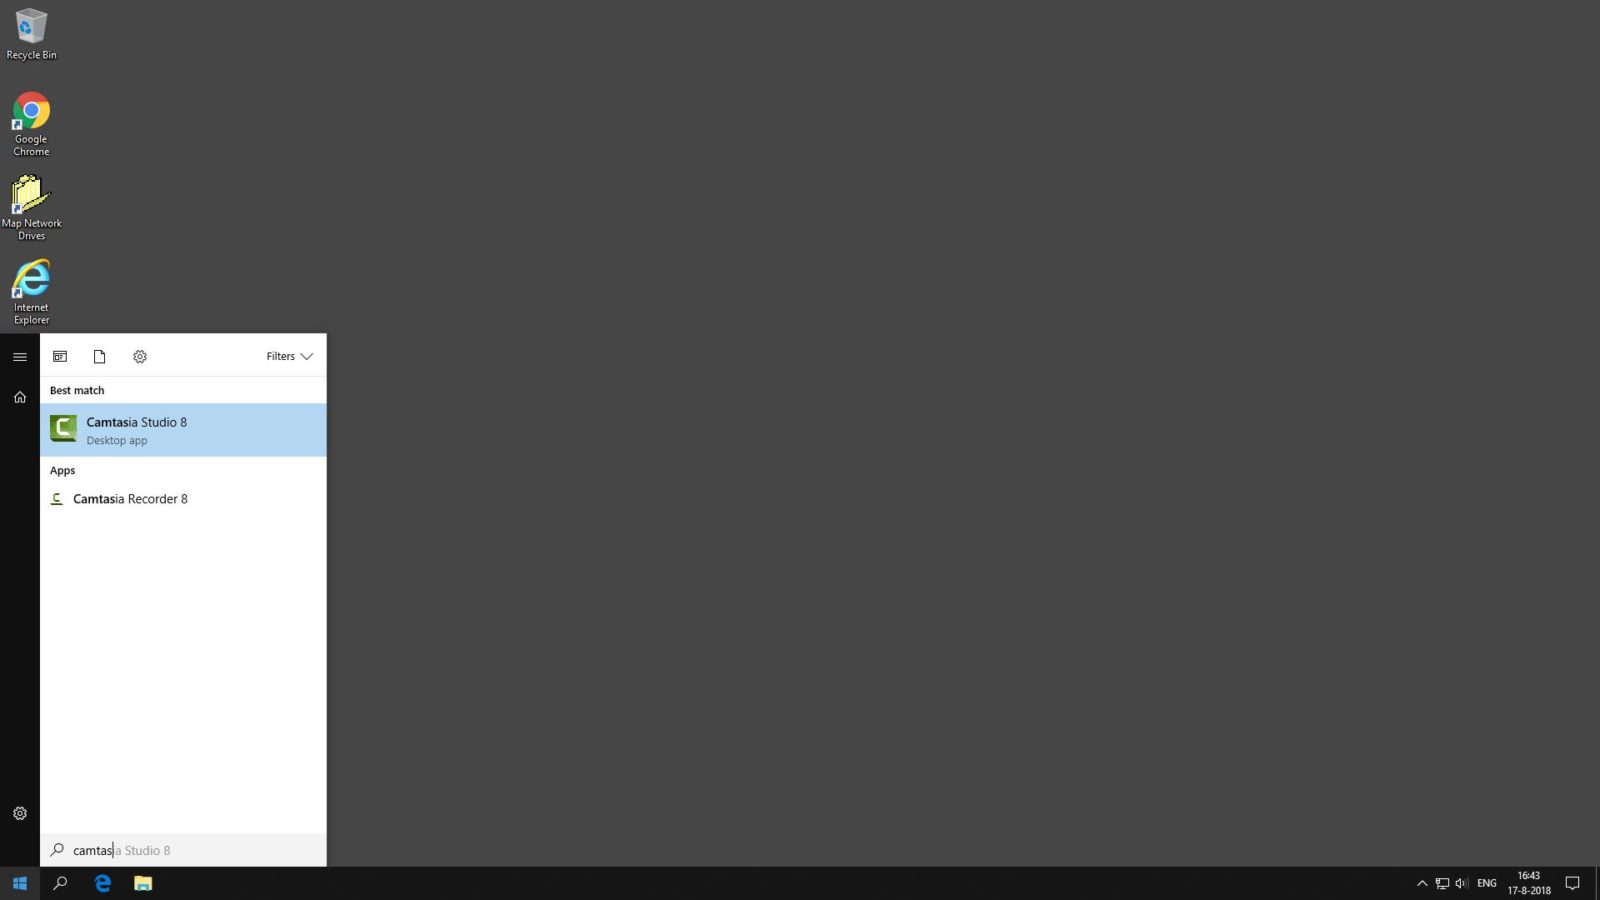
If you can’t find the software in SolisWorkspace, try to find it in the Start menu.
To do so:
- Open the Start menu and type in the name of the application, or part of it.
- Click on it to start the software.
In this example, we search for “Camtasia”.
-
Third:
Look for it in the Software Center
-
Step 6
If you cant find the software in SolisWorkspace or the Start menu, install the software via the “Software Center”.
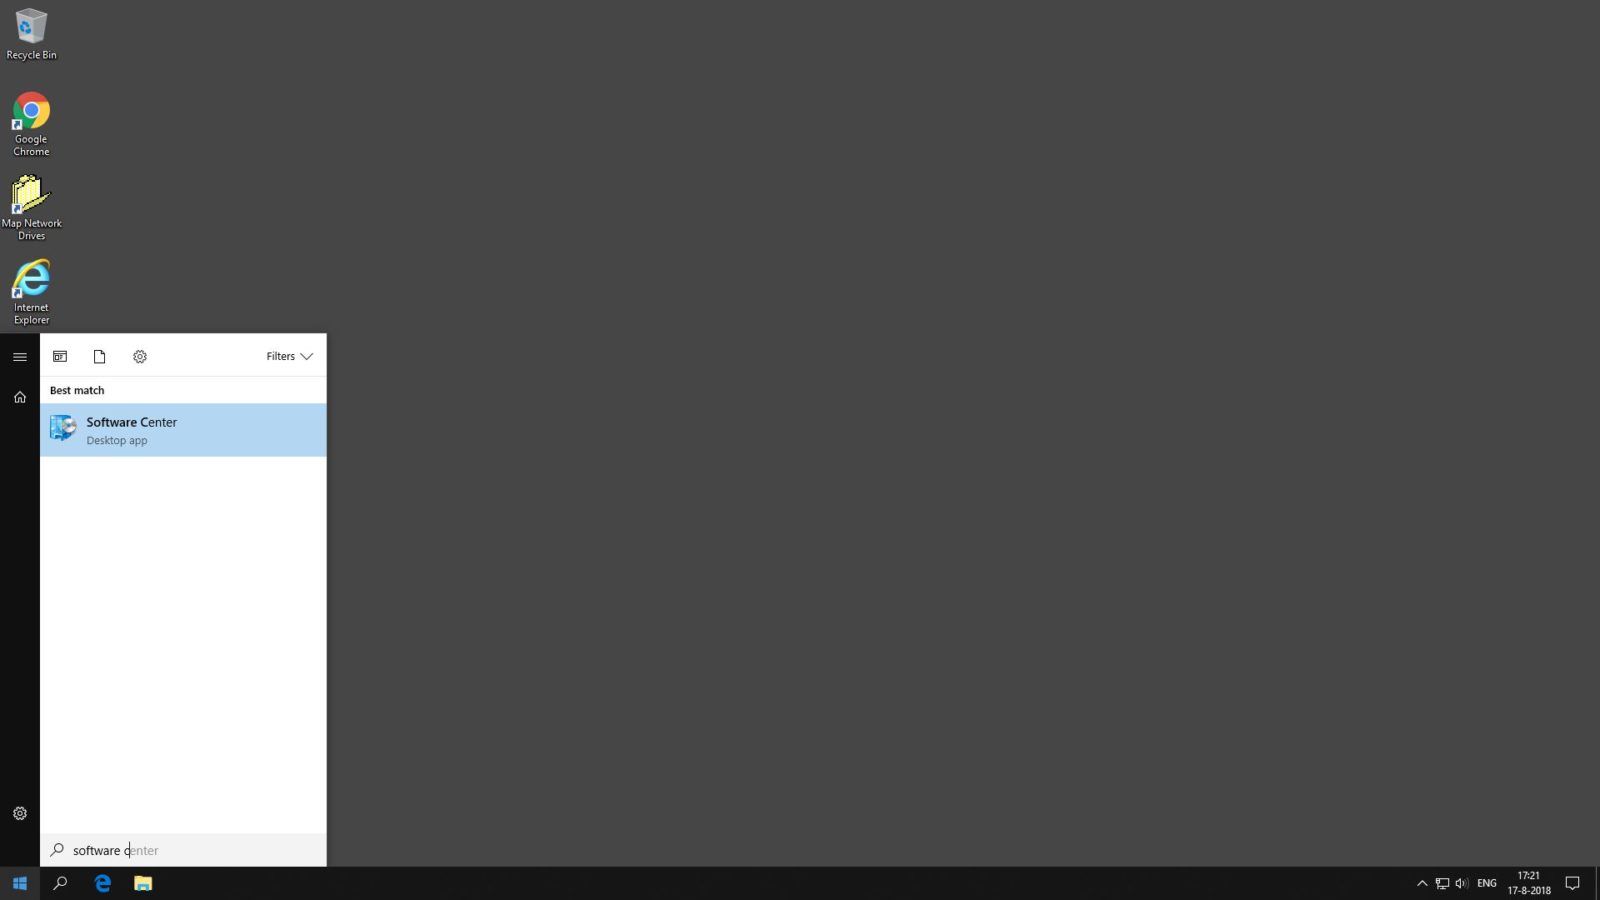
- Open the Start menu
- Type in “Software Center” and press Enter
-
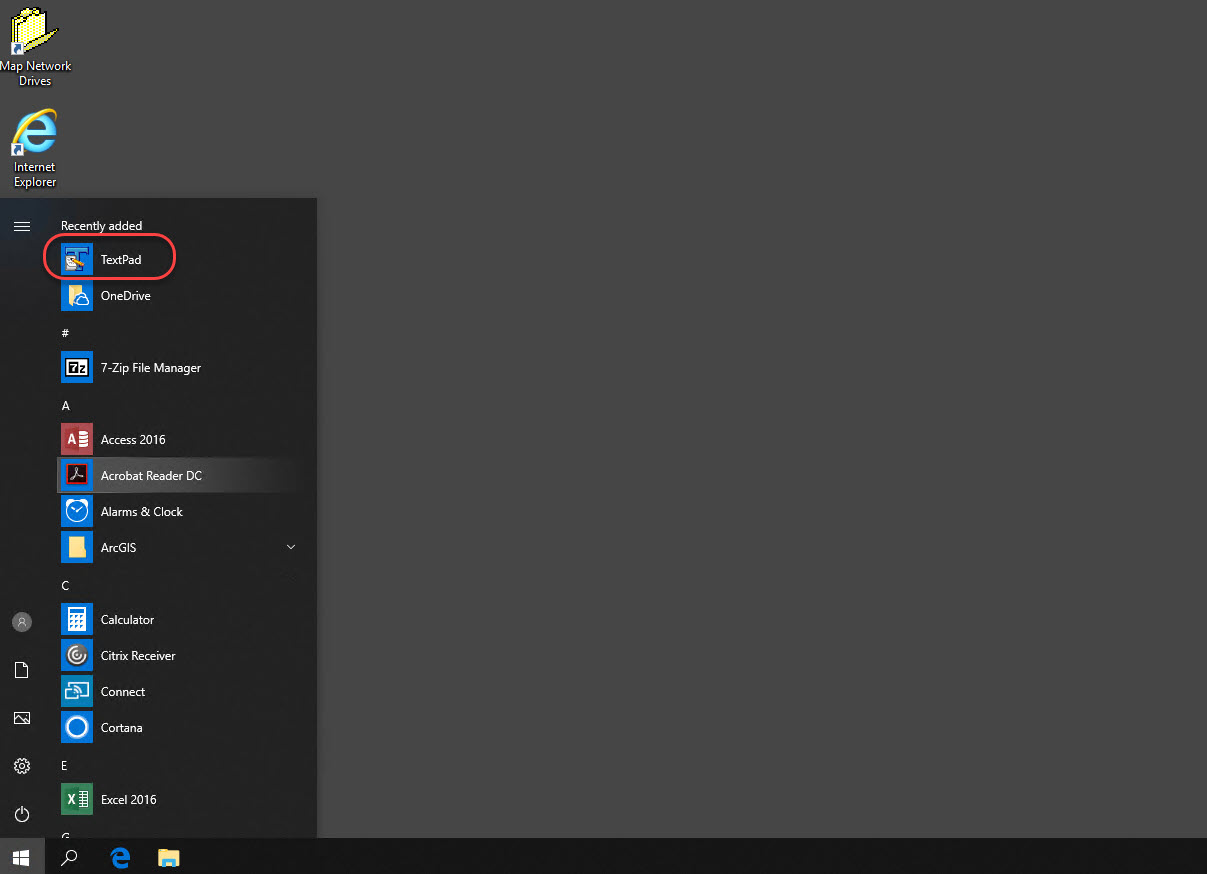
Step 7
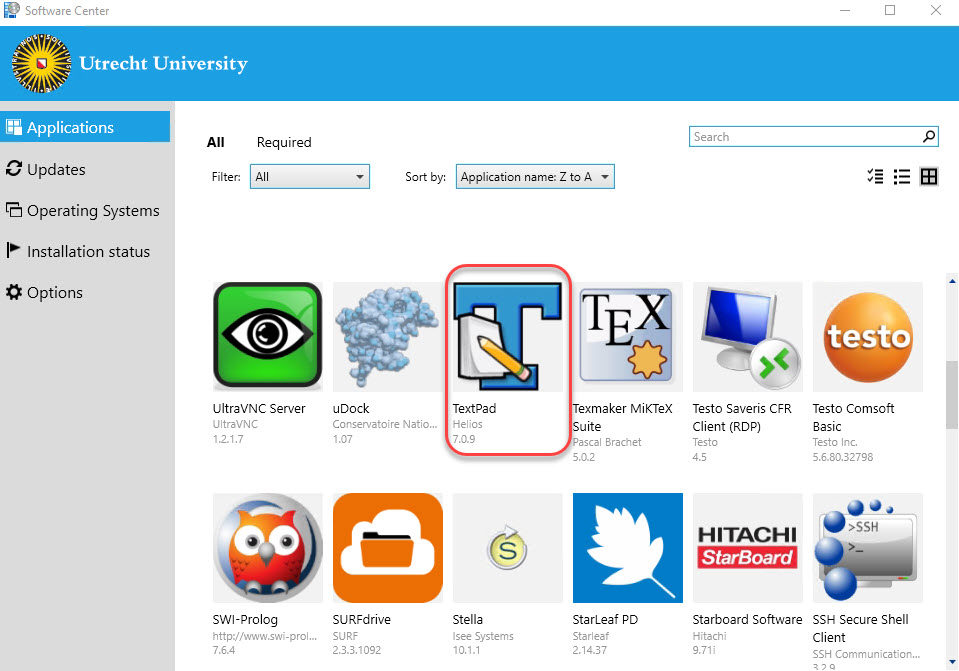
Click on the software you want to install.
This example uses “TextPad”.
You can try to find the software in the list by typing the name in the search field (on top right of the window).
-
Step 8
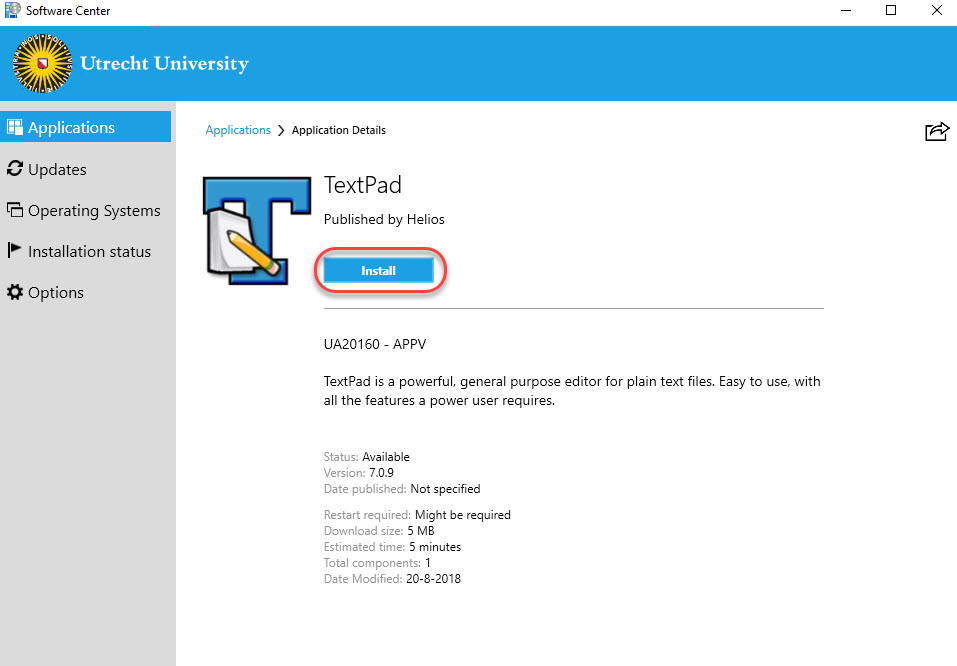
Click on “Install”.
It may take a while before the application is installed.
-
Step 9
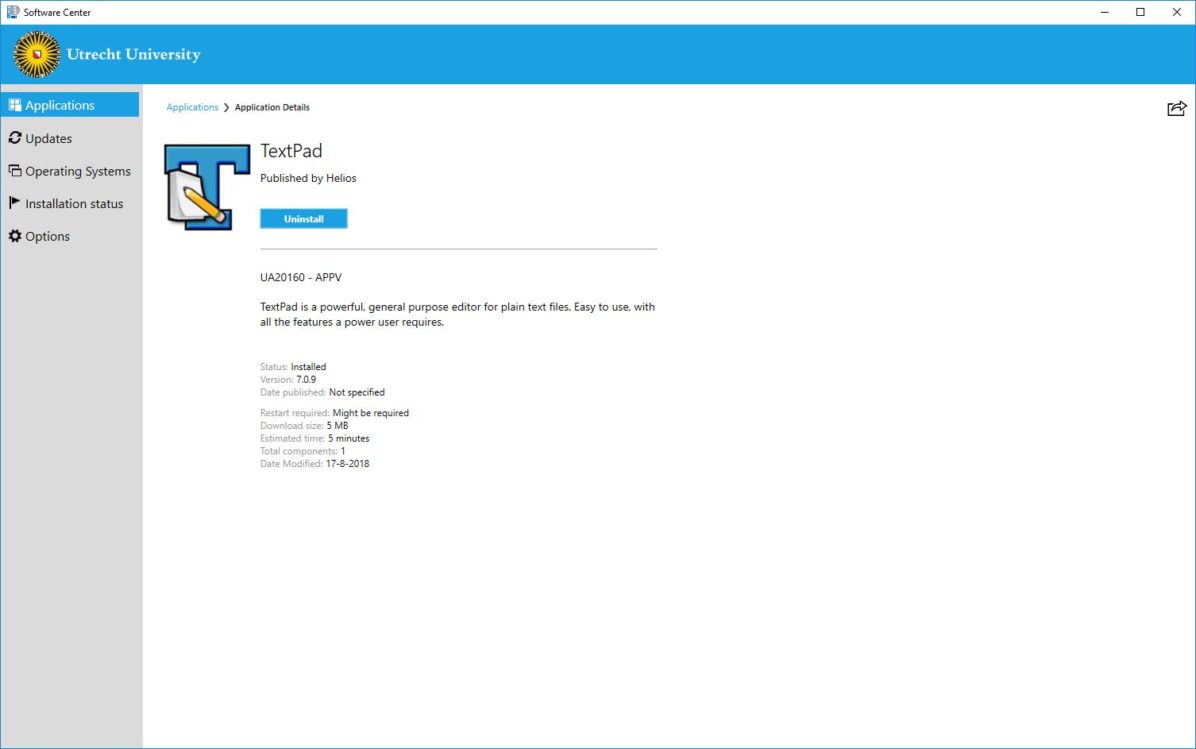
As soon as the software installation is completed, close the (Software Center) window.
When the text of the button “Install” has changed to “Uninstall”, the software installation is completed.
-
Step 10
After installation, the software can be started via the Start menu.
(See: ‘Find it in the Start menu’).
-
Privacy and safety
-
Step 11
On a public teacher computer you will not be automatically logged out of applications once you’ve stopped using them. It is therefor important to manually log out of all applications you have used (Teams for example).
This way you can prevent the application from logging in (or staying logged in) with your credentials once the next person uses the same computer.
To prevent personal and temporary data from being stored on these type of computers, these files will be erased by a script every night.
-
Step 12
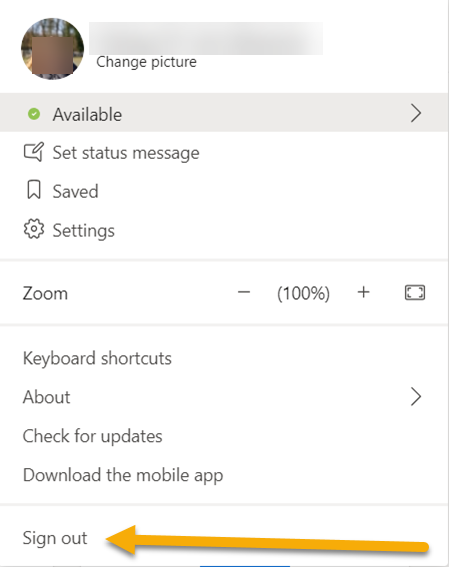
To log out of Teams for example, you:
- Click on your profile picture in the top right
- Click ‘Sign out’
-
Step 13
When sharing data with students or other people you have to take into account the protections of personal information (GDPR). This means you cannot share text or images that show personal information of other people.
Last modified: 21/07/2022