
Bitlocker to Go
This manual describes how to activate and use Bitlocker To Go on an ITS managed Windows 10 workplace.
-

Please note: ITS cannot help unlock your files when you forget the chosen password and lose your recovery key.
-
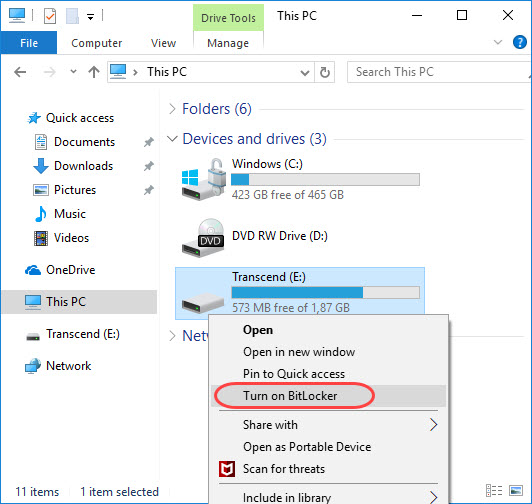
Step 1
- Connect the USB-drive to your computer
- Click on Explorer
- Rightclick on the USB-drive
- You will see a menu: click on ‘Turn on Bitlocker’
-
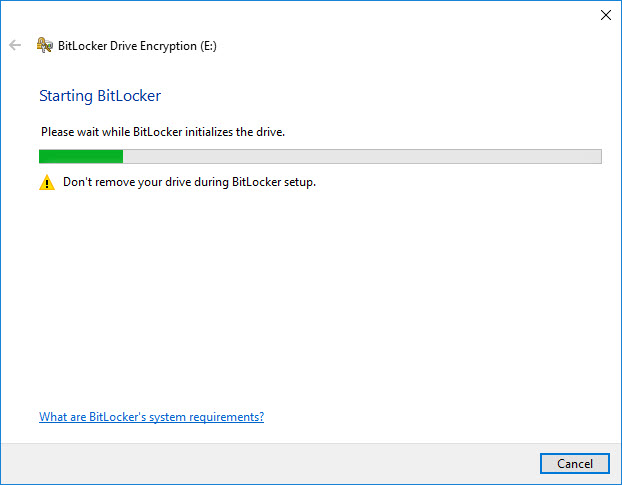
Step 2
You will see this Bitlocker screen.
-
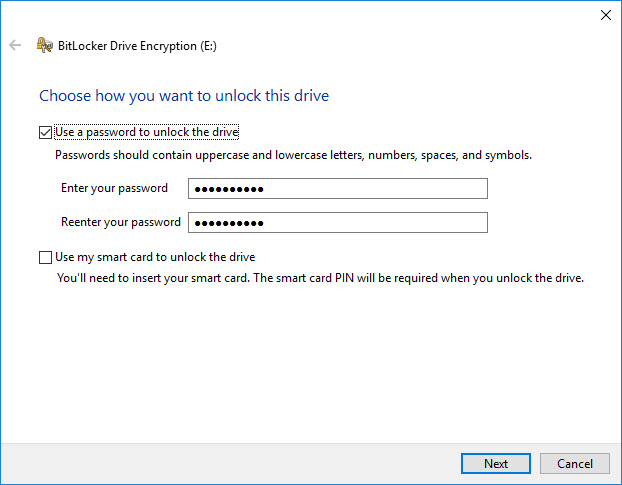
Step 3
Choose one of the options on the screen: in this example the ‘password protection’ option has been selected.
Create a password and click on ‘next’.
-
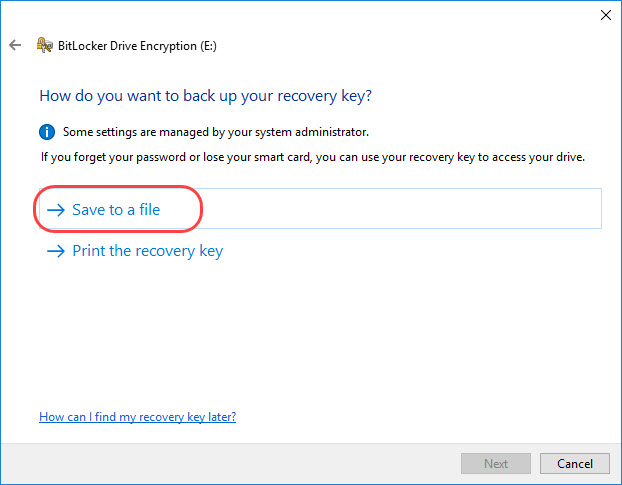
Step 4
Bitlocker will ask you to save the recovery key: this is a safeguard in case you forget your password. You can choose to save it as a file or make a print out.
-
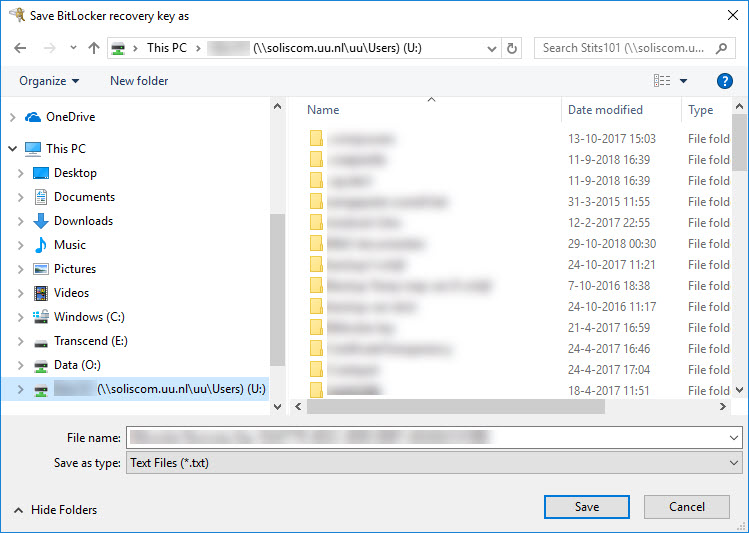
Step 5
Find a location to save the file and click on ‘save’.
-

Step 6
Click on ‘Next’.
-
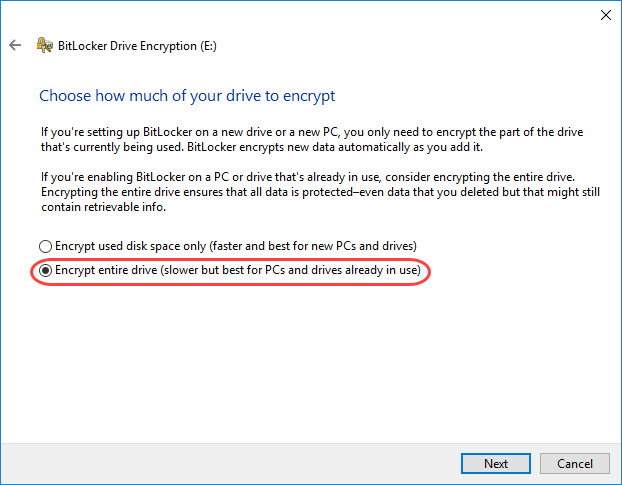
Step 7
When using an external USB-drive we recommend you to encrypt it completely. You can do this by selecting the option ‘Encrypt entire drive’.
Click on ‘Next’.
-
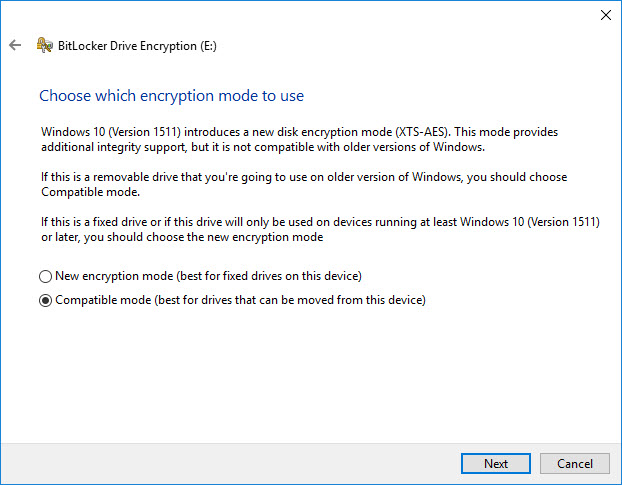
Step 8
Select the appropriate option and click on ‘Next’.
-
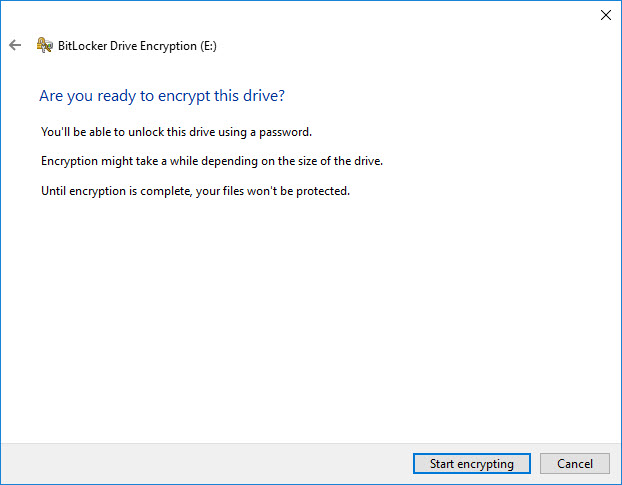
Step 9
Click on ‘Start encrypting’.
-

Step 10
The duration of the encryption process depends on the size of the USB-drive.
-
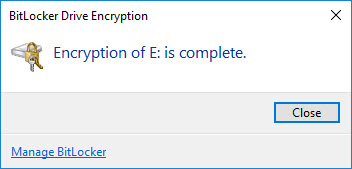
Step 11
The encryption has been completed. Click on ‘Close’.
-
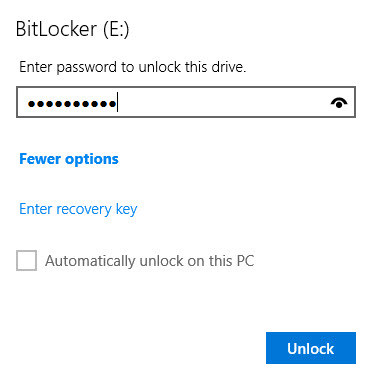
Step 12
When you disconnect the USB-drive and reconnect it, Bitlocker will ask for your password.
If you’ve forgotten your password, choose ‘Enter recovery key’ and enter the recovery key you have saved.
You can select ‘Automatically unlock on this PC’ if you want to skip having to enter the password when using the locked drive on that specific computer.
Last modified: 21/01/2020