
Printers: HP or label (network) printing via Mac
This manual describes how to install a desktop printer (HP) via Mac.
-

Important notice regarding Mac devices operating on MacOS 14 Sonoma. Printing to network printers such as HP/Zebra/Canon plotter is currently unavailable. We await Apple’s resolution for this matter.
-
In order to install and use this printer you need:
- To be connected to the UU network
- You have to be a UU staff member
- and know the UU-number of the printer
-
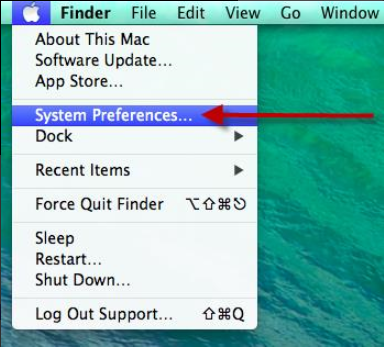
Step 1
- Go to the Apple menu and click on “System Preferences”.
-
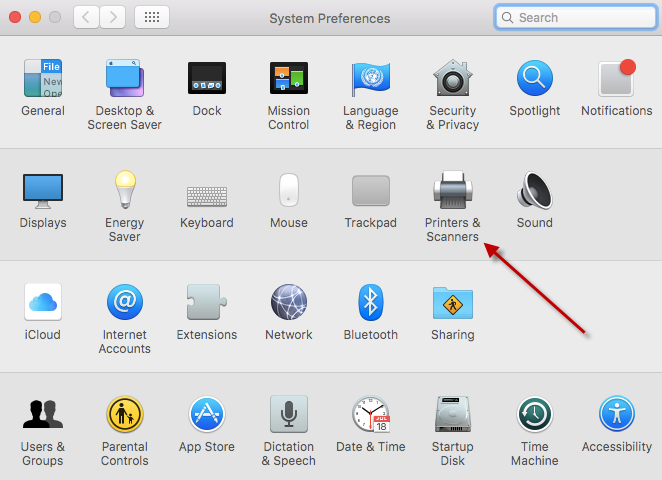
Step 2
- Click on “Printers & Scanners”
- Click on “Printers & Scanners”
-
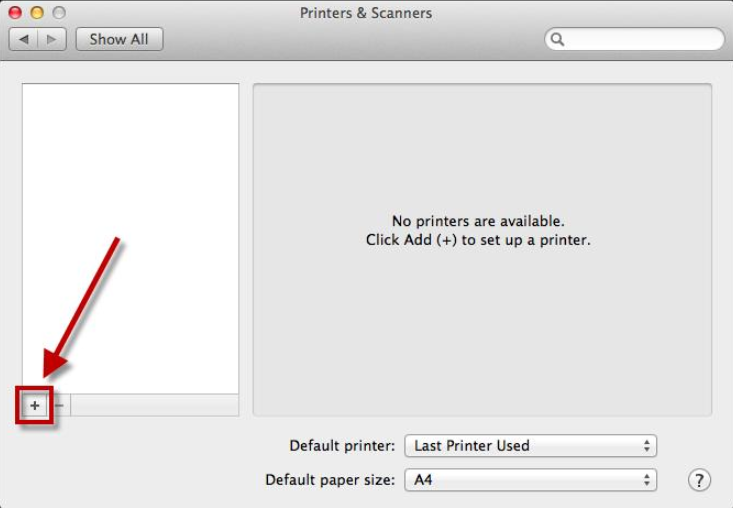
Step 3
- Click the “+” to add a printer.
-
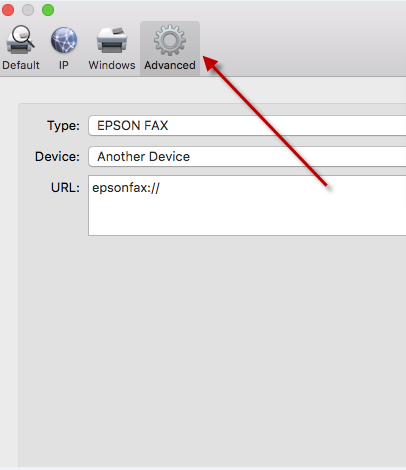
Step 4
If you see the “Advanced” icon in the toolbar, you can skip steps 5, 6, and 7.
-
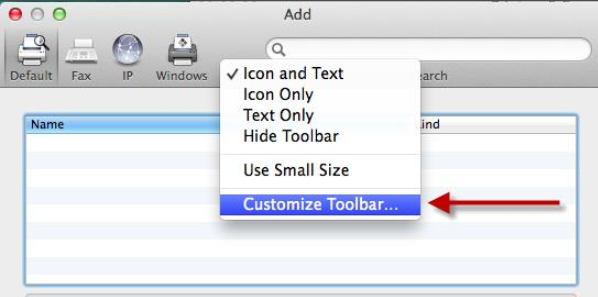
Step 5
- With the right mouse button, click on the toolbar (Or tap on the touchpad with two fingers).
- Now click “Customize Toolbar…”
-
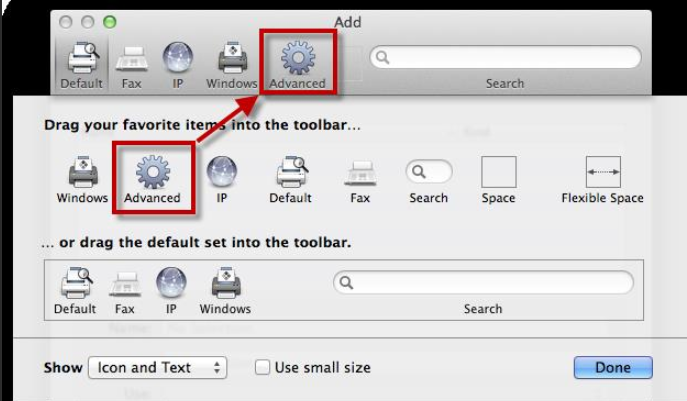
Step 6
- Drag “Advanced” to the toolbar above. The icon will now be shown there.
- Now click “Done”.
-
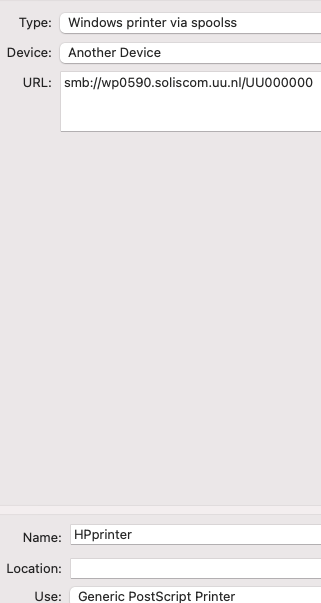
Step 7
Click on “Advanced” and enter the following information:
Type: “Windows printer via spoolss”
URL: “smb://wp0590.soliscom.uu.nl/uu000000” (Where uu000000 is the UU-number of the specific printer)
Name: for example “HPprinter”
USE: Generic PostScript PrinterThen click “Add”
-
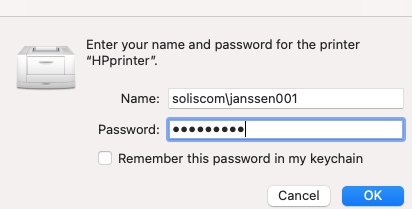
Step 8
When you try to print something, you need to provide your Solis credentials.
- Fill in: soliscom\Solis-ID and your Solis- password.
- Now click “OK”.
The printer is now connected
Last modified: 25/07/2026