
Contact Center Genesys Cloud: login and setup
This manual explains how to log in to Genesys Cloud and how to configure the settings correctly. You can only access Genesys if you have received an invitation email or link from the administrator.
There are 2 login options. This is due to licensing of the groups:
- Personal account (UU e-mail address)
- General / shared account
However, logging into Genesys Cloud is the same for both account types.
-

To use Genesys Cloud, the supported browsers are Microsoft Edge, Google Chrome and Mozilla Firefox. Safari is not recommended due to functional limitations.
-
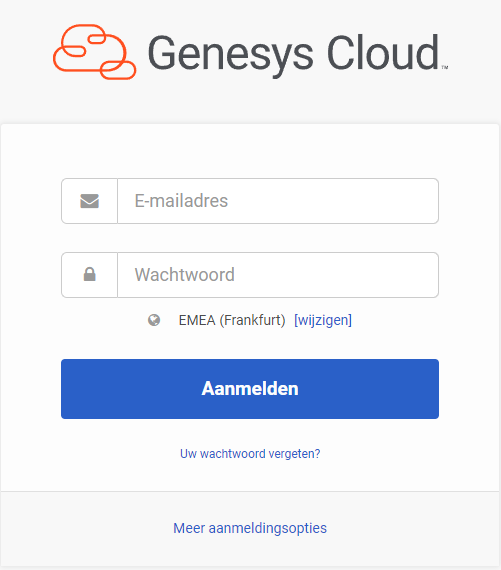
Step 2
Log in with your username and password.
-
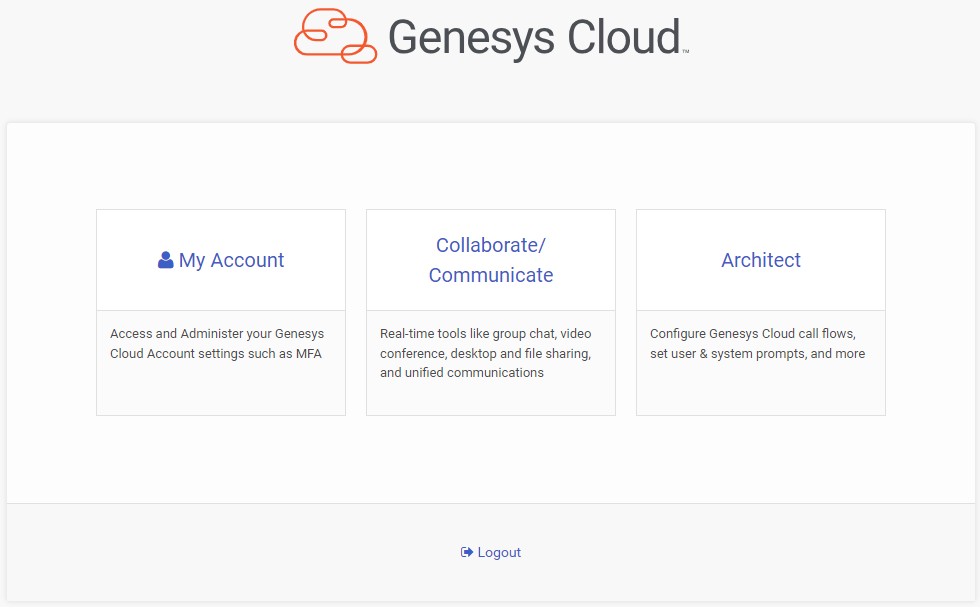
Step 3
When you first log in to Genesys Cloud, certain settings must be applied to ensure that you can use it. To proceed to the Genesys interface, click “Collaborate/Communicate.
-
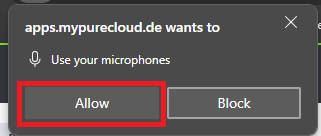
Step 4
-
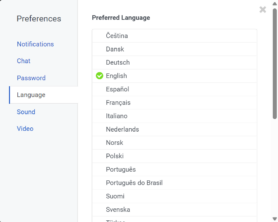
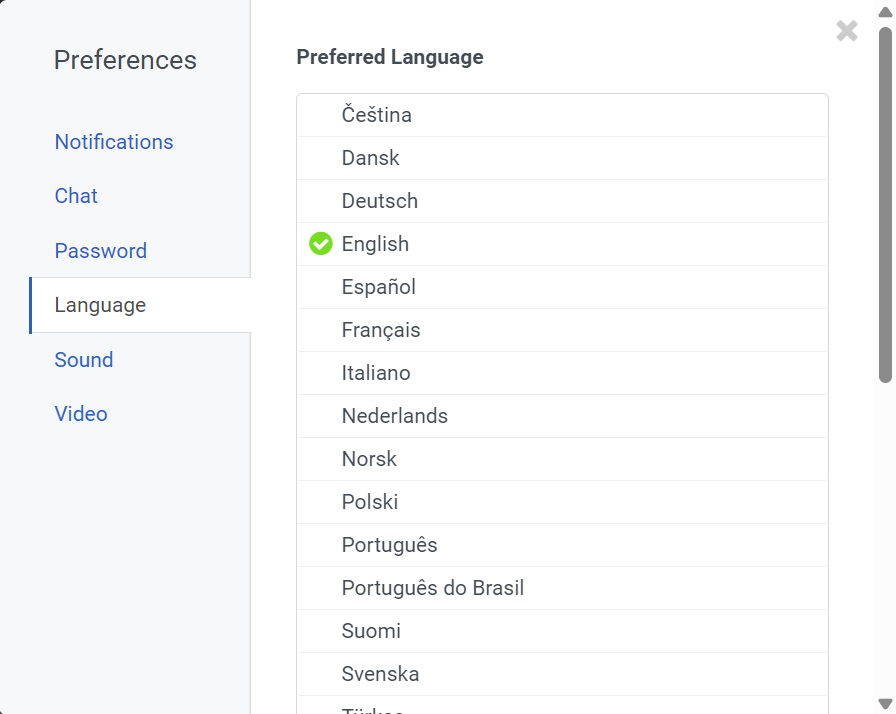
When you first log in, the language is set to English by default. You can change this by going to your profile in the top left menu, then selecting ‘Preferences’ and then under ‘Language’ set your preferred language.
-
Step 5
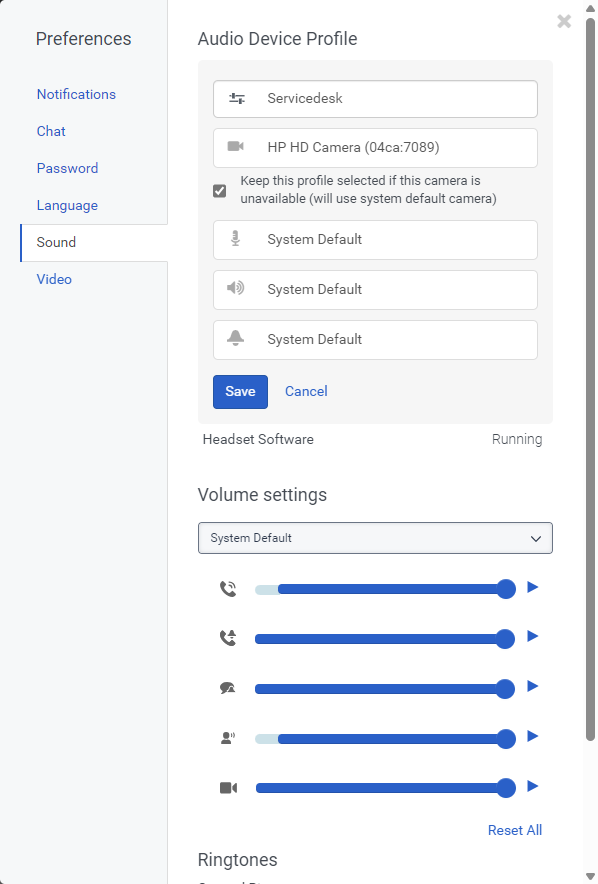
Sound
-
Step 6
-
Step 7
To be available to receive interactions, you must be active in the queue.
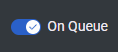 Indicates that you are logged in and ready to accept new interactions.
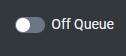 Indicates that you are logged in but not currently accepting new interactions.
 -
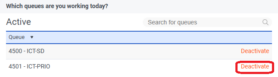
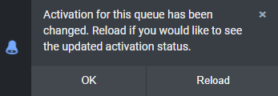
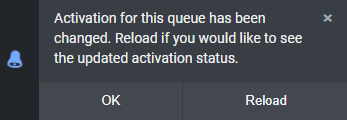
If you are a member of several queues, keep in mind that depending on your shift, you activate or deactivate one queue as well. You can do this by clicking on ‘Activate queues’ in your profile and clicking on ‘Deactivate’ to the right of the queue. You will then be asked if you can reload the page immediately.

-
Step 8
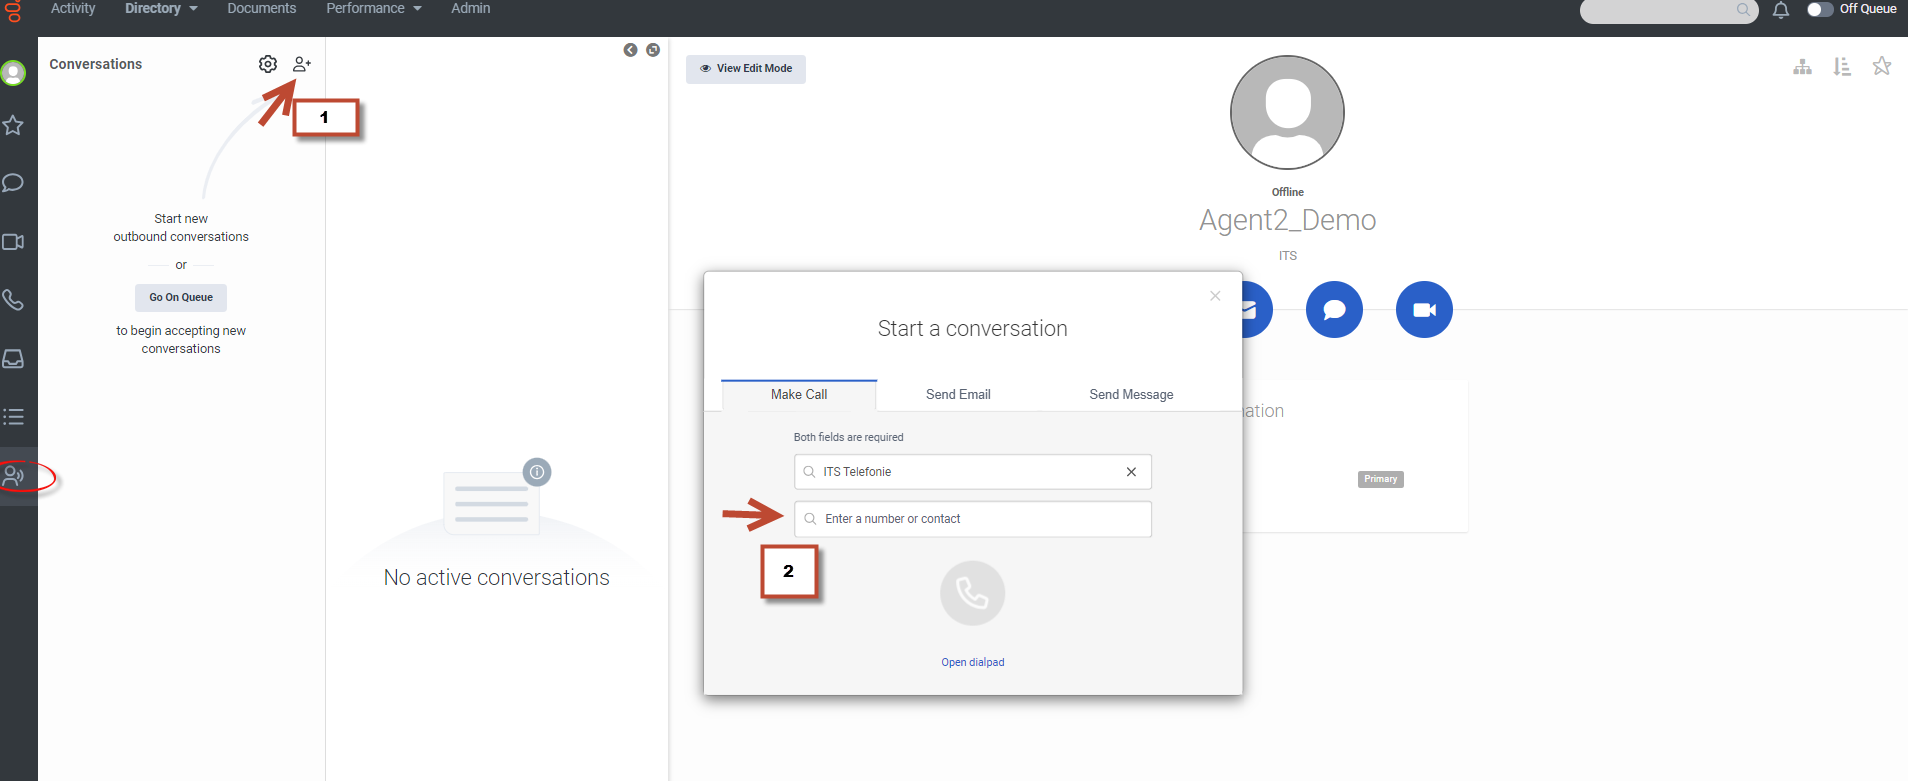
Dial-out
Step 1: Select the “Interactions” option in the ACD group.
Step 2: Enter the phone number (no extra 0) and press Enter twice to dial. -
Step 9
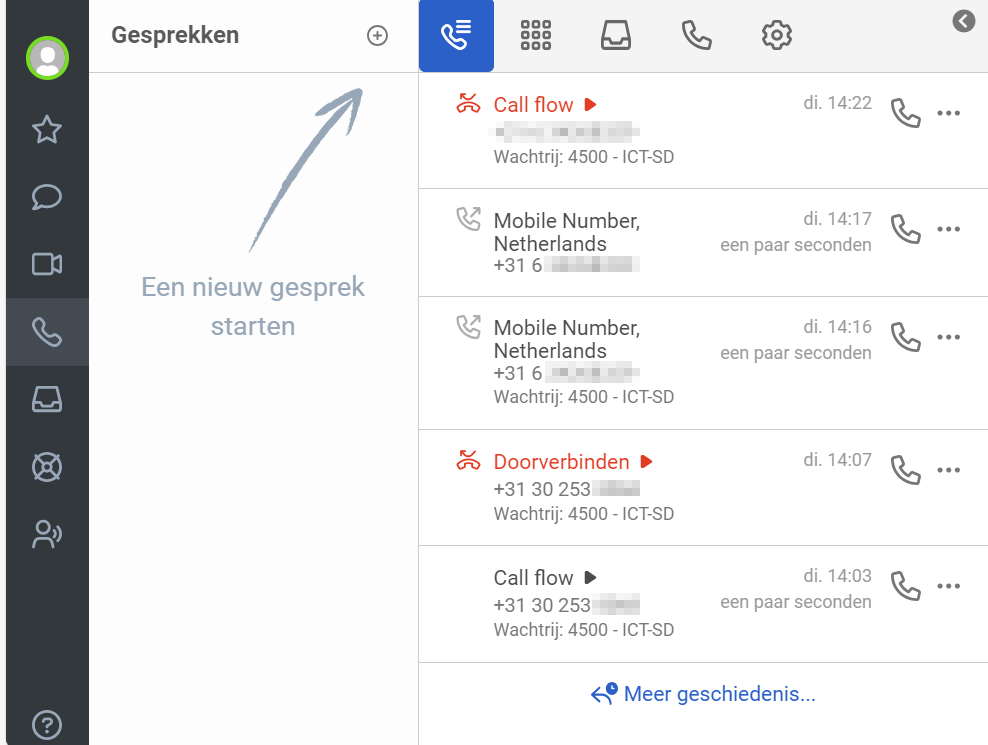
Call History
You can find the call history by clicking on ‘conversations’ in the menu and then clicking on ‘Call History’.
-
Step 10
Missed call
All missed calls can be found in ‘Calls’.
-

Step 11
Sign out
Sign out of Genesys Cloud at the end of each shift. Before that, remember to deactivate the queue by setting it to ‘Off Queue’.
-
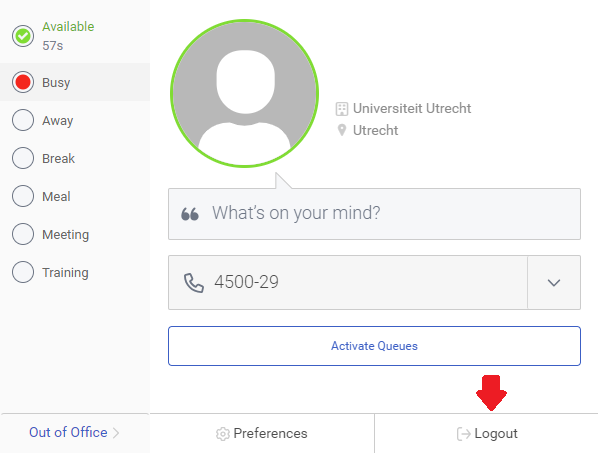
Step 12
After disabling the queue, click on your profile and then ‘Logout’ to sign out of Genesys Cloud.

Last modified: 19/11/2024