Digital Signature (ValidSign)
ValidSign makes it possible to provide digital documents with a legally valid signature.
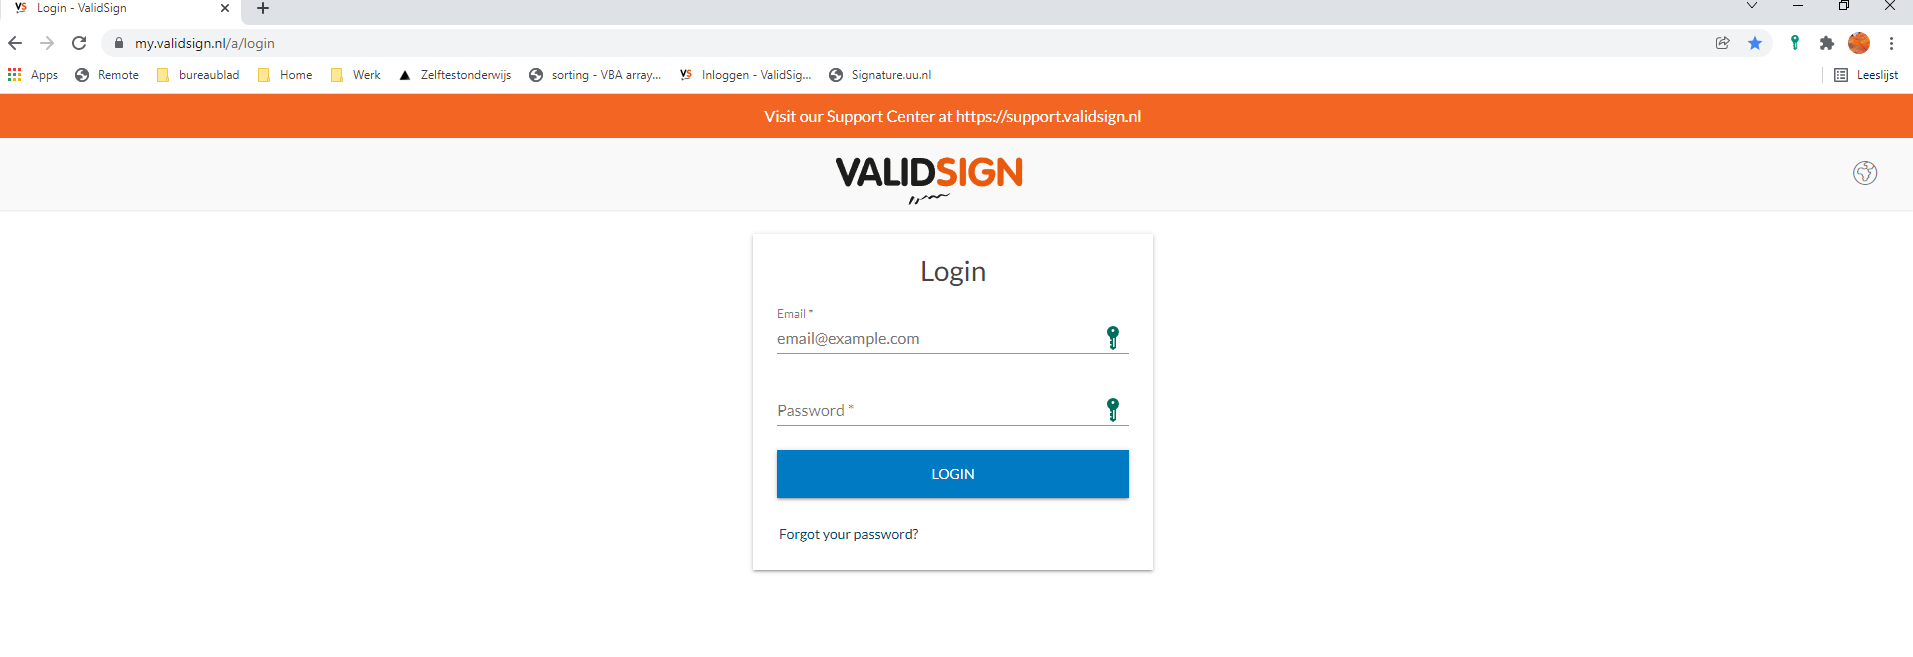
For questions and more information about the functionality of ValidSign, you can go to support.validsign.nl. You will need to create an account.
-
Step 2
A transaction can be seen as a digital envelope.
Go to the Transactions tab and press the New Transaction button.Enter a name and press Create.
A tab with your drafts shows the transaction you just created.
-
Step 3
You can upload a file in the Transaction you just created or in a Transaction from your drafts folder. Choose Add document.
-
Step 4
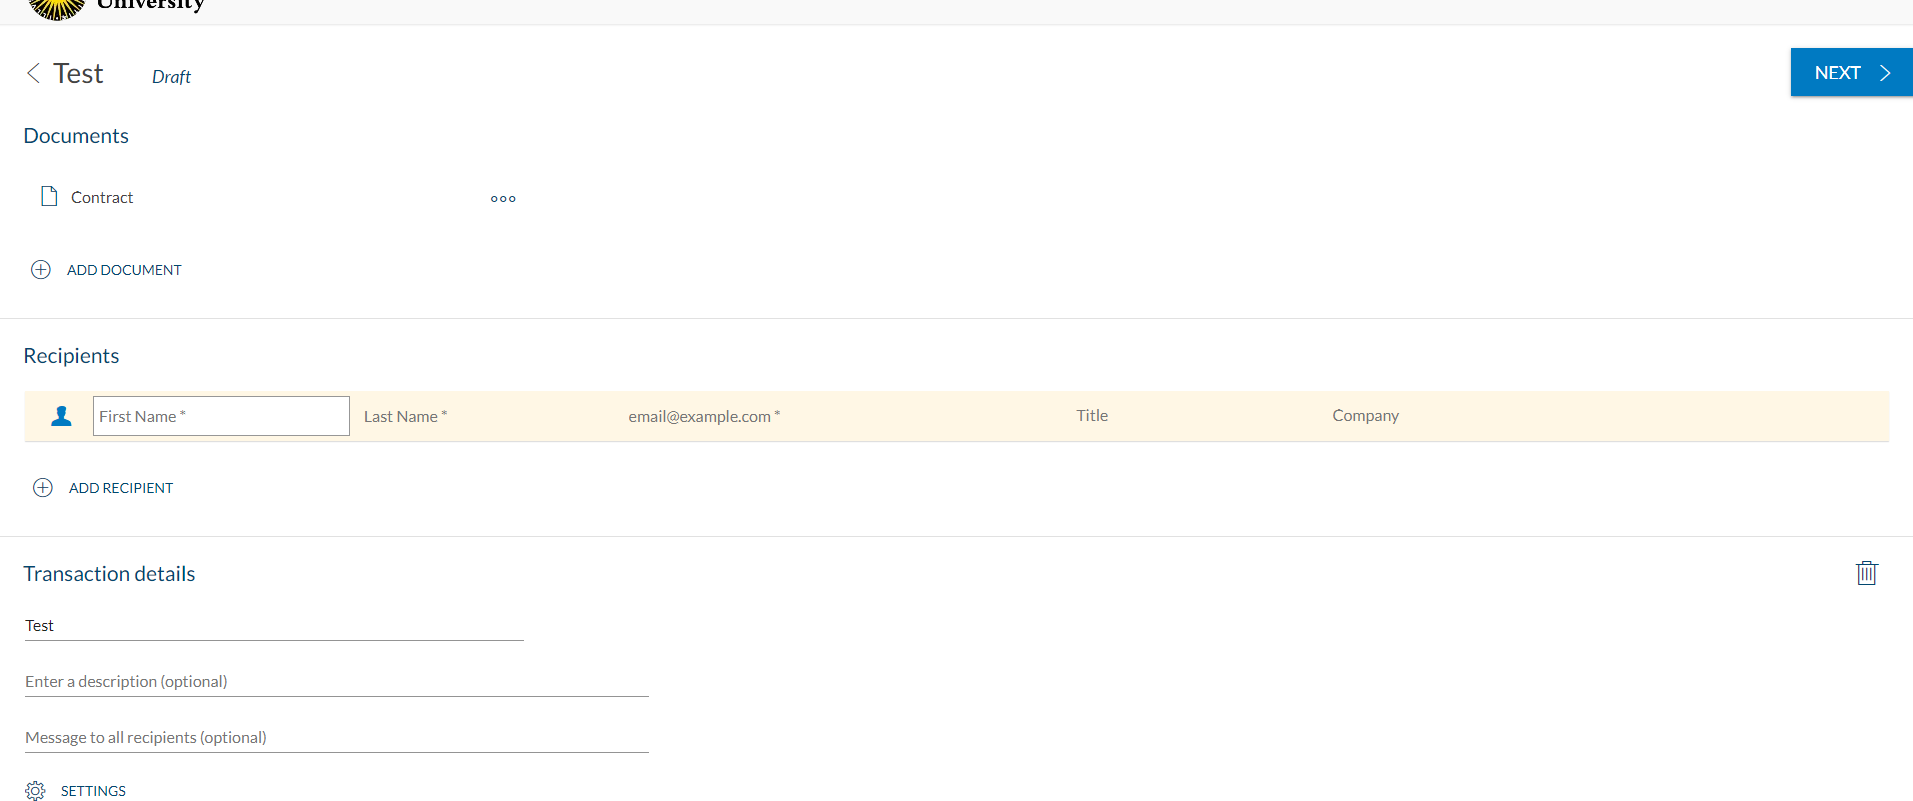
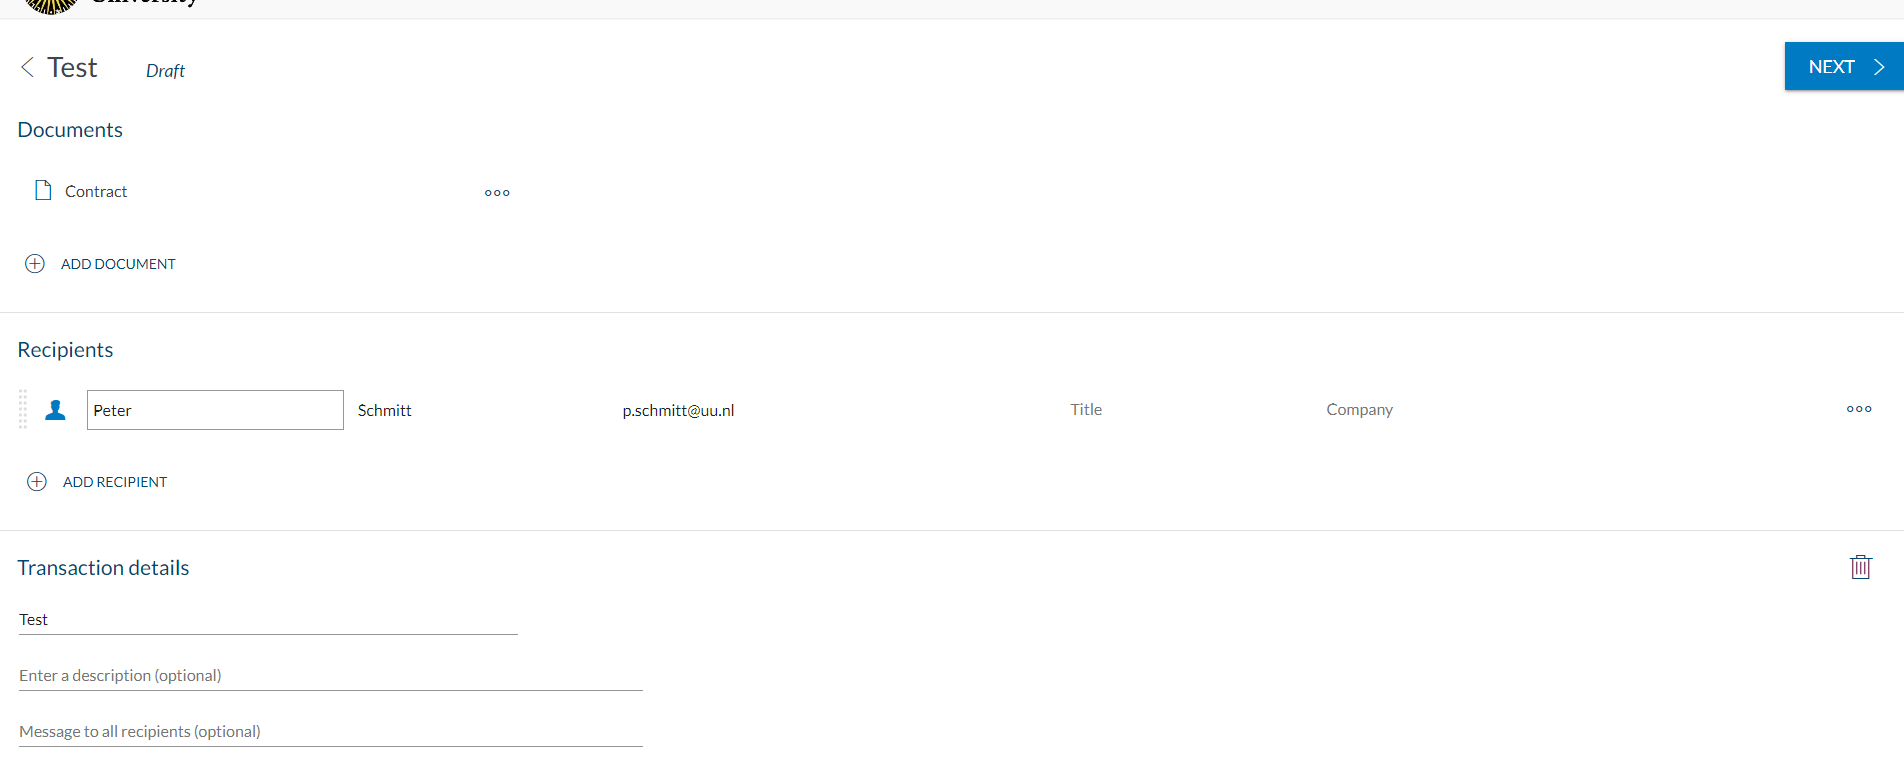
Click First name, Last name or email@validsign.nl to add a person.
-
People within the UU are only added (visible) when they have logged in for the first time. So it may be that your colleague is not visible (yet), you can reach them by entering the data (first and last name, mail address) by hand.
People from outside the UU can be added in the same way. As an extra security measure we recommend using an extra authentication method, for example, an SMS. See the FAQ below for more information.
-

By clicking the people icon on the left you can also add a group. You can make a request for a group via the IT Servicedesk.
-
Step 5
Once the people and the documents have been added to the Transaction you can format the document. Choose Next.
-
Step 6
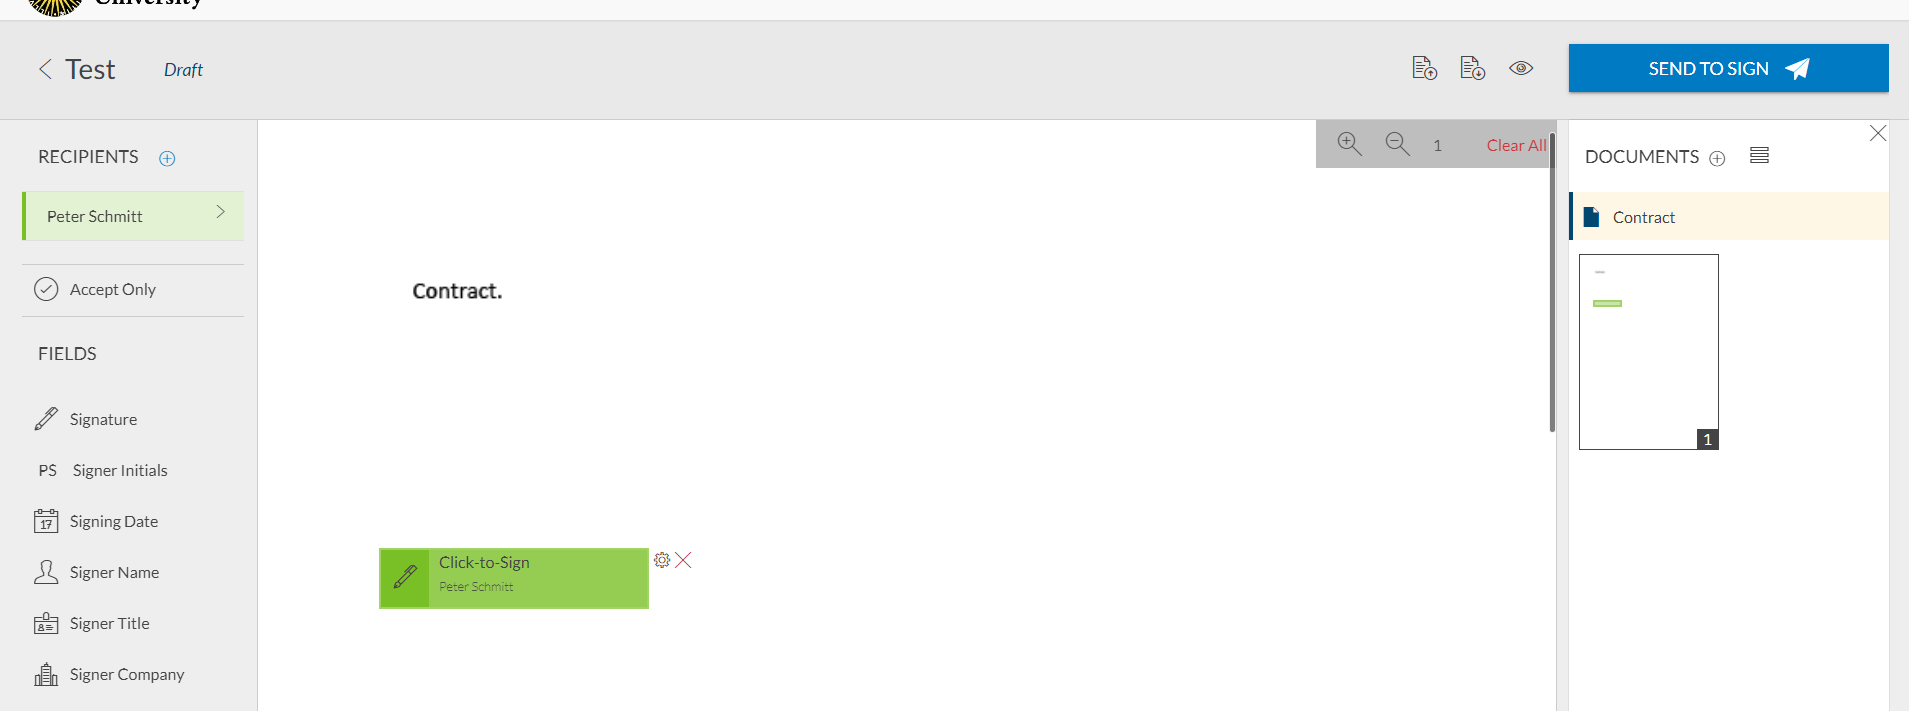
Choose a Name and drag a field (like a signature or initials) to the right location on the document.
-
Step 7
Click Send to Sign to send your document.
-
General information
Once you’ve entered the following information: first name, last name, email address, click on the gear icon on the right.

A window will open, click ‘Authentication’ on the left and select ‘SMS’. You need to enter a phone number and then click ‘Save’.

De person you added will now receive a text message when trying to open a Transaction. The text code is for access to the Transaction, not for actually signing documents.
Due to a security restriction people with more than one role at the UU are not allowed to login to Validsign. Please contact the IT Servicedesk for help.
You can authorize someone by clicking on “My Account” in the top right of the drop down menu and then choosing “Authorizations” on the left. Enter the email address of the person who may sign on your behalf.

For the authorized person, an icon appears in the dashboard under which the people by whom you are authorized to sign are listed.

When you authorize someone they can also see documents and Transactions, so it is wise to be careful with this. The authorized person does not receive an email notification for signing but will have to look in the portal himself for signing requests.
It is possible to have a group created containing members who are authorized to sign on behalf of each other or on behalf of an NPM (group mailbox).
To do this, contact the ICT Service Desk and provide the information below:
- A group name,
- An existing email address (NPM)
- The members of the group (Solis-id’s)
- And further answer the following questions: Should communications go to each group member or the group email address?
- Should each group member be able to sign for each other (i.e. everyone authorized for each other) or not.
- Each (potential) group member must give permission to be added.
A transaction can be thought of as a digital envelope, created when you send one or more documents to your recipients for signature. Transactions can contain multiple documents and can be sent to multiple recipients. A document can be part of a transaction, but not the other way around. So a transaction is a more umbrella term within our signing solution.
ValidSign supports the following documents/file types: .pdf, .doc, .docx, .txt, .rtf and .odt. Validsign also supports any document that can be printed from a Windows application (e.g. .xls, .xlsx, .ppt, .pptx, etc.) via the ValidSign printer driver.
Keep in mind that all documents are converted to PDF.
Whether you are using a click signature or a graphic signature, all digital signatures captured through ValidSign are supported by:
- Certificate that is embedded in the document. This certificate ensures integrity by performing an automatic check each time the signed document is opened to validate if the signatures are still valid and if the document has been modified after being signed.
- Identity information included in the document. For example, an IP address and email address.
- Data recorded in the evidence summary. This contains exactly the actions that each signer has performed from the moment the signing process started.
It is possible to change or add a signature to your account. This signature will be used as your signature in the relevant signature fields on digital documents.
Go to your dashboard in ValidSign and choose “My Account” in the menu in the top right corner. Below this button you can register a personal signature as well as other personal information and a password.
Transactions will be saved for 90 days. ValidSign is not meant to be a storage space for documents. You can check out the Storagefinder tool for advice about where to save your documents.
The creator of the transaction determines whether it will be a click or a graphic signature (as a signer you cannot change this).
You do this by pressing the gear icon when placing the signature field and choosing the type of signature.
Click on your name in the top right corner and choose ‘My Account’. Then click on ‘signature’ in the menu on the left and on the pen icon. You can now draw your signature in the designated field and click ‘Save’.

Yes. Go to Transactions (top of the page) and choose ‘Trashed’. Select the Transaction you wish to recover and click the ‘recover’ button.

The ValidSign app is not available for UU employees.
Last modified: 16/07/2025


