
Outlook: share calendars
In this manual you will read how to:
Part A: add a colleague’s calendar to your own Outlook
Part B: share your calendar with someone else in Outlook
-

Part A: add a colleague’s calendar to your own Outlook
-
Step 1
- Make sure you are signed in on Outlook with your Solis-mail (this can be done on a Solis computer or a private computer)
- Start Outlook.
-
Step 2
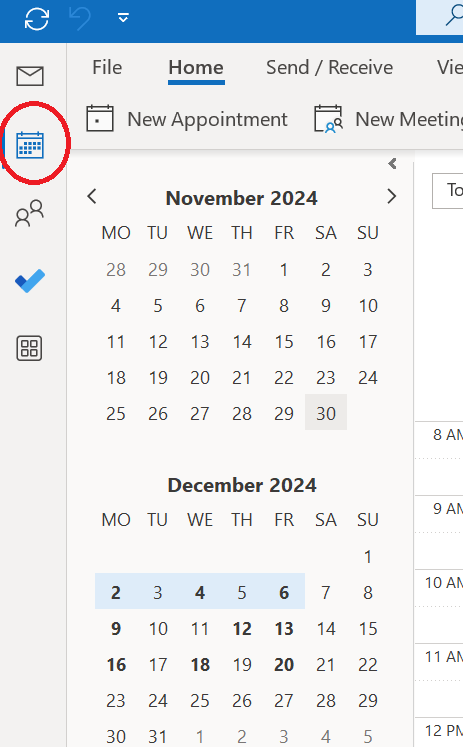
Click on the calendar icon at the top left.
-

Step 3
At the top right of the ribbon, click ‘Add’ and then ‘From address book’.
-

Step 4
Outlook’s Address Book will now open.
- Find the person you want to add.
- Double-click the name you want to add or select the name and click add.
- When the name is displayed at the bottom, it is correctly selected and you just need to press OK.
-
Step 5
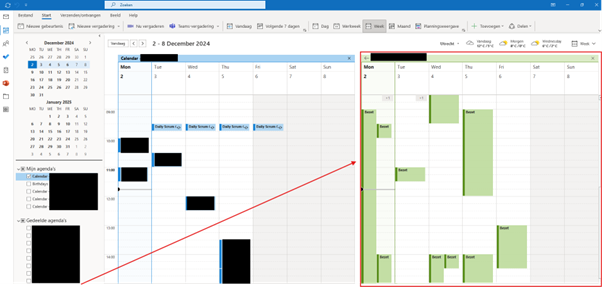
The other person’s calendar has now been added to your own Outlook.
Do you see nothing on this person’s calendar, or only ‘Busy’? Then the person has not yet given you rights to see his or her calendar. Part B below tells you how to grant the other person rights.
-
Part B: share your calendar with someone else in Outlook
-
Step 6
- Make sure you are signed in on Outlook with your Solis-mail (this can be done on a Solis computer or a private computer)
- Start Outlook.
-
Step 7
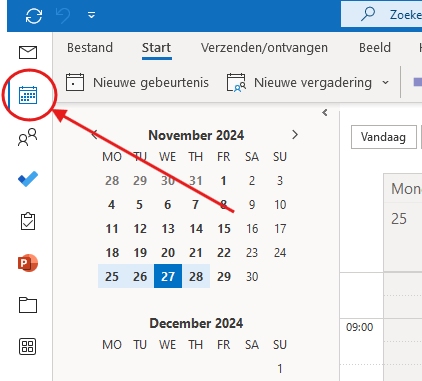
Click on the calendar icon at the top left.
-

Step 8
Click on Share at the top right and choose your own calendar.
-
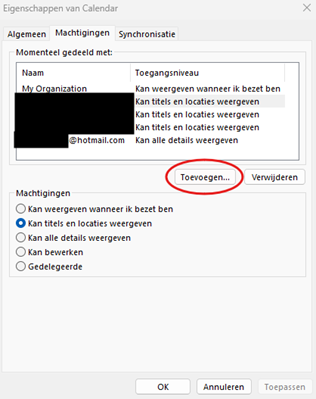
Step 9
Click the Add… button to add someone to view and/or manage your calendar. Click on one of the existing names to modify the settings.
-

Step 10
Find the person you want to add. Double-click the name you want to add or select the name and click add. When the name is displayed at the bottom, it is correctly selected and you just need to press OK. You can also add external addresses by typing in the mail address itself.
-
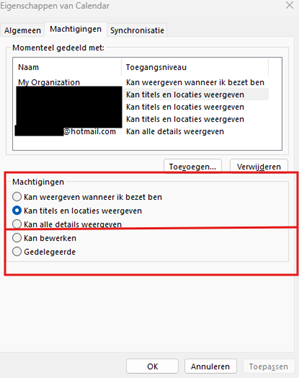
Step 11
Select the person in the top menu to adjust the rights level. If you have added an external address, only the top three options are available. External addresses cannot manage a UU mailbox.
-
Step 12
Your calendar is now shared with the other person.
Last modified: 8/01/2025