
Outlook: delegate e-mail and calendar in Webmail
In this manual you can read how you can delegate tasks such as e-mail and the calendar in Outlook. Please note that this manual describes how you can delegate the mail in the web version of Outlook. Delegate adjustments in the webmail are automatically applied in the desktop app version.
This is explained using the example of a manager who want to delegate access to his assistant. There are two points of view in this example:
A) the one giving the access (the manager in this example)
B) the one receiving the access (the assistant in this example)
Both situations are explained separately below.
-

Part A starts here-
The person giving access: ‘the manager’.
-
Step 1
Go to https://outlook.office365.com/owa/ and log in to your @uu.nl address.
-
Step 2
To grant someone access to your mailbox, permission must be given per specific folder in the mailbox. In this guide we will use the Inbox as an example.
-
Step 3
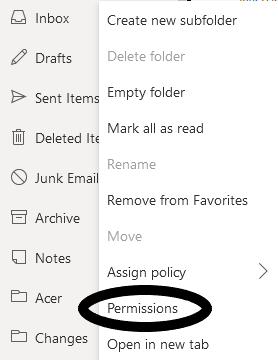
To grant access to the folder of your mailbox (Inbox), do the following:
- Right click on the Inbox folder
- Choose “Permissions”
-

Step 4
Click on ‘Add permission’ (plus icon)
-
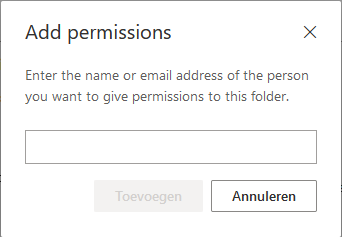
Step 5
Enter the name or email address of the person you want to assign permissions to this folder
-
Step 6
You can also apply the desired permission level.
-

Step 7
To share your calendar, open the calendar in the left menu
-
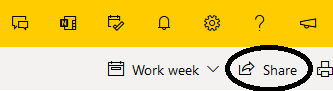
Step 8
Click “Share” in the top right corner of the calendar module.
-
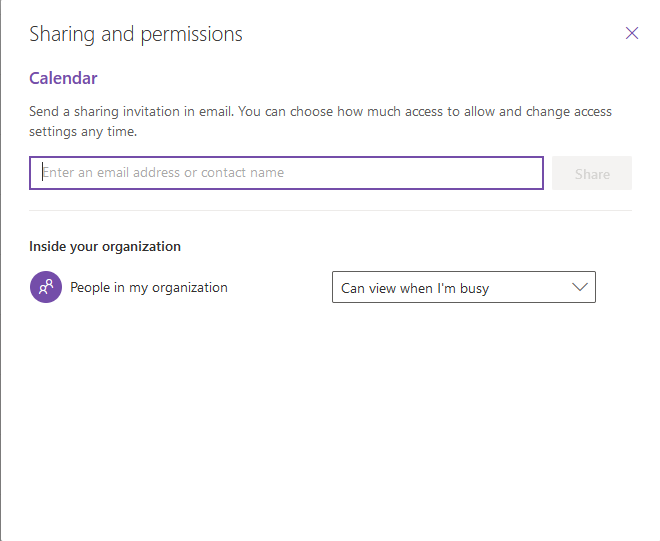
Step 9
Enter the name or email address of the person you want to assign permissions to
-
Step 10
Select the desired permission level from the drop-down menu “Permission Level”. You can also manually adjust the permissions.
-
Step 11
Part B starts here –
The person receiving access ‘the assistant’.
-
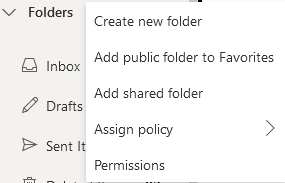
Step 12
To add the shared folder in webmail, right click on ‘folders’ and select ‘Add shared folder’
-
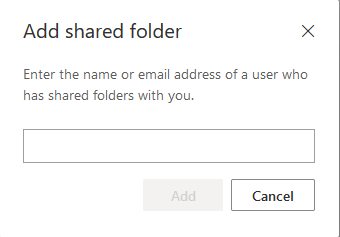
Step 13
Enter the name or email address of the person who has shared mailbox folders with you. If you have been granted access, the folder will be added successfully and you will also see the name of the user appear above the folder.
-
Step 14
To add the shared calendar, open the calendar in the left menu
-

Step 15
Click on ‘Add calendar’ at the bottom right
-
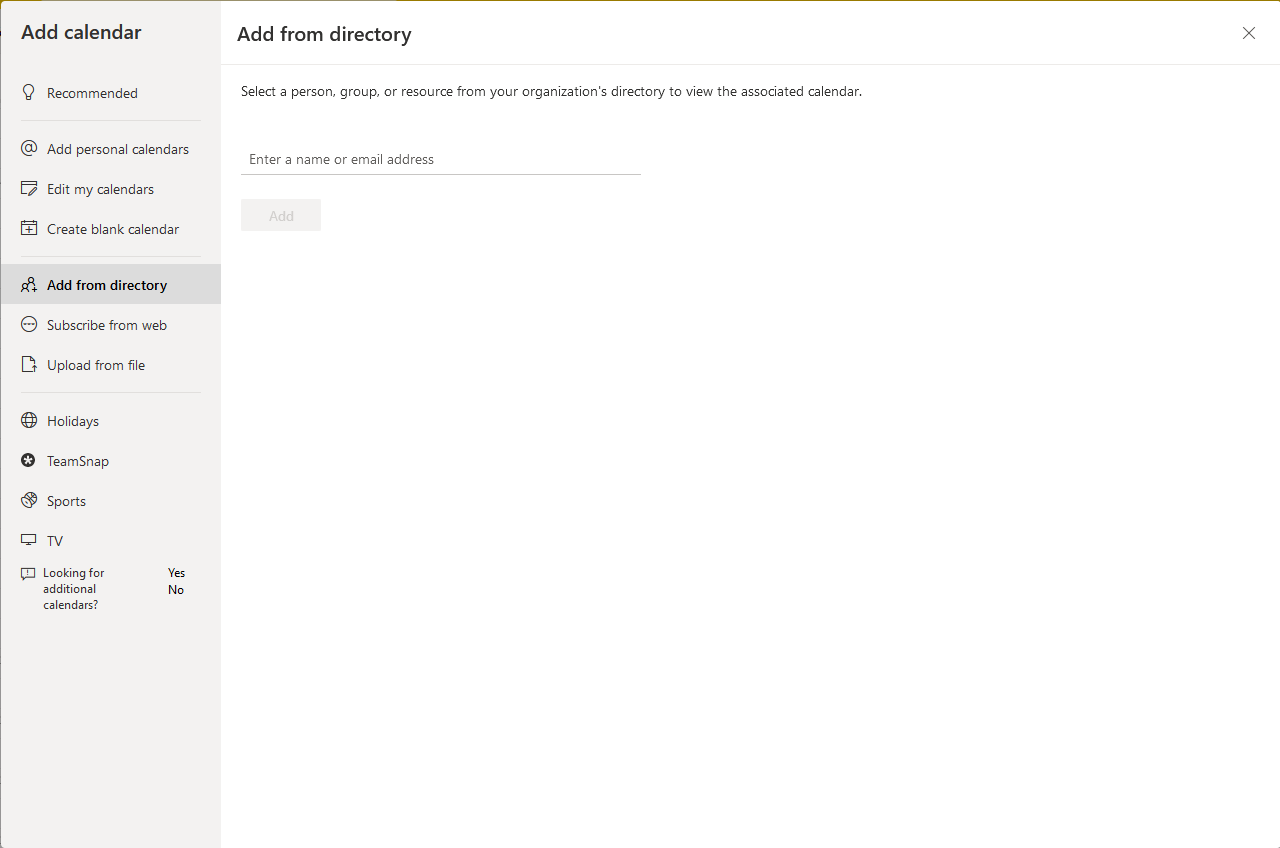
Step 16
On the screen, go to ‘Add from directory’ and enter the name or email address of the person whose calendar you want to add. The shared calendar will then appear in your list of calendars after adding.
-
If you prefer to delegate rights to your mailbox and calendar via the Outlook app, you can grant these rights via the app using the official Outlook manuals:
Windows:
MacOS:
- Add and manage delegates in Outlook for Mac
- Become a delegate or stop being a delegate in Outlook for Mac
Last modified: 15/02/2022