
Printers: Basic functionalities
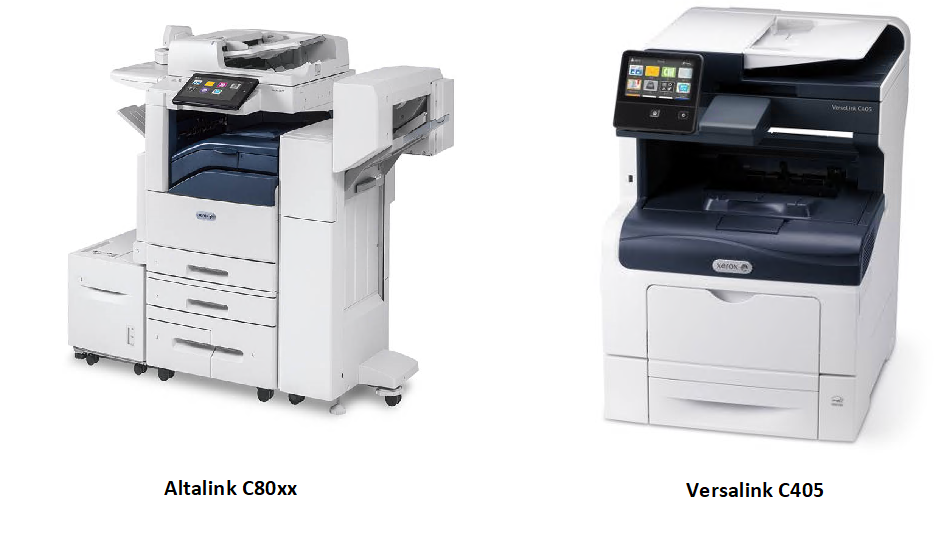
All over the university campus you will see Xerox Multifunctional. Mostly these are the big Multifunctionals from the AltaLink series, but in some cases a smaller table model is used. This is called the VersaLink. Both models generally work the same way. This manual explains the most used functions of these printers. On the Xerox website you can also find more information and instructions: https://utrecht.xnlmediaservices.nl/
From step 1: Printing
From step 7: Scanning (to email)
From step 15: Copying
From step 19: Copying ID card
-

Printing
-
Step 1
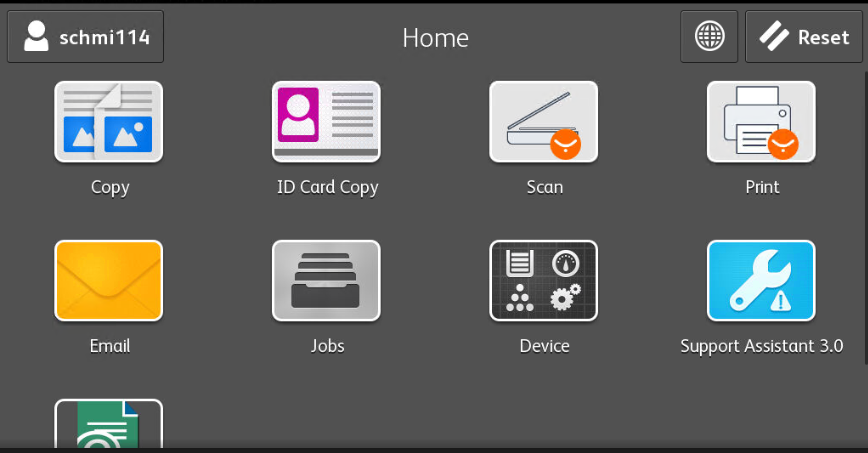
Press the icon “Print” in the top right to open the print menu.
-
Step 2
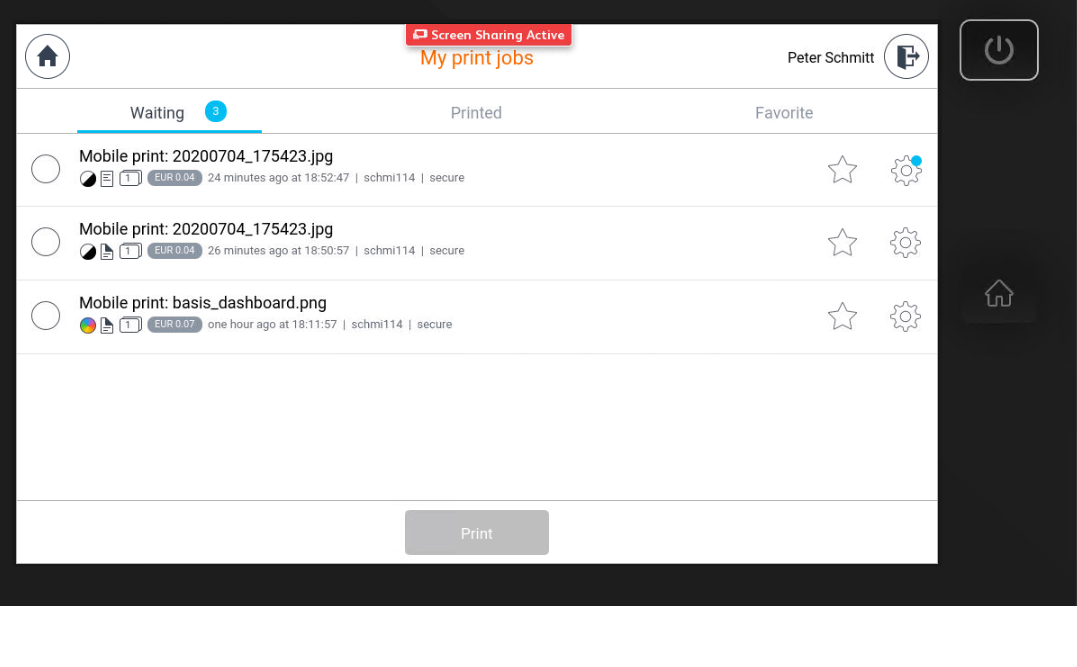
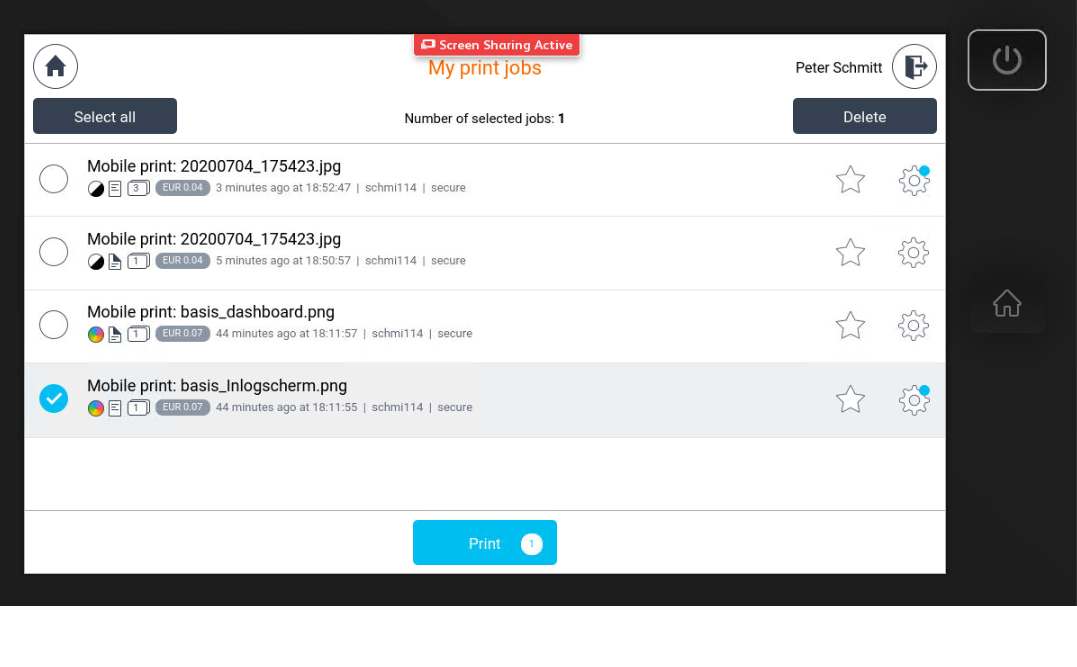
In the tab “waiting” you will see all the print jobs that are waiting to be printed.
On the image you see 3 print jobs with several properties below the name of the print job.
On the left of the price you will see (from left to right):
- a circle in black/white or color
- a sheet of paper with a folded corner (single or double sided printing)
- a square with a number inside (indicates the number of times the job will be printed)
Press the gear icon on the right of the print job to change these settings.
-
Step 3
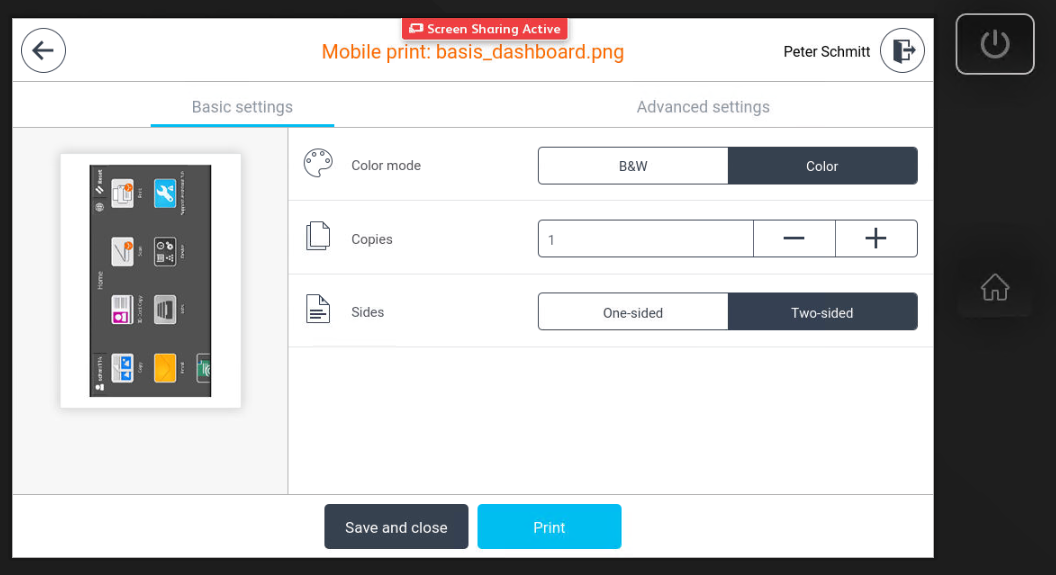
You can’t change a print job from black and white to color, but most settings are adjustable.
Via the “Advanced settings” tab you can choose to put staples in the document.
-
Step 4
When you select one print job from the queue, you will get the “select all” button. You can then choose to print the job(s) or delete them.
-
Step 5
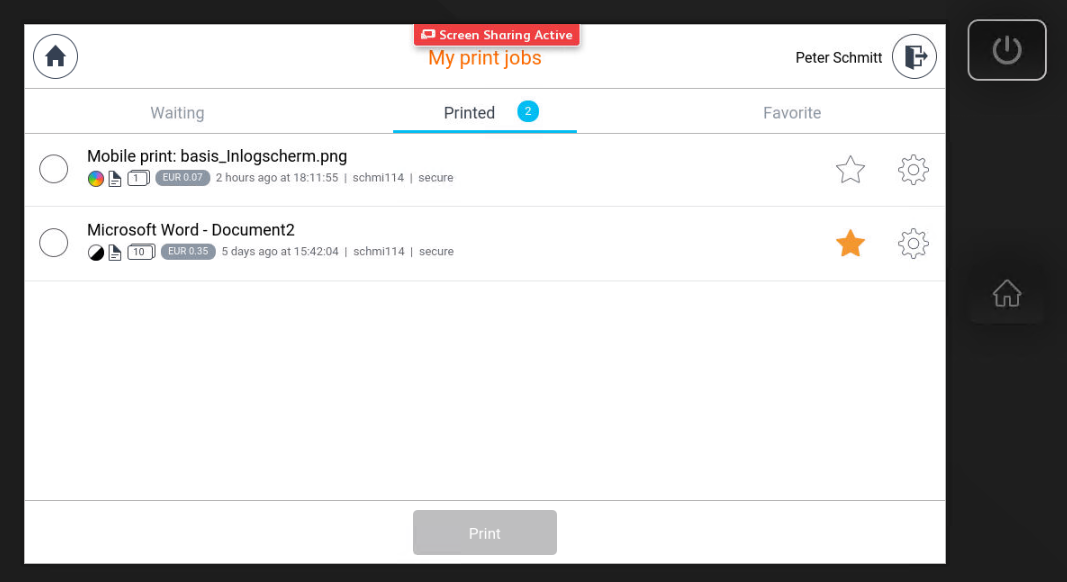
Once the job has been printed it can still be found in the “printed” menu for a short while.
Print jobs that haven’t printed due to a malfunction will also move to this queue. You then have the opportunity to print the file again on another multifunctional printer.
-

Step 6
You can also add documents to your favorites by pressing the star behind the document. This means it will be saved to your favorites list and can be printed at any time. Remove it from the list by pressing the queue again.
You can do this for documents in the ‘waiting’ queue or the ‘printed’ queue.
-
Scanning
-
Step 7
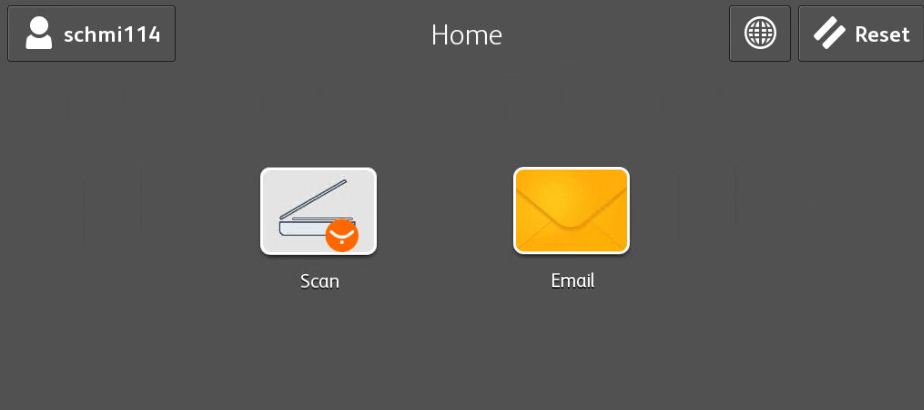
You have two options for scanning:
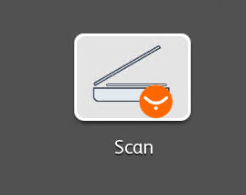
- The left icon: Scan. This is not suitable for large jobs because the generated scans are often bigger than the ones generated by the Email option.
- The right icon: Email. Here you have more options, for example OCR (text recognition) and archival standard scanning
-
Attachments larger than 20mb cannot be sent to an email address. See the Sharescan manual for larger scan jobs.
-
Restart the printer if it gets stuck due to too large a scan job.
-
Step 8
Put the document on the glass plate or the top loader.
Make sure there are no staples, pieces of tape or crooked corners in the paper when using the top loader.
-
Step 9
When choosing the “scan” option, you can only scan A4 or A3 size paper.
-
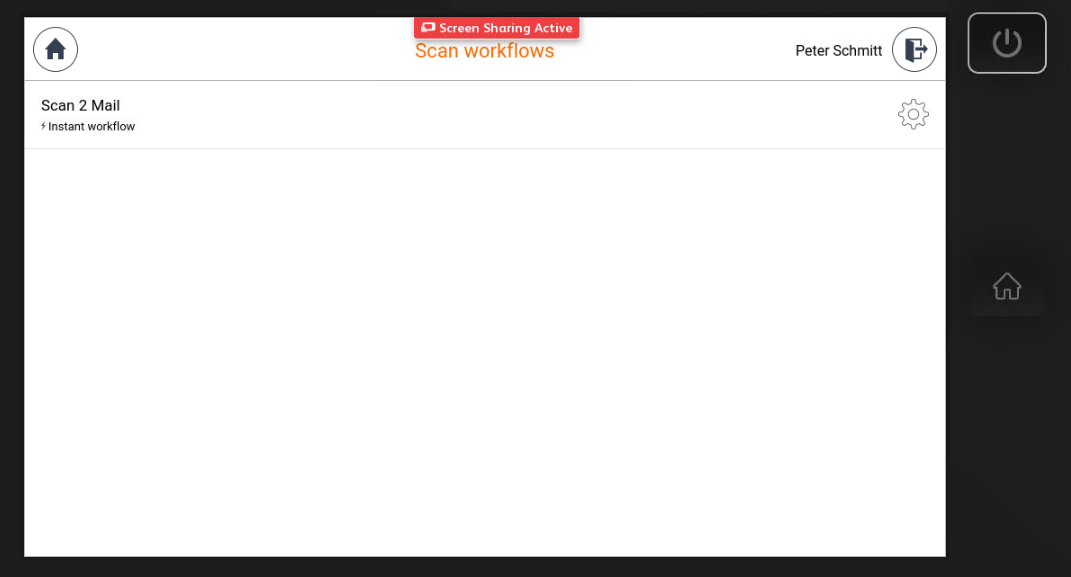
Step 10
Press “Scan 2 Mail” to scan directly, or on the gear icon to change the settings.
-
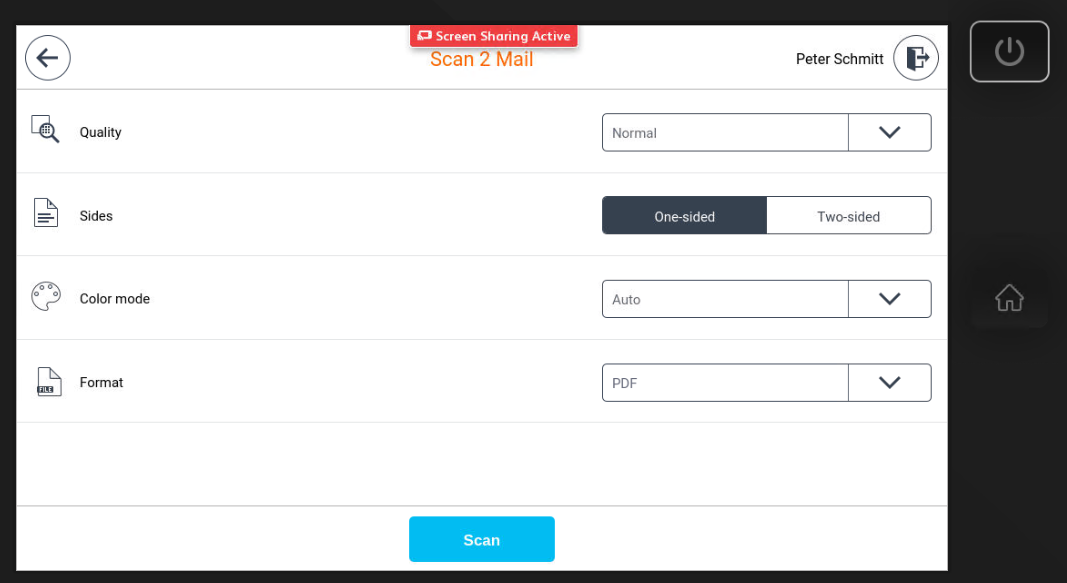
Step 11
The settings are limited to quality, double sided or not, color settings and document type.
Press “scan” to send it to your mailbox.
-
Step 12
The option “Email” provides more functionalities than the “Scan” option, for example the OCR feature for searchable scans, scan of a book with different paper sizes etc.
-
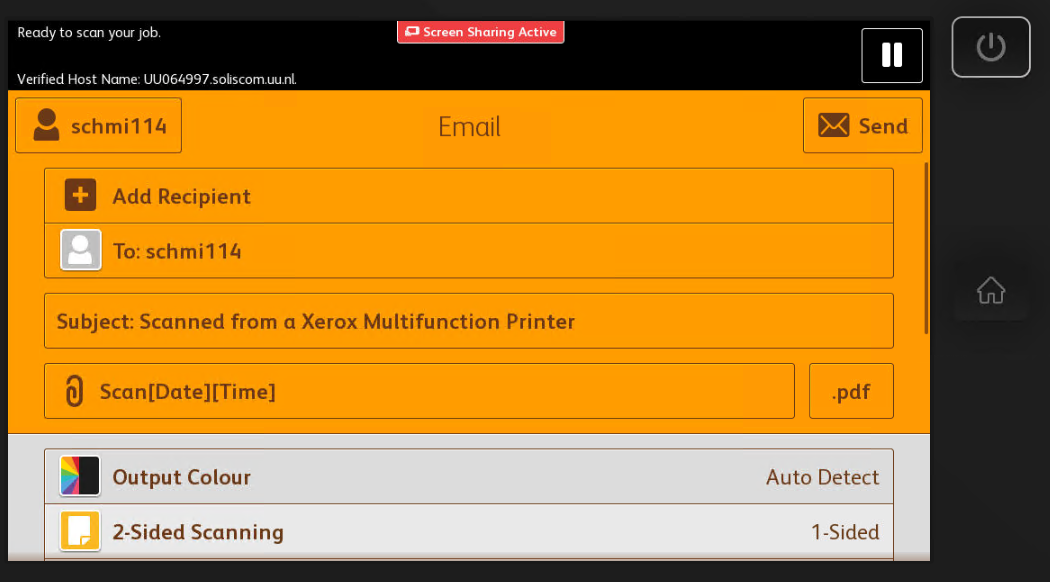
Step 13
Apart from the many adjustable properties you can send the scan to multiple addressees.
Scroll down for more options.
-
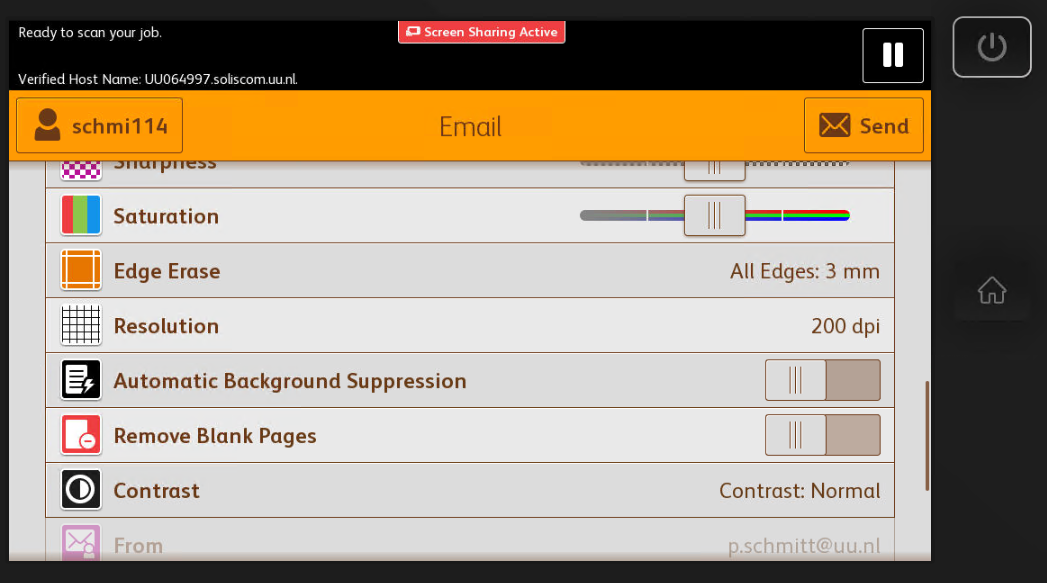
Step 14
Below ‘Additional features’ you will find DPI settings and extra useful options like skipping blank pages or suppressing black lines in the background.
-
Copying
-
Step 15
Put the document on the glass plate or the top loader.
Make sure there are no staples, pieces of tape or crooked corners in the paper when using the top loader.
-
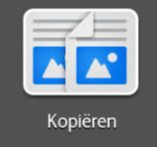
Step 16
Press “Copy”.
-
Step 17
You will see the menu ‘properties’ where you can adjust the number of copies, the color settings and other things.
Scroll down for more options.
-
Step 18
Press ‘start’ in the top left to start the scan.
-

If the paper format is not recognized automatically. Choose a preset scan area as indicated in the image. It could be caused by a irregular paper size.
-
Copying ID card
-
Step 19
Press ‘Copy ID card’.
-
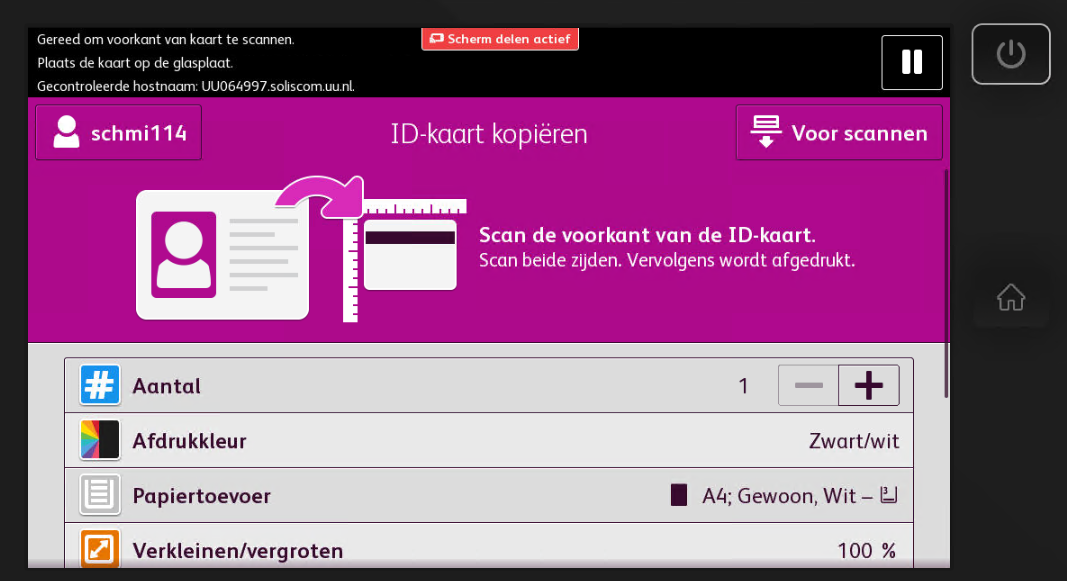
Step 20
Put your ID card in the top left corner of the glass plate. You can adjust several options like color and number of copies.
When the properties are as preferred, press ‘to scan’ in the top right corner.
-
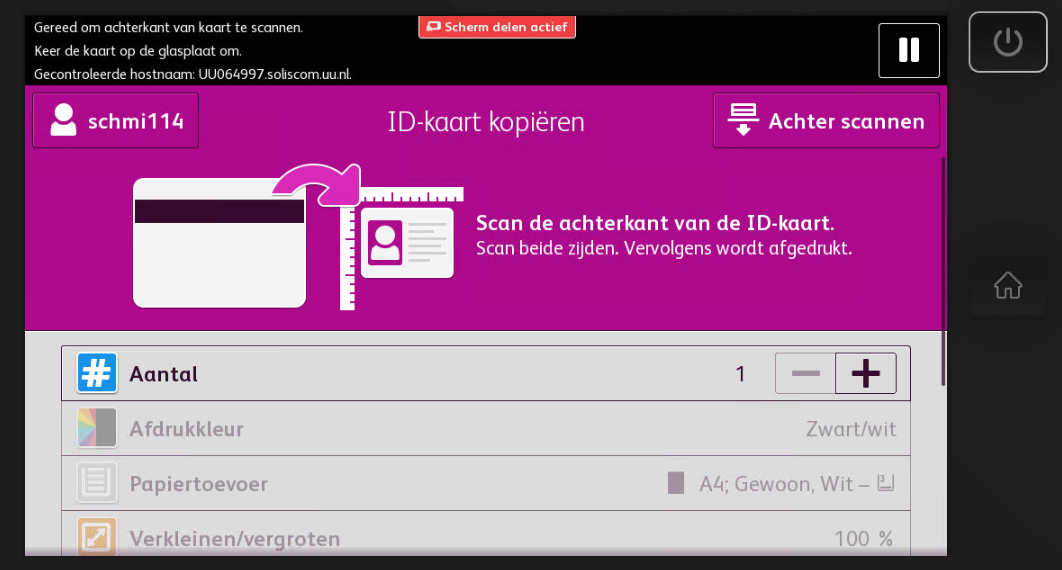
Step 21
Turn your ID card over when the display indicated this. Press ‘to scan’ to scan the back of the card.
-

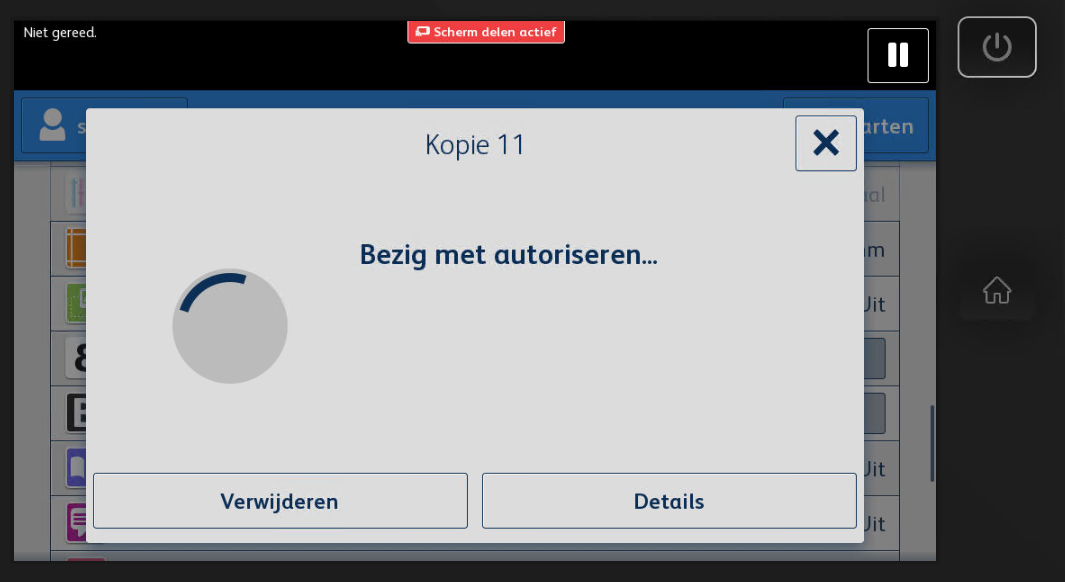
Step 22
You will see this notification that two originals have been scanned for 1 ID. your ID will now be copied.

Last modified: 12/09/2025