
Printers Xerox: IPP printing via MacOS
-

This print method based on the Internet Print Protocol (IPP) is recommended for Linux, Mac and Windows platforms. It gives you the same printing advantages as the UUBlack/UUColour.
-
You need to be connected to the UU network to follow this manual.
-
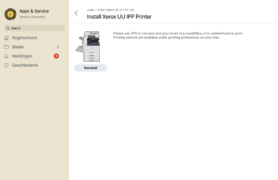
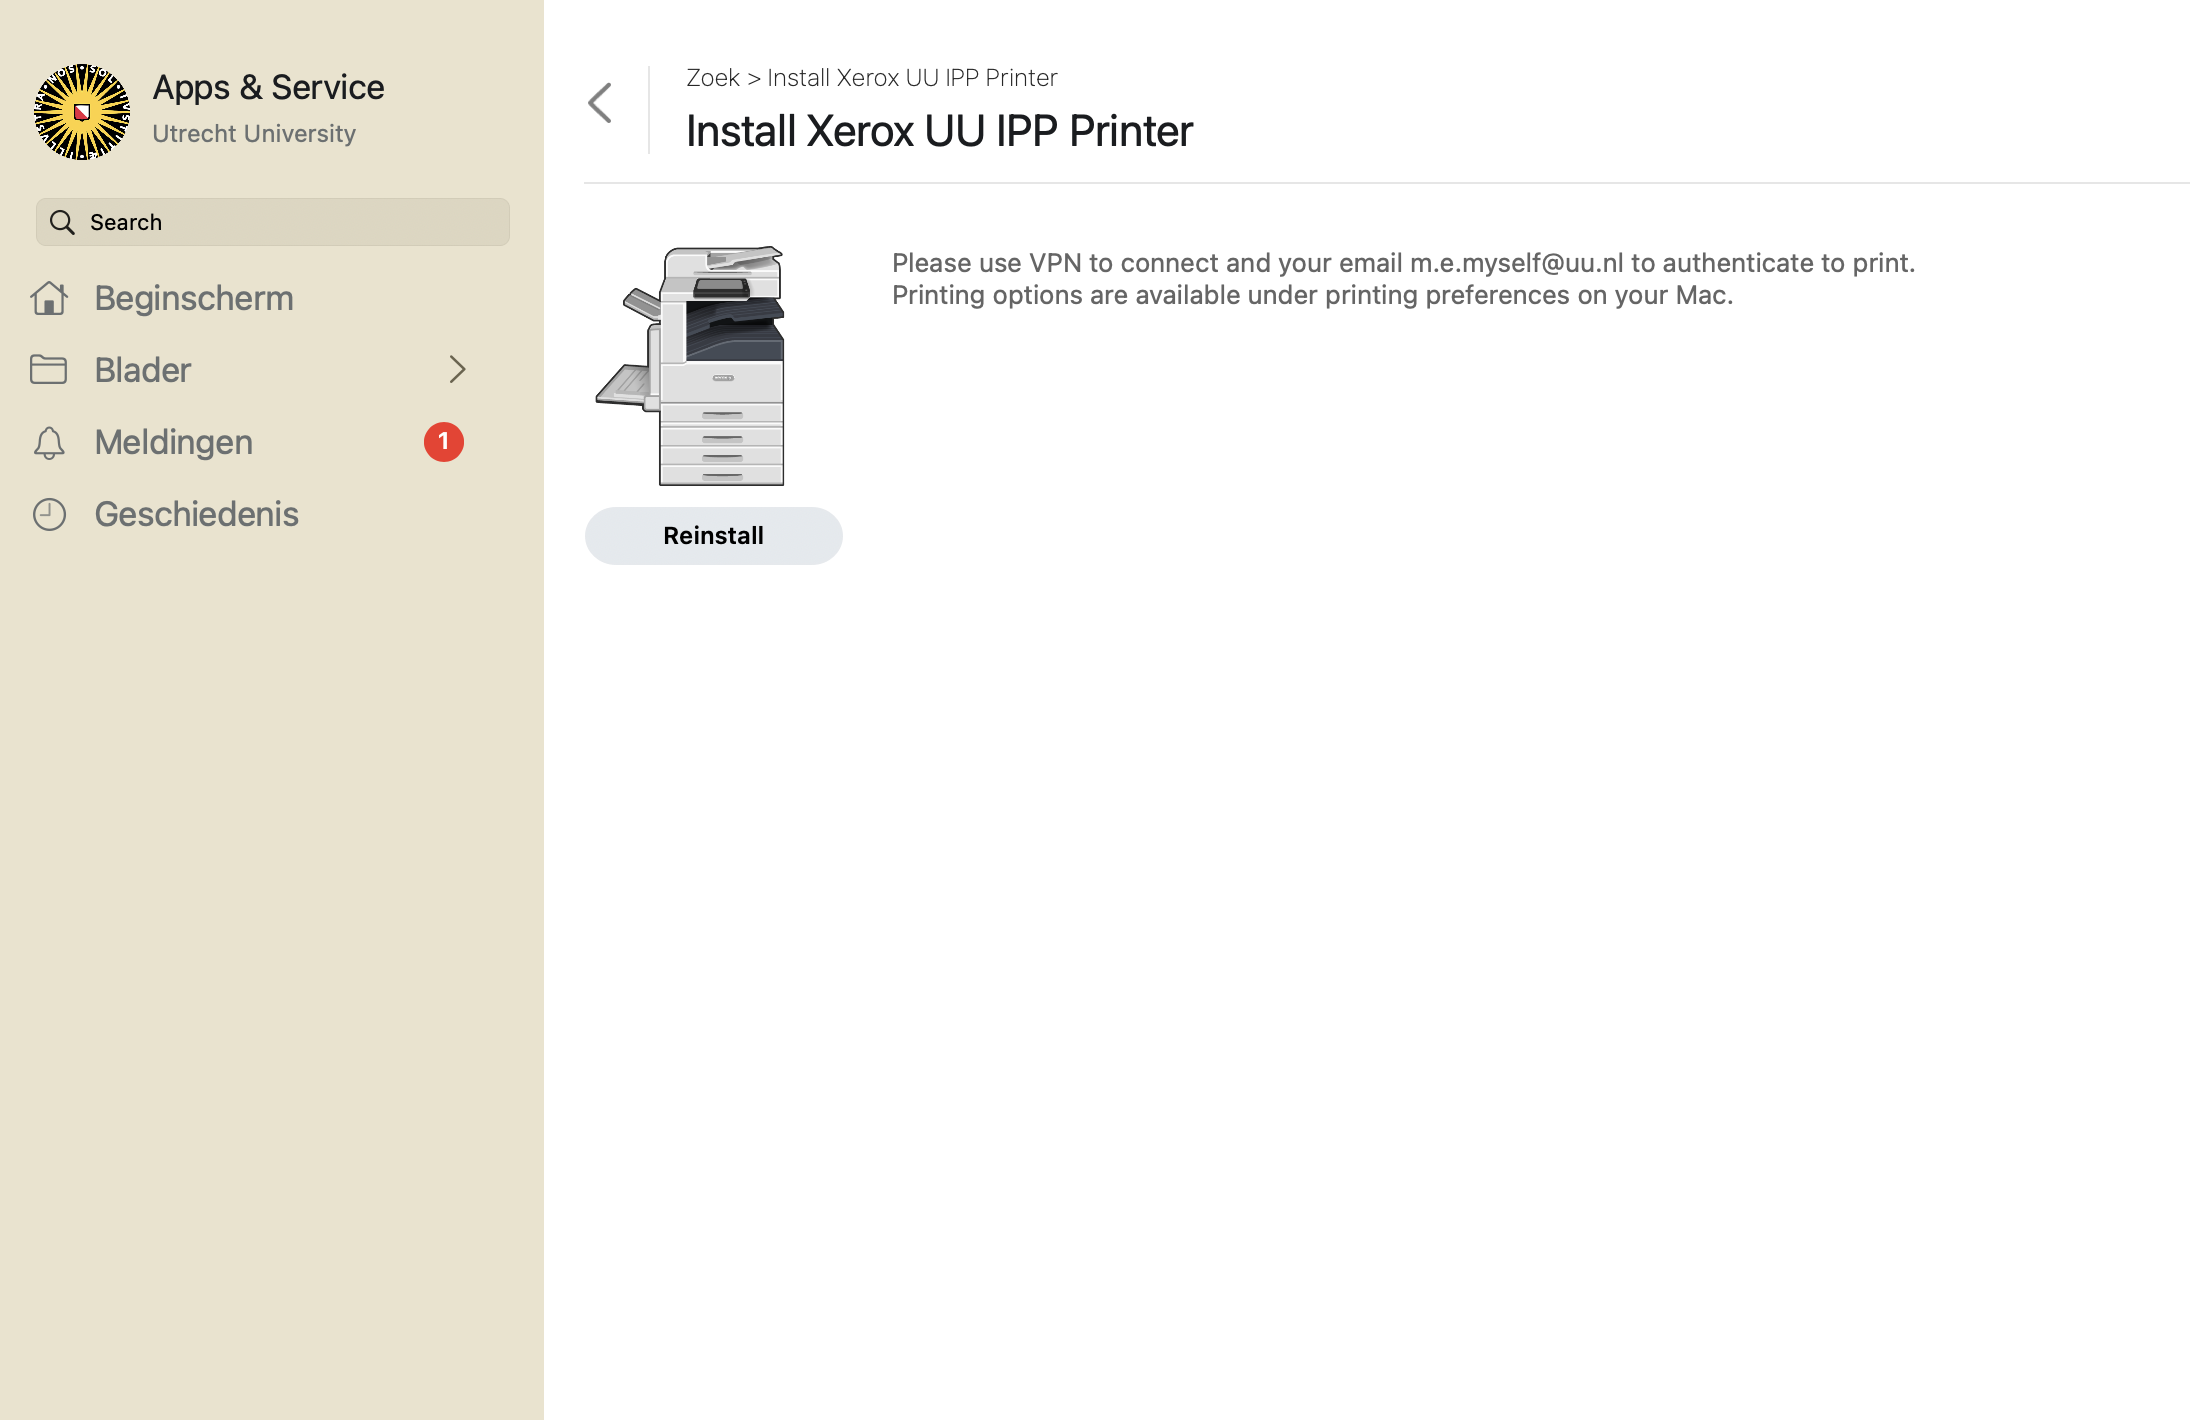
Do you have a managed Solis-Mac from UU? Then you don’t need to follow this manual. The printer can be found in the UU Apps & Service
-
Step 1
- Go to the Xerox drivers download site: https://www.support.xerox.com/
- Select your MacOS version and download the driver “MacOS Print and Scan Driver Installer”.
- In the DMG file you will find the PKG driver.
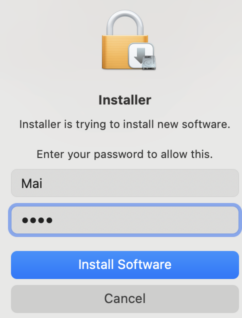
- During driver installation you must use your local user credentials.
- You cannot select/install a printer during this step.
- Press “Continue” until the installation is completed.
-
Step 2
- Go to “System Settings” > “Printers & Scanners” > “Add Printer, Scanner or Fax”.
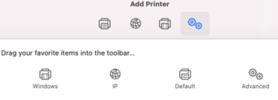
- Select “Advanced”. If this icon is invisible, see the FAQ below.
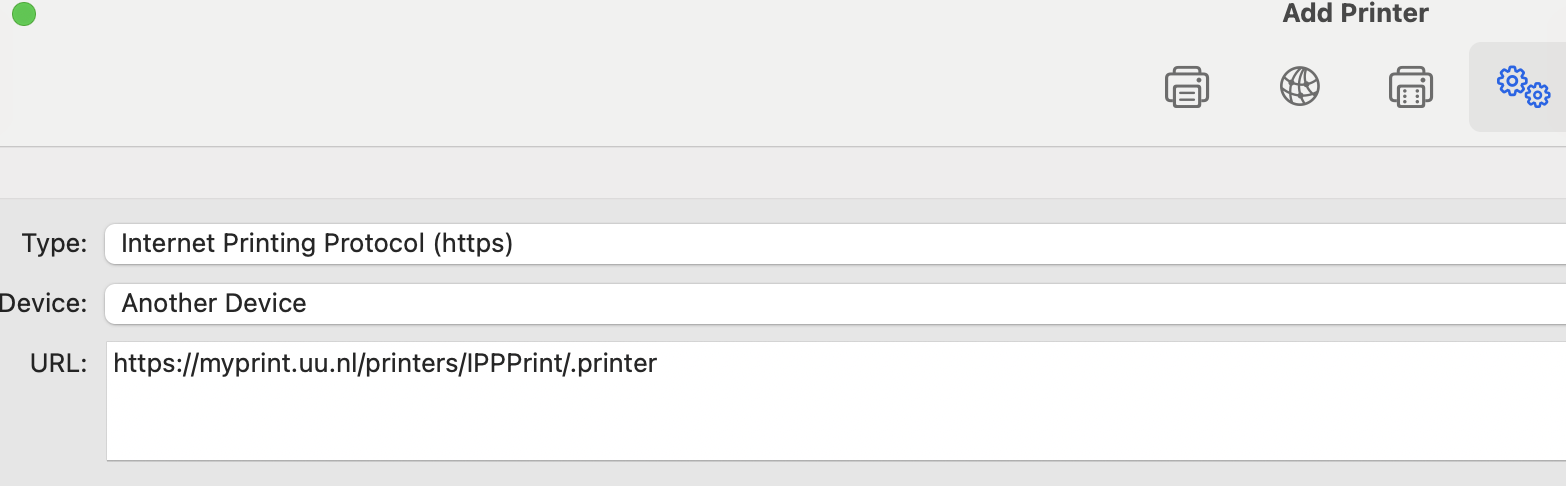
- Fill in the following information, or use “copy & paste”:
Type: Internet Print Protocol (https)
URL: https://myprint.uu.nl/printers/IPPPrint/.printer
printerName: IPPprint
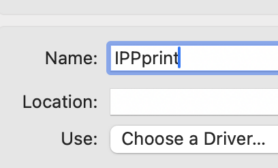
- Choose a driver, select software, e.g. “Altalink C8055” and click “Add”.
-
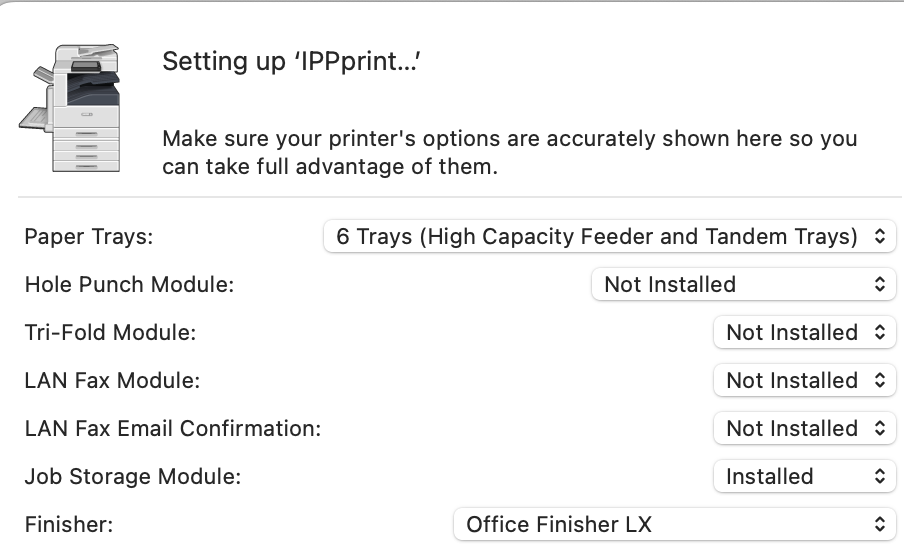
Step 3
When configuring a C8055 printer, enter the information below:
- Paper trays: 6 trays (High Capacity Feeder and Tandem trays)
- Finisher: Office Finisher LX
If you only see 2 or 3 trays, the printer driver may be damaged. Then reinstall the latest driver version.
-
Step 4
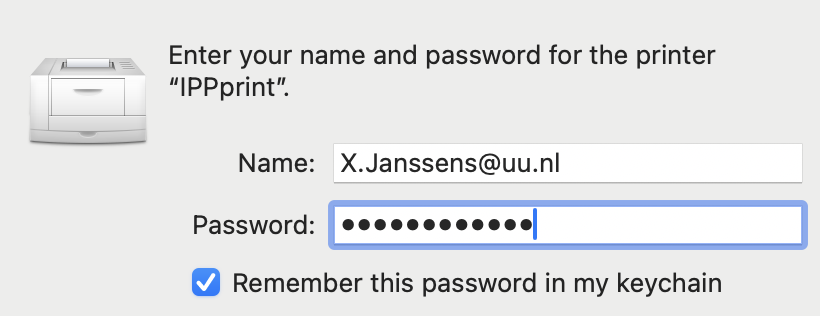
When sending a print job to the printer, use your solis ID.
Depending on the limitations of your solis account and operating system version, you can use one of the following login formats when connecting to a printer. E.g.:
- UU email: X.Janssens@uu.nl
- long solis: Janssens101@soliscom.uu.nl
- short solis: soliscom\Janssens101
See the FAQ below for errors such as “Hold for Authentication”.
-

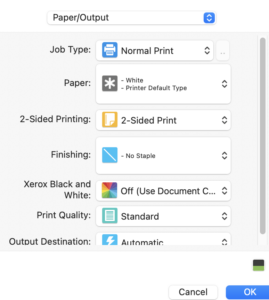
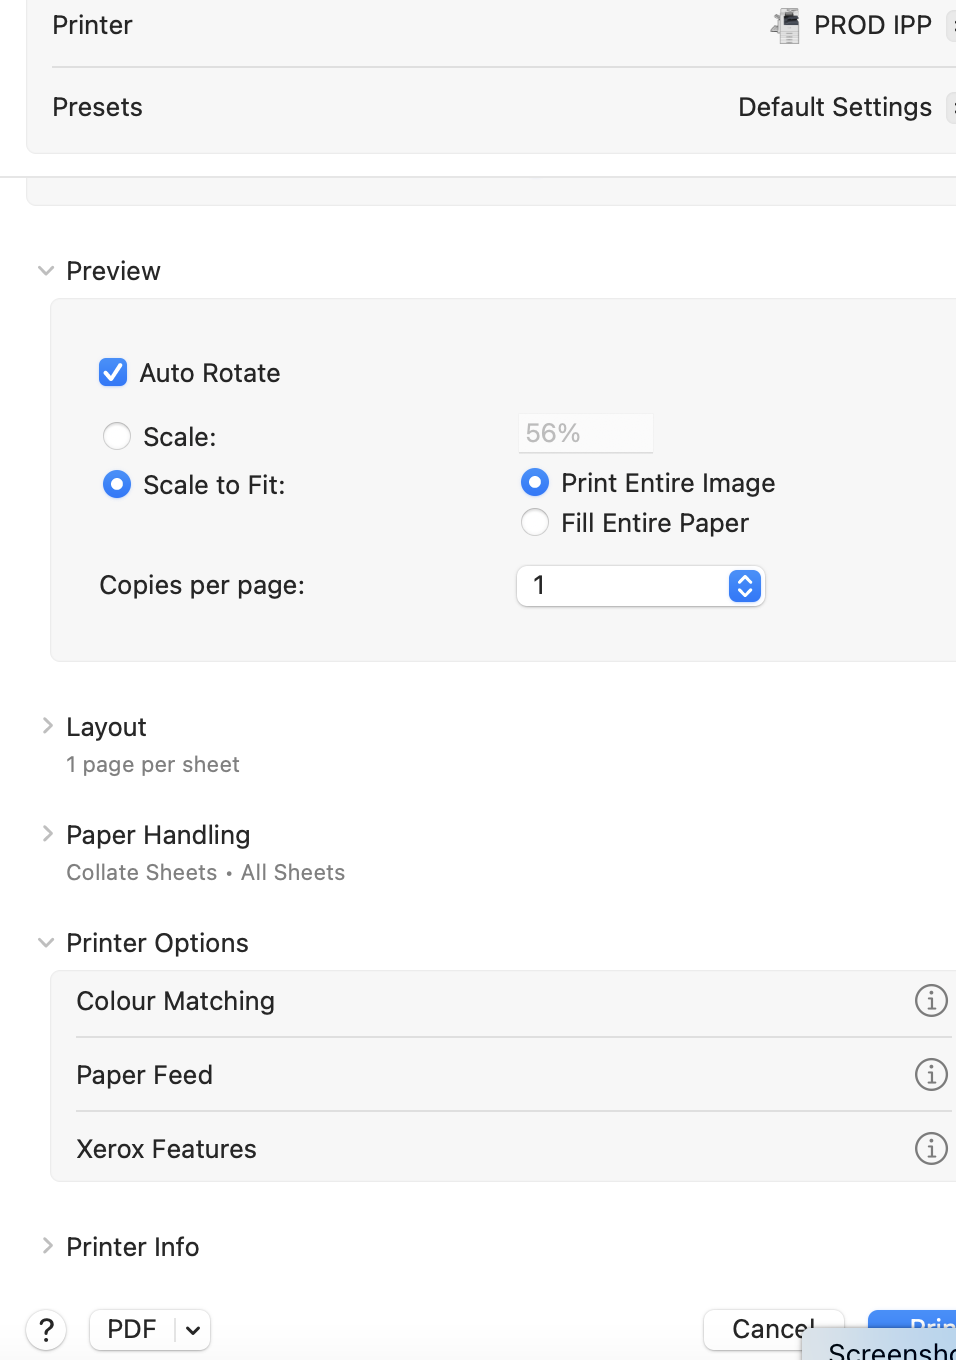
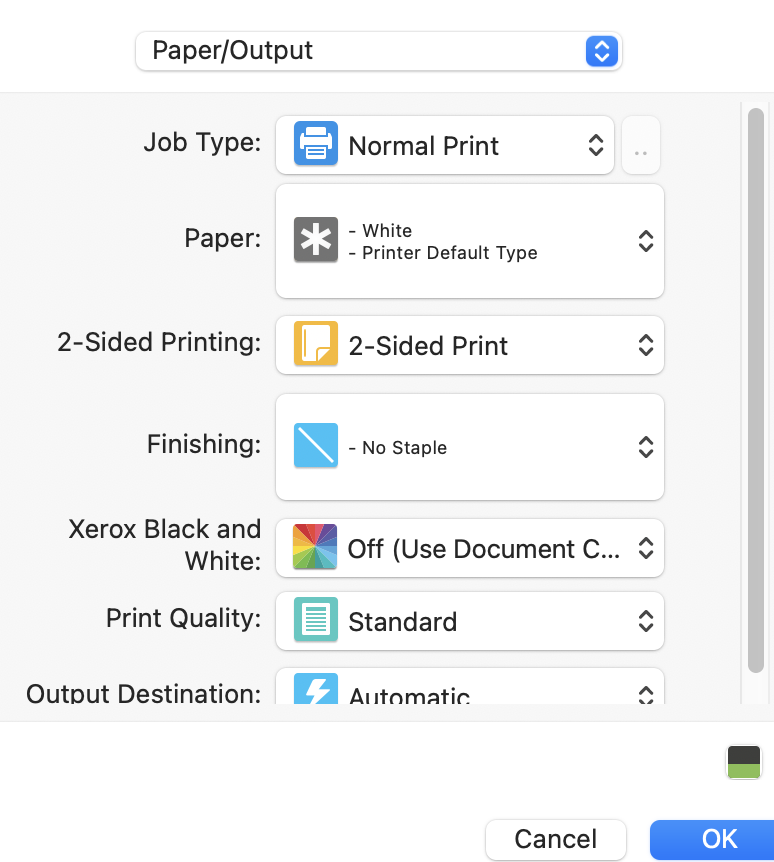
Open your document > Print > select the IPP printer > scroll down to “Printer Options”> Xerox Features > Paper Output > Finishing
If this option is not visible, then check if the correct finisher is installed (zie step 3 above).

In the area of the “Add Printer” toolbar, next to the other icons, press Control + right-click, select “Customize Toolbar”. Drag the “Advanced” icon to the toolbar “Add Printer”. Press “Done”.

Click the authentication button (lock symbol) on the right-hand side of the paused job, beside the Delete button. When prompted, fill in your Solis credentials.

Still not solved? Other possible causes:
- Open the Keychain and check your Solis password. If this is correct, then delete the printer, cancel the print job and retry.
- The login format has not been accepted by the printing system. Try a different format (see step 4).
- The printer driver may have become damaged. Removing and re-adding the printer may help.
Resetting the entire printing system is also an option. However, all printers will then be deleted.
This error can be caused by a corrupt printer driver. Install the printer again, with another copy of the driver.
Last modified: 25/07/2026