
Teams: online classes (Student)
If you’re a student at the UU you can follow online classes. These instructions contain five sections:
Part 1: Installing Teams
Part 2: Opening Teams and signing in
Part 3: Participating in an existing Teams (class)
Part 4: Following online classes
Part 5: Additional functionalities of Team
-
Step 1
Part 1: Installing Teams
-

Step 2
Go to https://teams.microsoft.com/downloads and click ‘Download Teams’
-
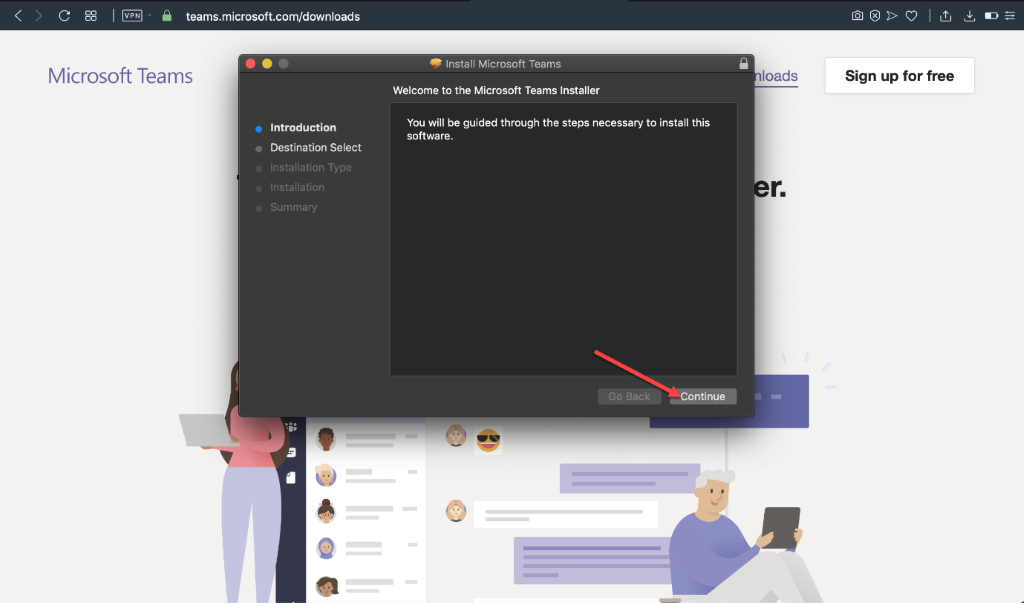
Step 3
Open the downloaded file and click ‘Continue’.
-
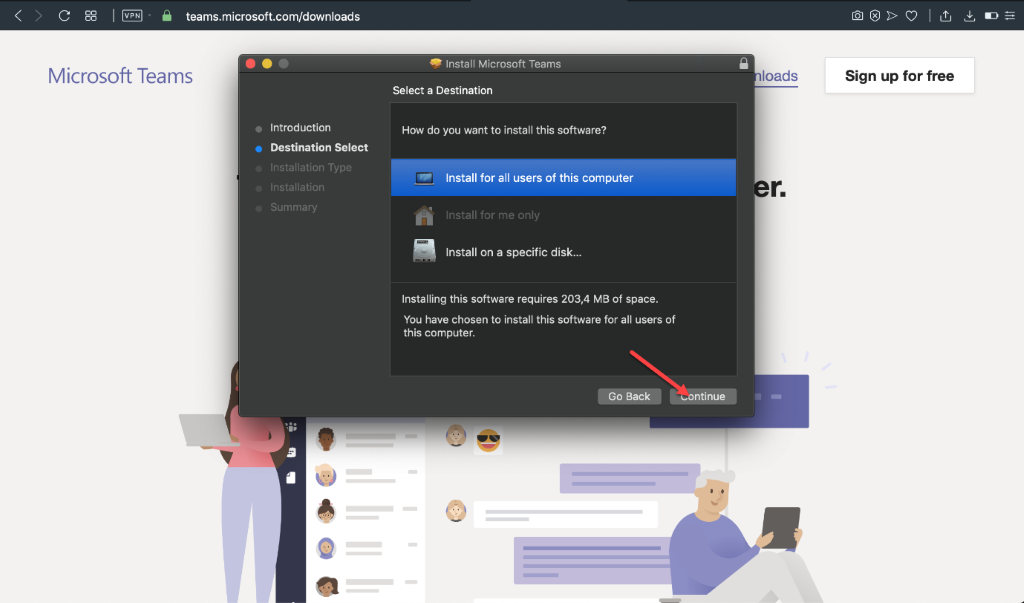
Step 4
Select how you want to install the software and click ‘Continue’.
-
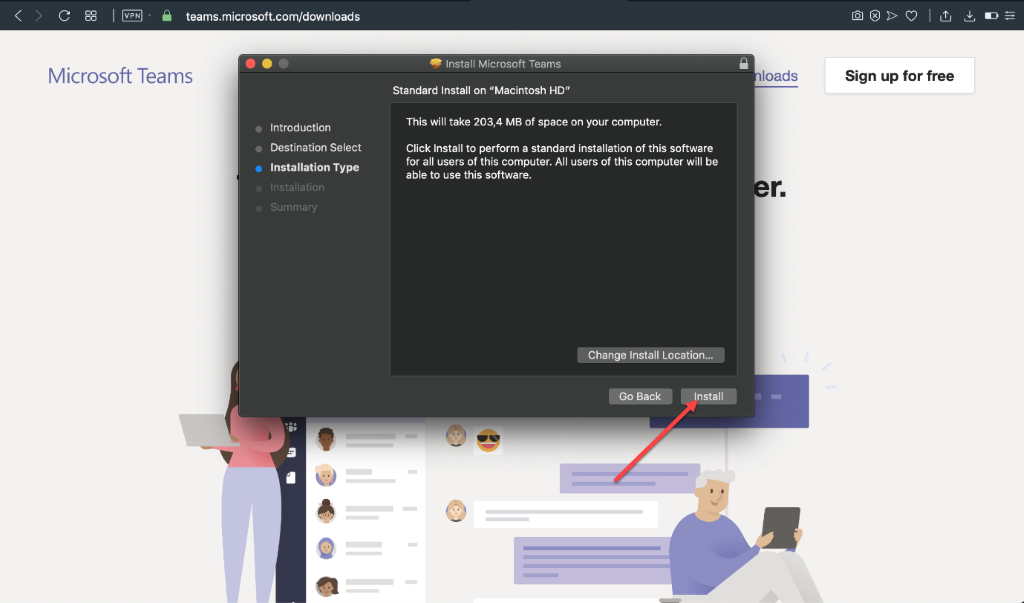
Step 5
Select the location where the application is to be installed and click ‘Install’.
-
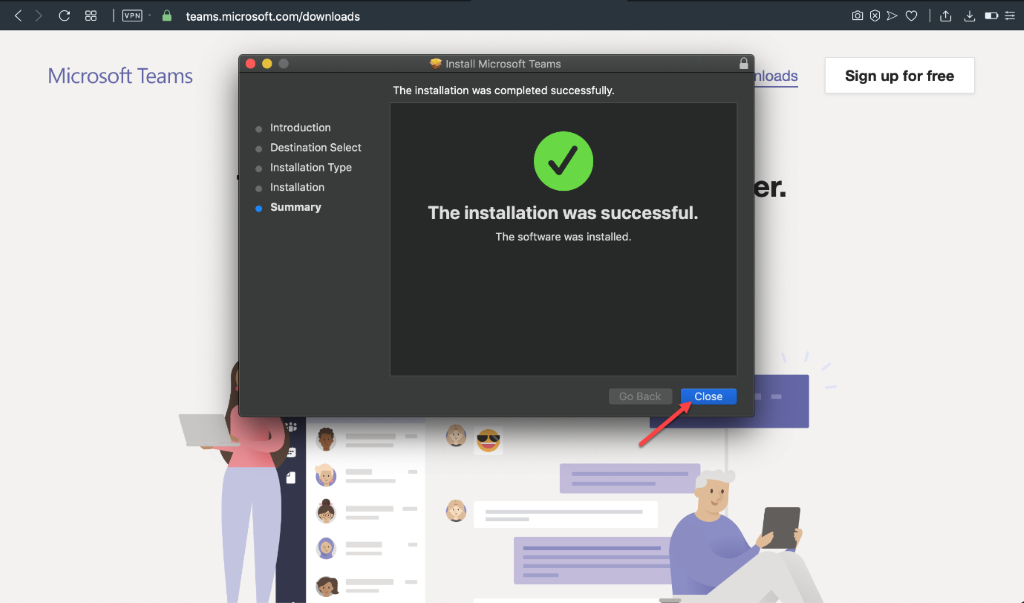
Step 6
Click ‘Close’.
-
Step 7
Part 2: Open Teams and sign in
-

Step 8
Use your UU email address when signing in. Microsoft Teams will recognize this and link it to your Solis-id.
-

Step 9
Sign in with you email address and password.
-
Step 10
Part 3: Participating in an existing Team (Class)
-
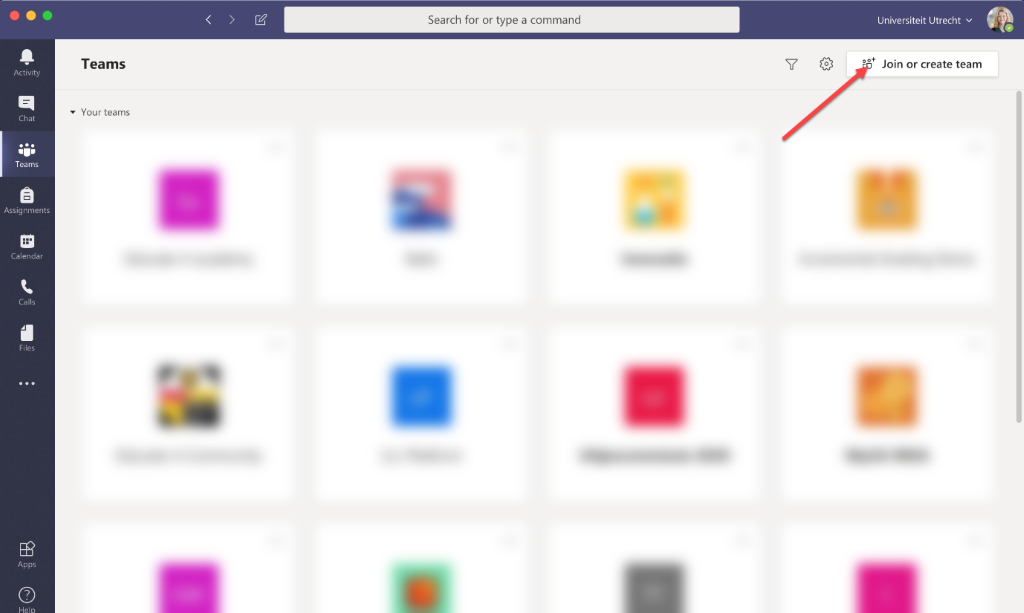
Step 11
Click [Join or create team] in the top right corner.
-
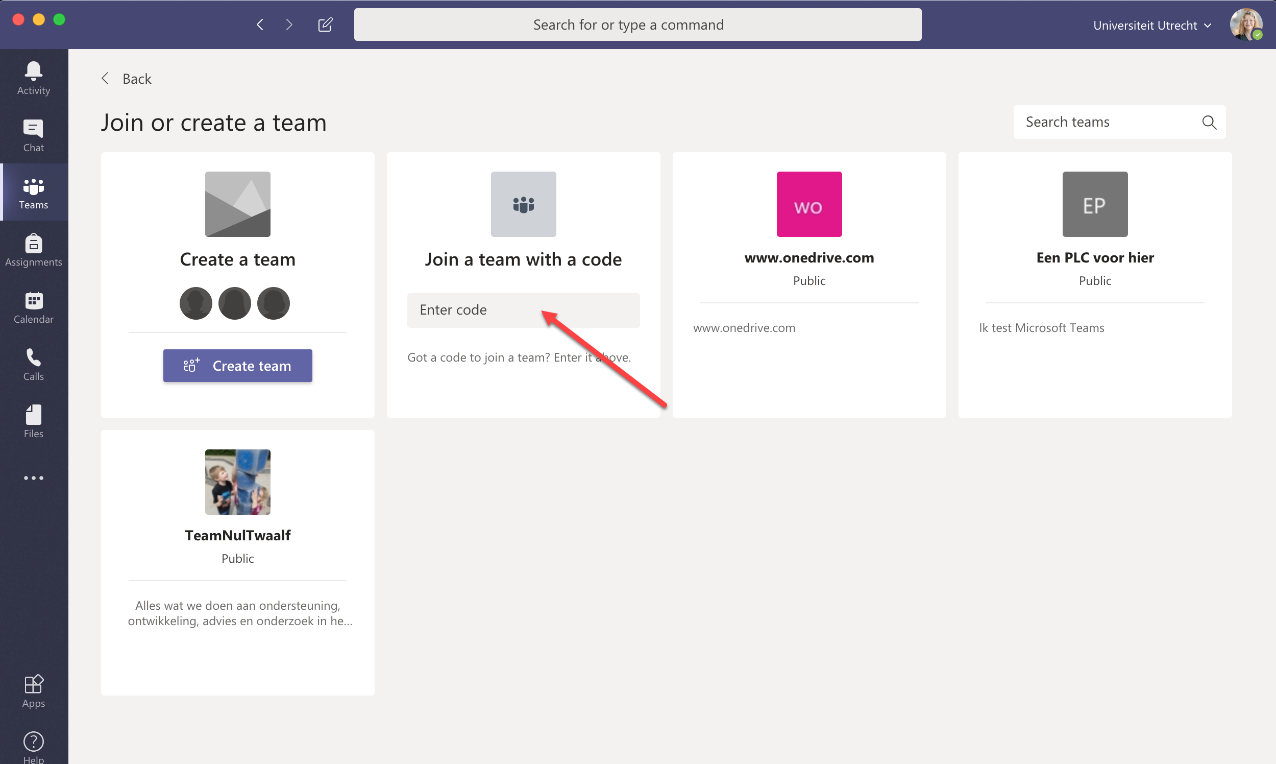
Step 12
It is possible to create a new Team or join an existing team with a class code. Select [Create team] if you would like to create new Teams with, for example, fellow students.
If you would like to join another Team, enter the code provided by your teacher or a classmate. -
Step 13
Part 4: Following online classes
-
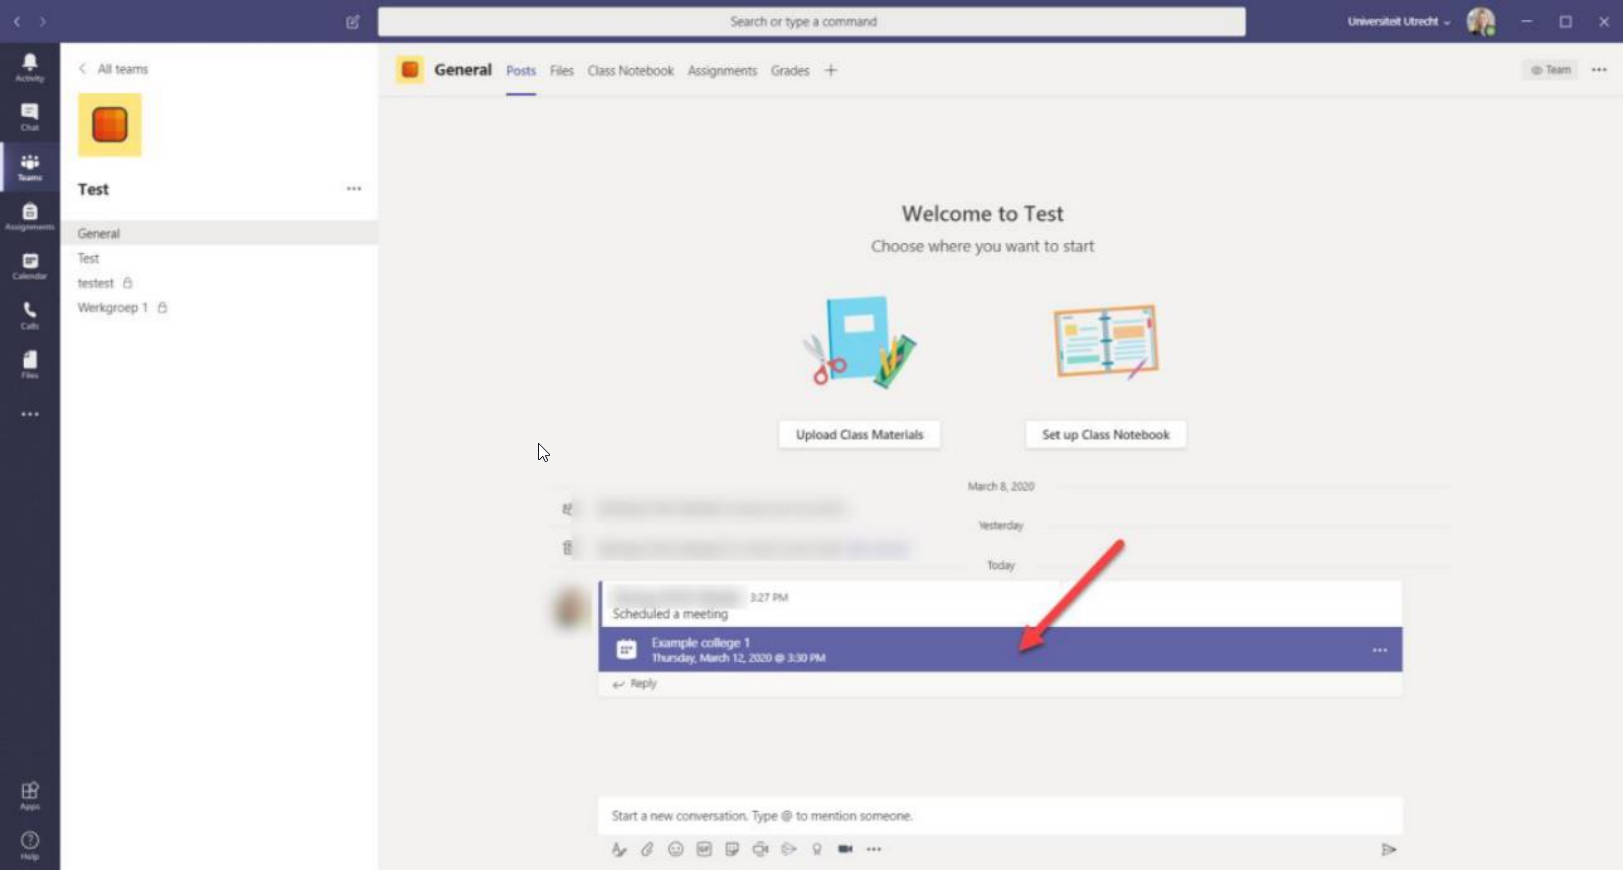
Step 14
Your teacher will start a ‘meeting’ in the ‘Posts’ tab of the General channel (or in the Work group channel,
if used).Select the meeting.
-

Step 15
Click ‘Join’.
-
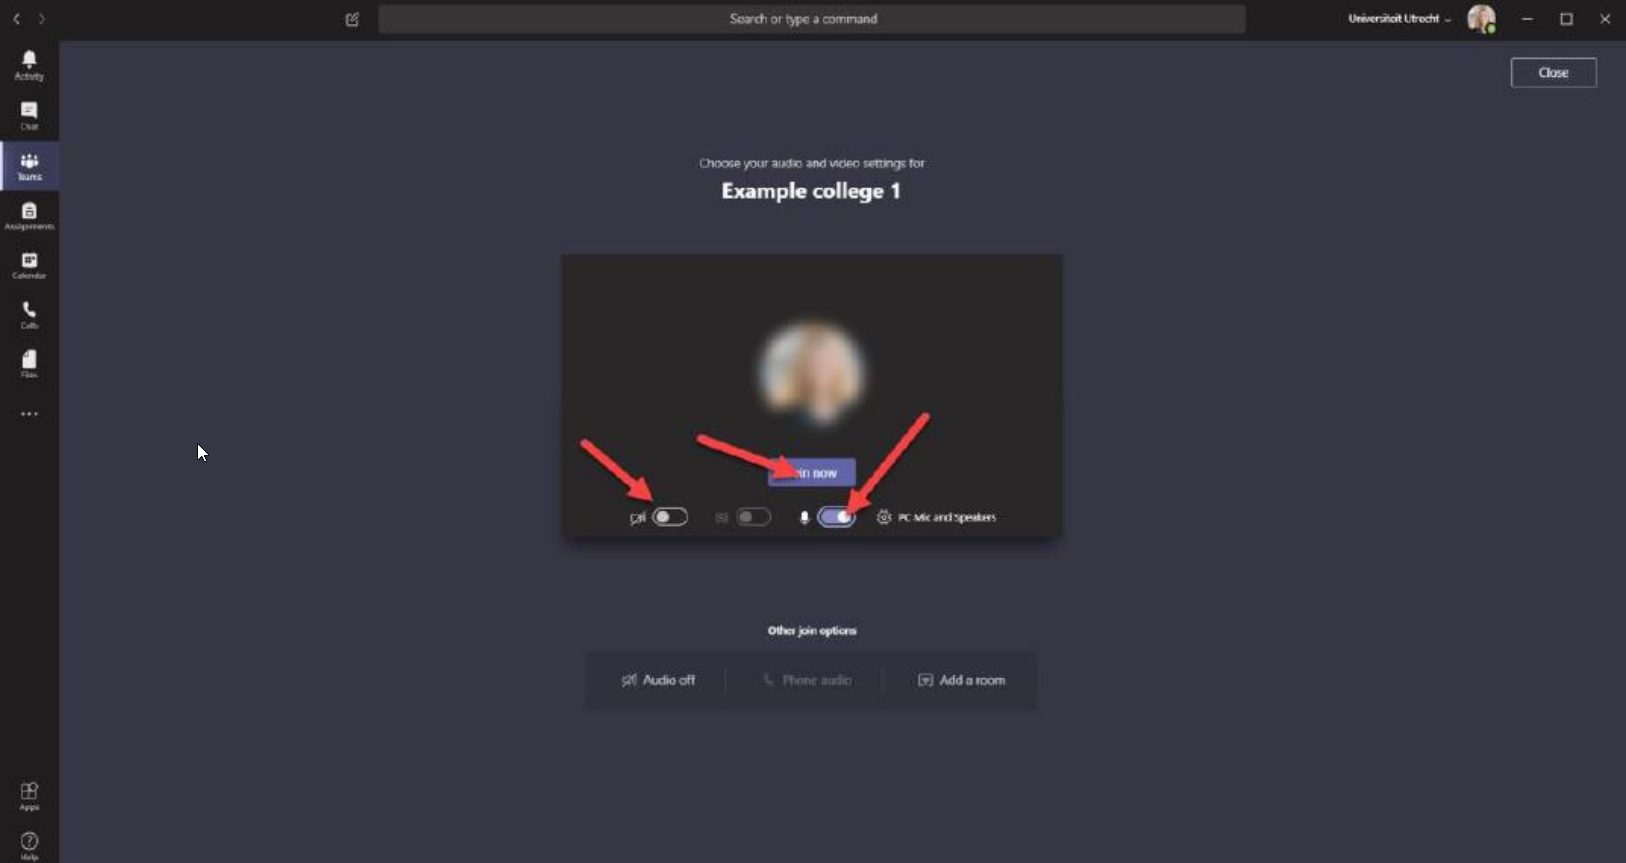
Step 16
Make sure you disable your webcam and microphone before joining the meeting. Afterwards join the meeting by clicking ‘Join now’.
-
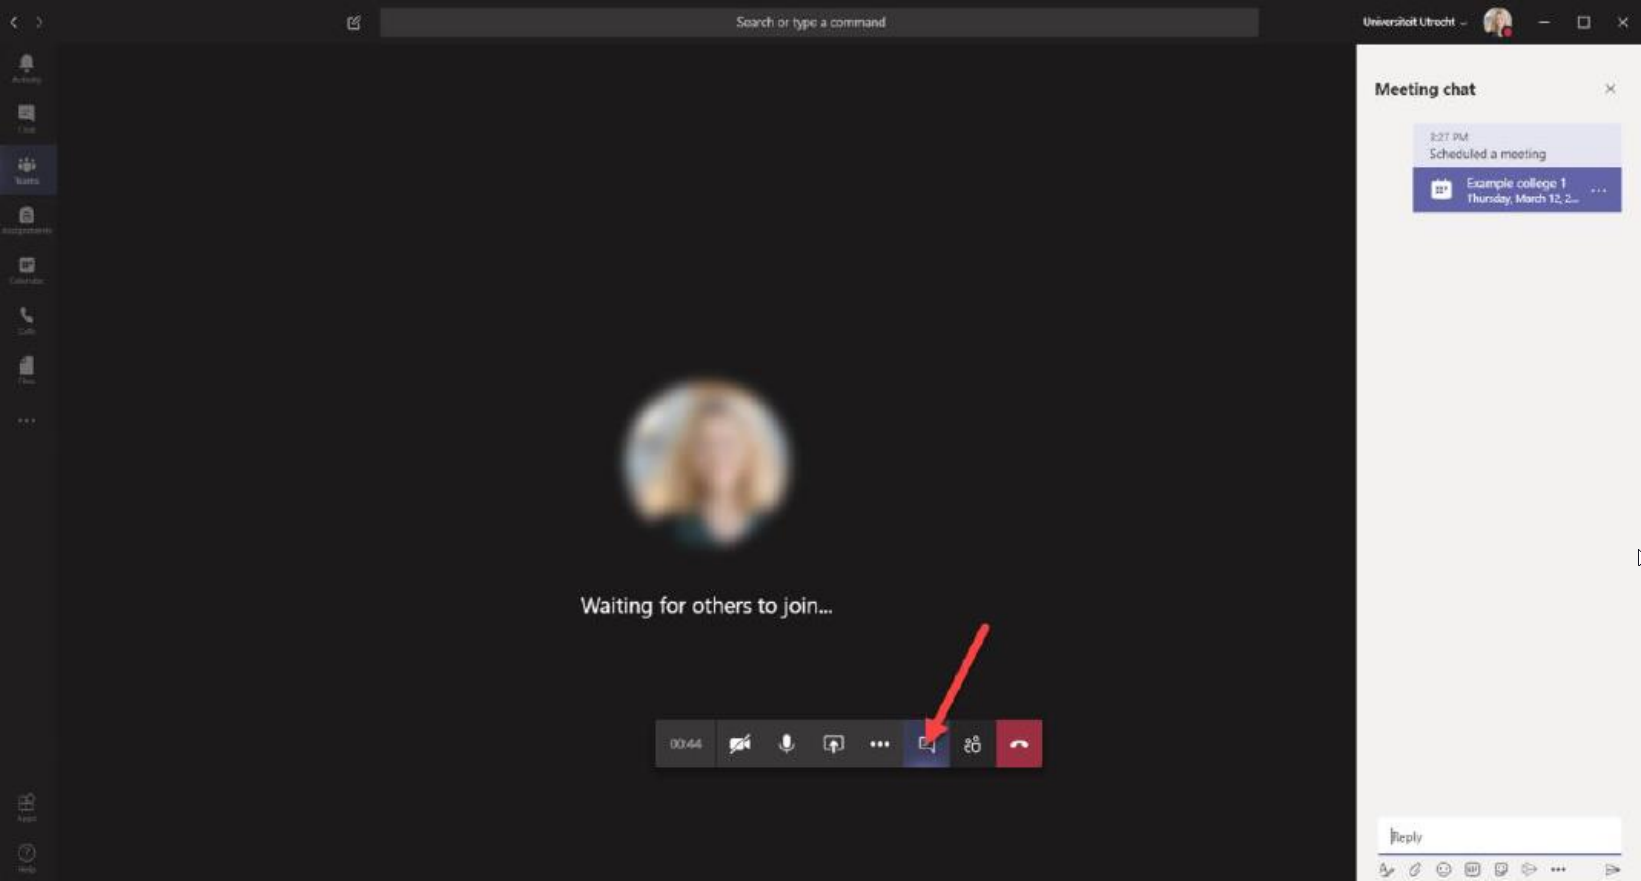
Step 17
The ‘meeting’ will look like this. You can communicate with all participants using the chat function.
-
Step 18
Part 5: Additional functions of Teams
-
Step 19
Dashboard and Chat
The different teams you have been added to are listed on your personal dashboard.
When you open a team, you will first see the following screen. You can find the menu on the left side of the screen. For example, it is possible to make video calls or chat with each other via the ‘Calls’ or ‘Chat’ button.Under the ‘Posts’ tab is a shared chat. A joint video meeting can also be started here. Click on the icon with the video camera.
-
Step 20
Files
At the top is the ‘Files’ tab. Here you can collaborate in documents.
When working in documents that are public, this is visible to everyone. Multiple people can work together in one document. There is a chat function in Word for easy consultation during editing.It is possible to work in the desktop app (Word) when it is installed on the computer. This can be opened from teams by clicking on the three dots in the top right corner. Changes made in the
desktop app will also appear in the Teams. -
Step 21
Notebook
There is also a ‘Class notebook’ tab that the teacher can use to share documents. Within a Notebook, information can be shared in different ways:
o Collaboration Space:
Here teachers and students can edit the content of the documentso Content Library:
Teachers have the rights to edit the content, students can only view the contento Student Notebooks:
Each student has their own notebook in which they can work. The teacher can see all the content. Students cannot view each other’s notebooks. -
Step 22
Assignments
The teacher may place assignments under ‘assignments’.
-
Step 23
Chat message
In the menu on the left you can find the ‘chat’ icon. On the left is an overview of the most recent chats and suggestions for contacts. Here you can click on a contact to start a chat. It is possible to search for new contacts under ‘Contacts’.
In the top menu bar, you can change the name of a chat, attach documents and add tabs. You can start a video or audio call and add participants to the chat directly from the header. -
Step 24
Calendar
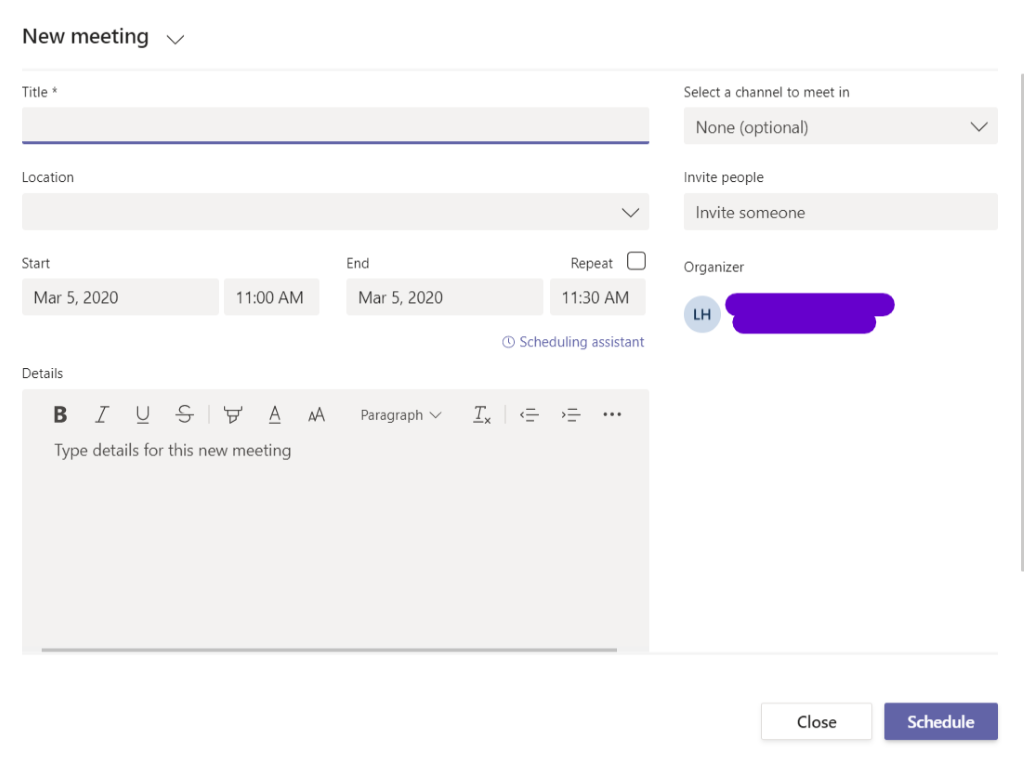
When you navigate to the calendar you will see the group calendar. Teams uploads your personal calendar (which is linked to your UU email) directly to this agenda. It is possible to schedule a new appointment (such as an online meeting) by clicking on [+ New Meeting].
Enter a title, any location, description and start and end time. Add recipients under ‘Invite someone’. -
Step 25
Calls
Under the ‘Calls’ tab you can find an overview of all incoming and outgoing video and audio calls.
-
Step 26
Additional questions about the ue of Teams van be asked through https://uu.topdesk.net. You can create a new call in the category ‘(Web)Applications’ and then subcategory ‘Microsoft 365’. Select ‘Microsoft 365: Nieuwe melding’ to create a new call.
Last modified: 14/07/2023