
Two-Factor Authentication: Setting up a Yubikey
Do you want to use a Yubikey as 2FA method instead of a smartphone? Then follow the steps below to set this up.
-

The Two-Factor Authentication: FAQ page tells you how to request or buy a Yubikey.
-
- Employees can only obtain a Yubikey from the UU in exceptional cases. Please contact IT Support for more information about the approval process.
- Students can buy Yubikeys themselves via https://www.yubico.com/
- Please note: To set up 2FA, you must use the YubiKey 5 NFC or variants of this model. Other versions of the YubiKey are not supported.
-

Step 1
- Log in to https://mysolisid.uu.nl with your Solis ID and password
- Click on “Two-factor authentication”
- Proceed by clicking on “Get started”
-
Step 2
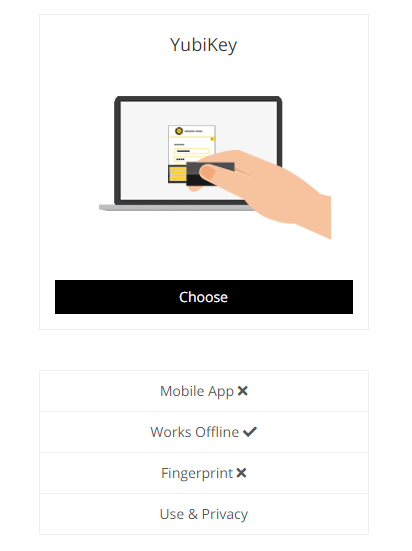
Click on “Choose” at Yubikey
-
Step 3
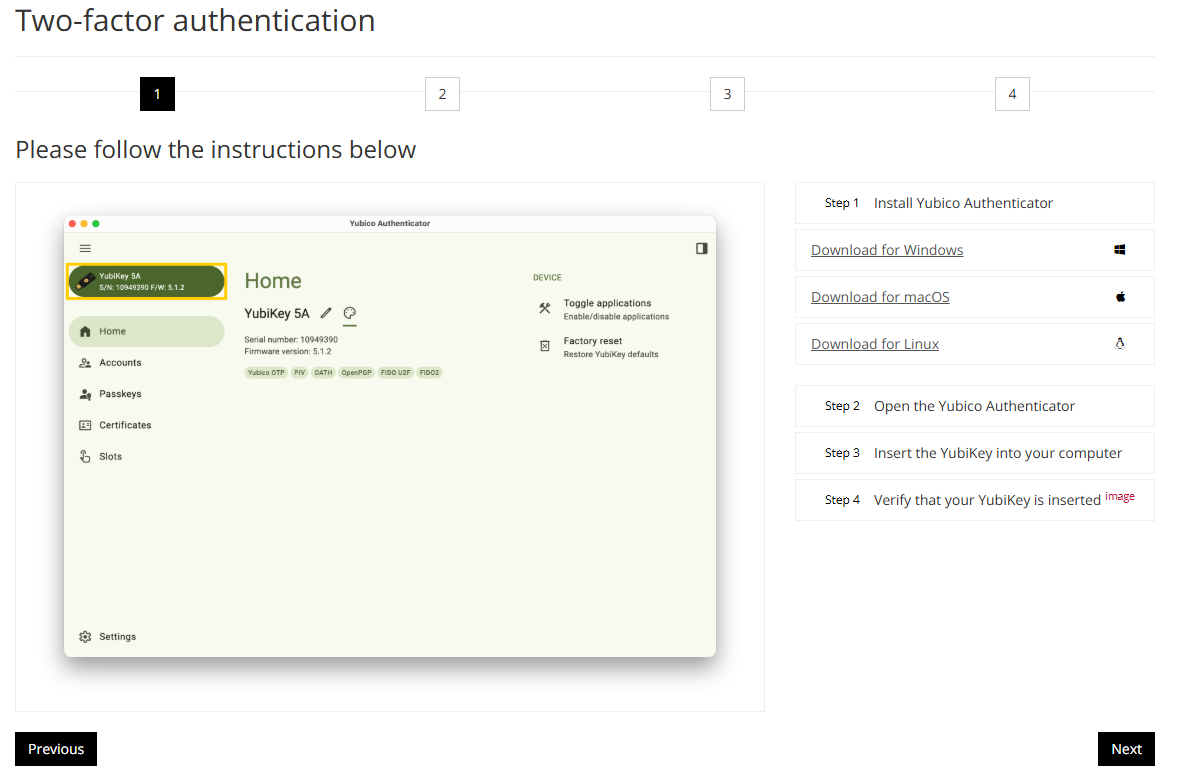
You’ll need to download the Yubico Authenticator app for your device. The steps on mysolisid.uu.nl/mfa include links to the most common download pages for the app.
Once downloaded, you can insert your Yubikey into your computer, and verify that it is recognized by the app by checking the top left corner (see screenshot).
-
Step 4
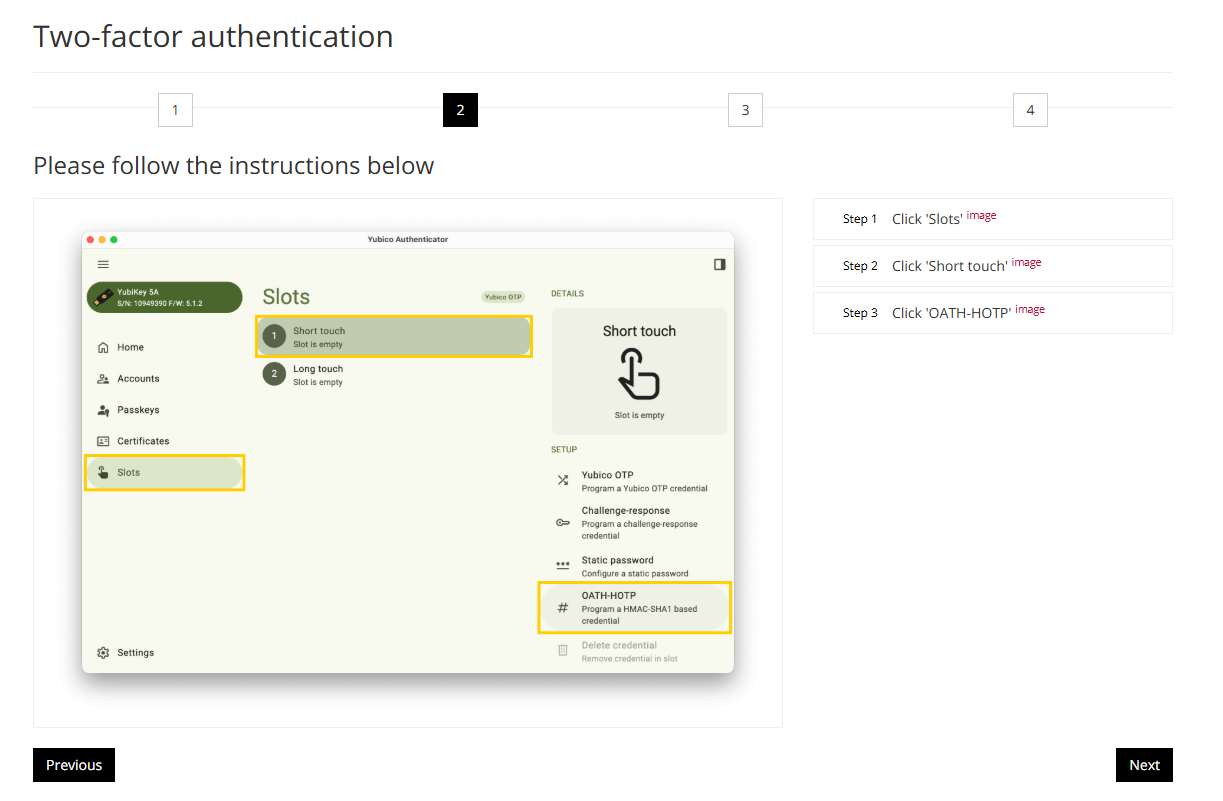
As described in the steps of mysolisid.uu.nl/mfa, click through Slots > Short touch > OATH-HOTP in the Yubico Authenticator app.
-
Step 5
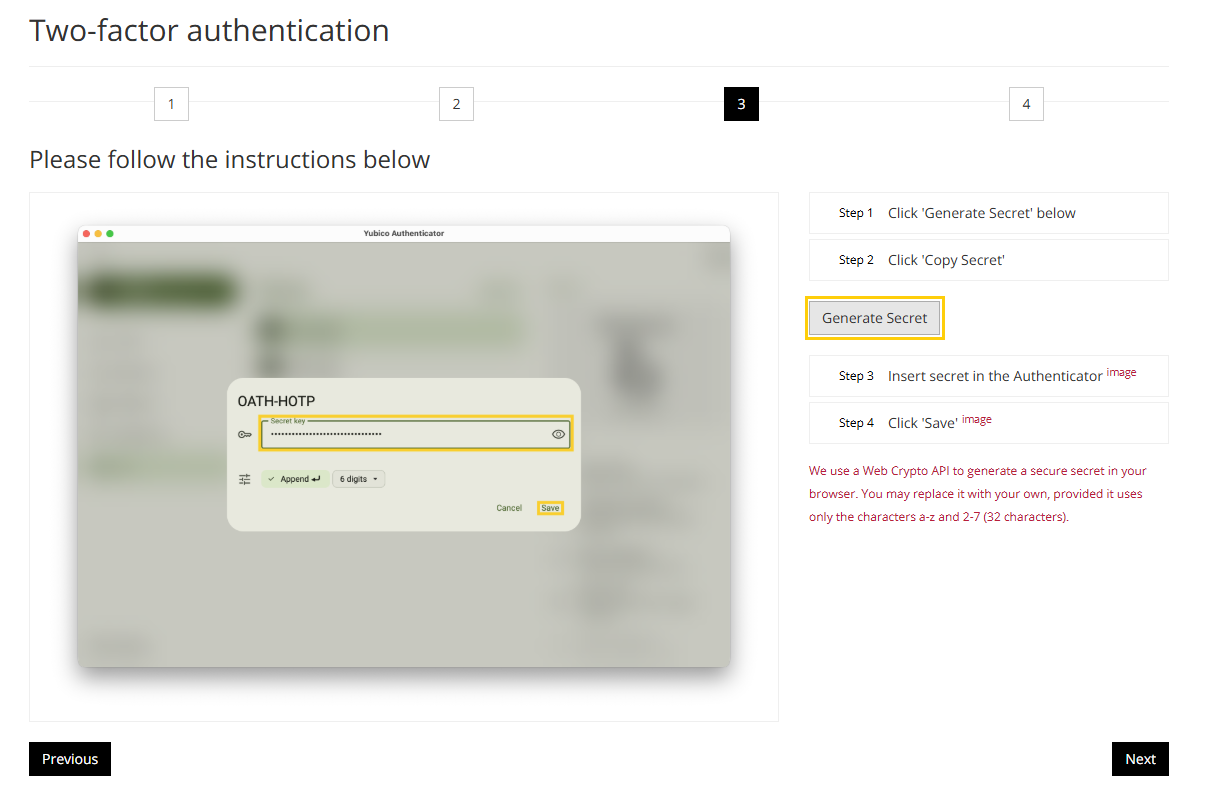
On mysolisid.uu.nl/mfa, click Generate Secret. A code will be generated on the webpage, which you can copy to your clipboard with the Copy Secret button that should now be visible.
Within the Yubico Authenticator app, paste the secret and click Save.
-
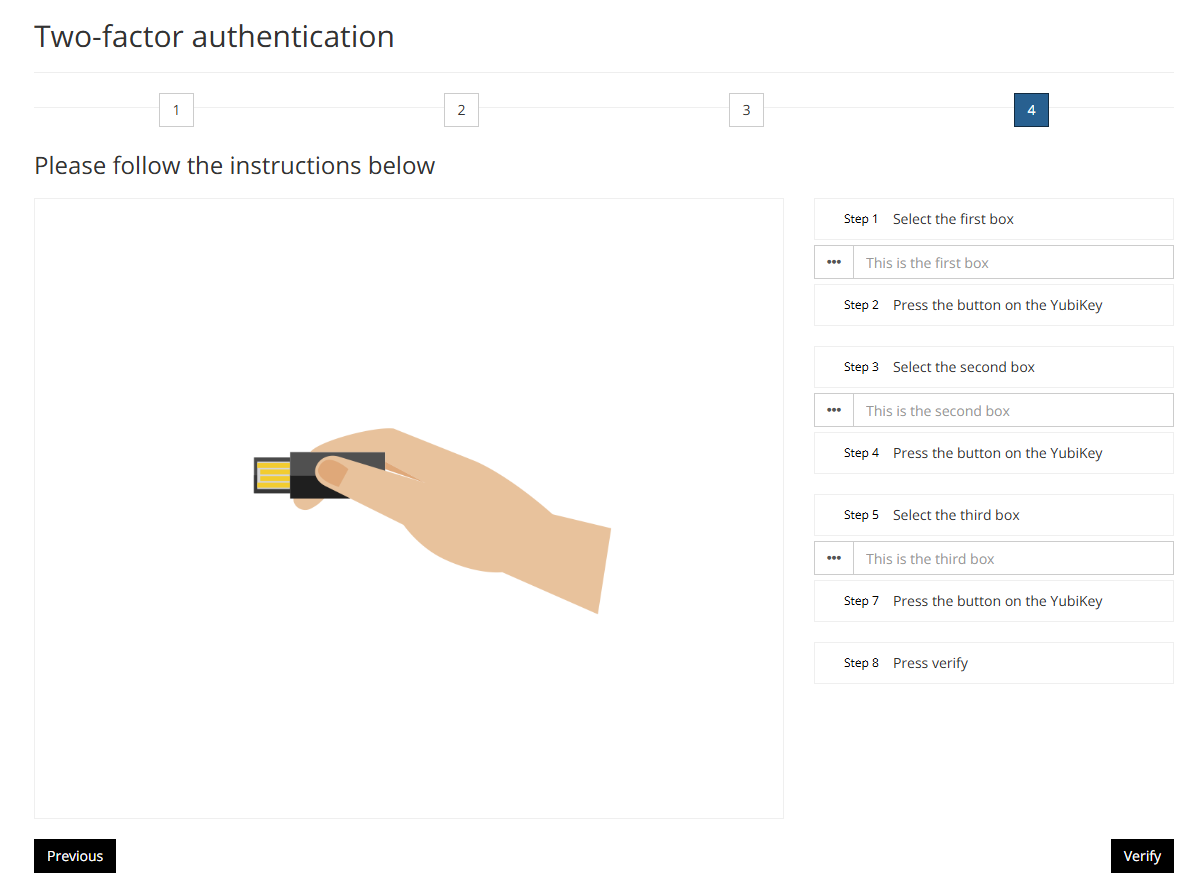
Step 6
In the next step on mysolisid.uu.nl/mfa, click the first box, and then touch the button on your Yubikey shortly. Repeat this for the second and third box as well, then click Verify on the webpage.
-
Step 7
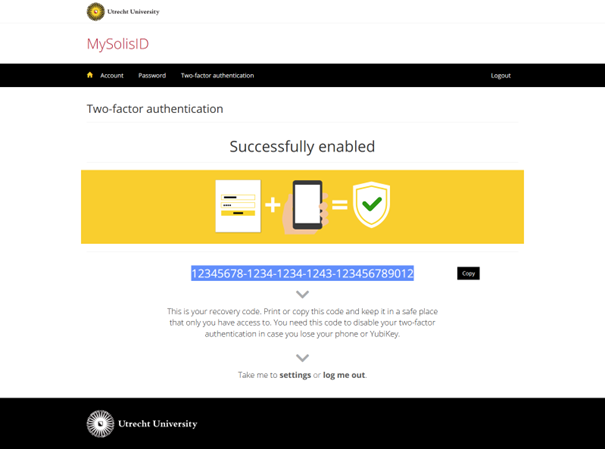
If successful, you will be notified that your Two-Factor Authentication has been set up and you will also be shown the recovery code.
Save the recovery code that has been generated. You need this in order to restore the 2FA if, for example, you lose your Yubikey.
-

Extra information MacOS
With the introduction of macOS Catalina (10.15) Apple has introduced even more features focused on user security and privacy. For the Yubikey to work on macOS Catalina (10.15) please follow the following steps.
1. Go to “System Preferences” and click on “Security & Privacy”
2. Go to the “Privacy” tab
3. Click on the lock to make changes. Enter your username and password to unlock (If you are working on a solis-mac, you may first have to request admin rights via the privilege app
4. Scroll down to”Input Monitoring” and put a check mark at the YubiKey App
5. If the YubiKey app is already open you will be notified that you must first close the application before it starts working, click on “Quit Now” and restart the Yubikey app
Last modified: 29/05/2026