
Thunderbird: Set up Solis-mail
In this manual we explain how to set up your Solis-mail and a non-personal mailbox using the mail application Thunderbird. We based this manual on Thunderbird 78 Beta. The final version of Thunderbird 78 is now available here: https://www.thunderbird.net/en-US/ .
Part 1 – Set up a personal mailbox
Part 2 – Set up a non-personal Office 365 mailbox
-

Part 1 – Set up a personal mailbox
-
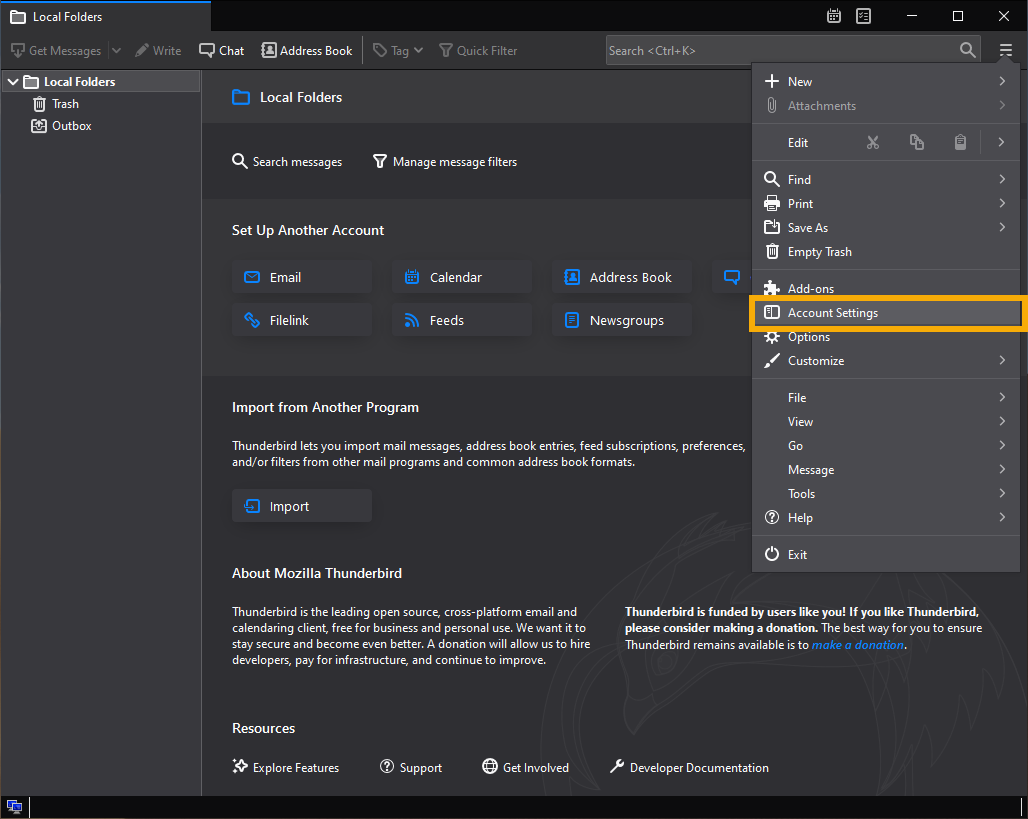
Step 1
Click the three stripes in the top right of the Thunderbird window and choose ‘Account Settings’
-
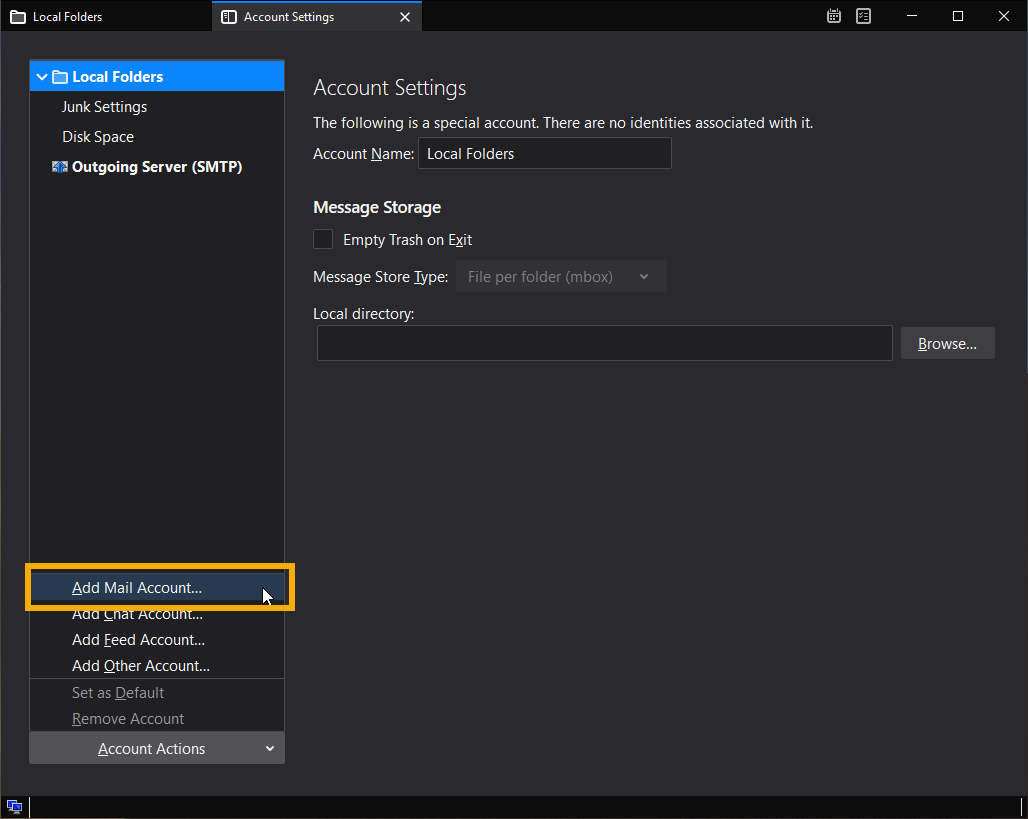
Step 2
In the tab that opens, click ‘Account Actions’ and choose ‘Add Mail Account…’
-
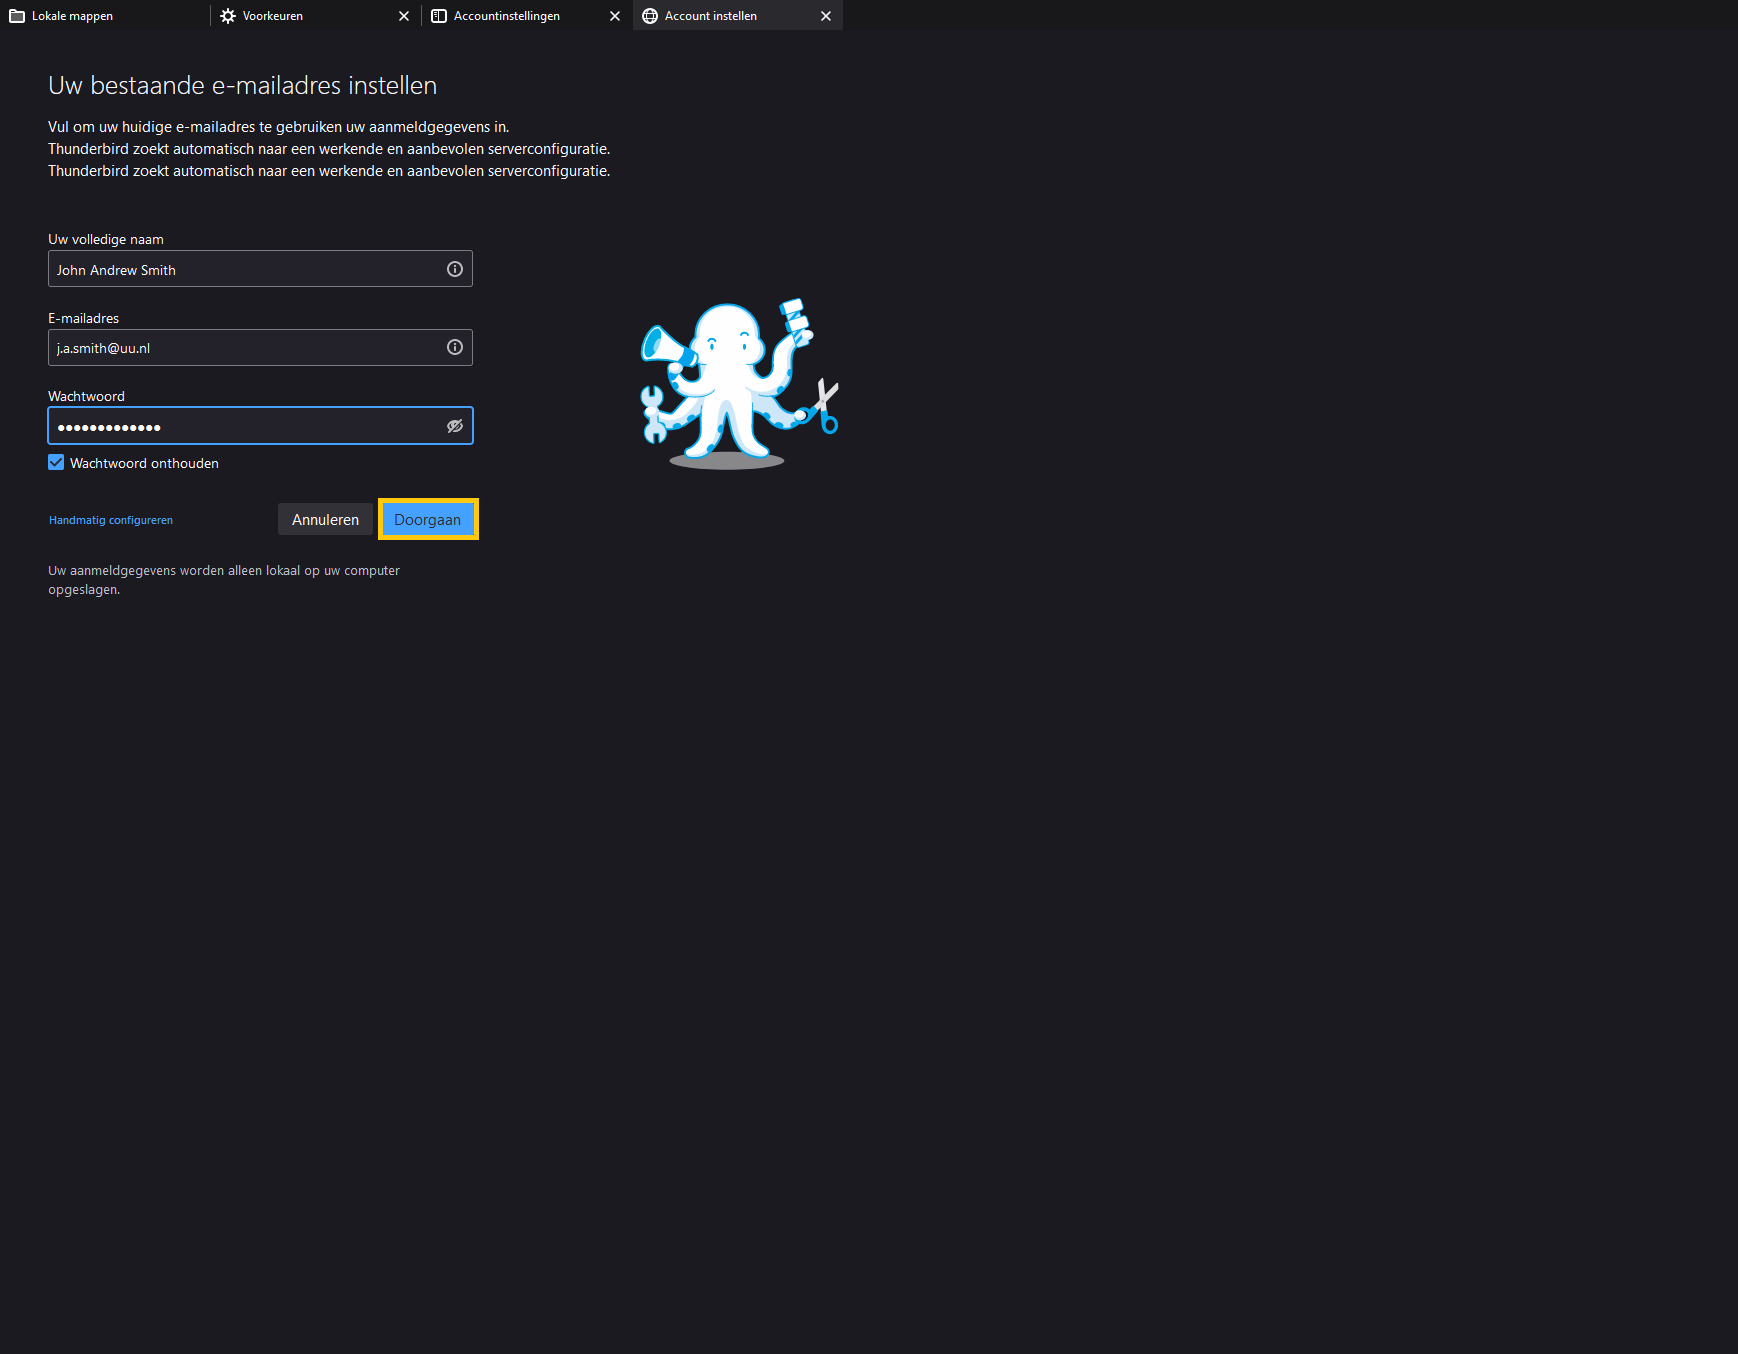
Step 3
- Enter your name, UU email address and password
- Click ‘Continue’
-
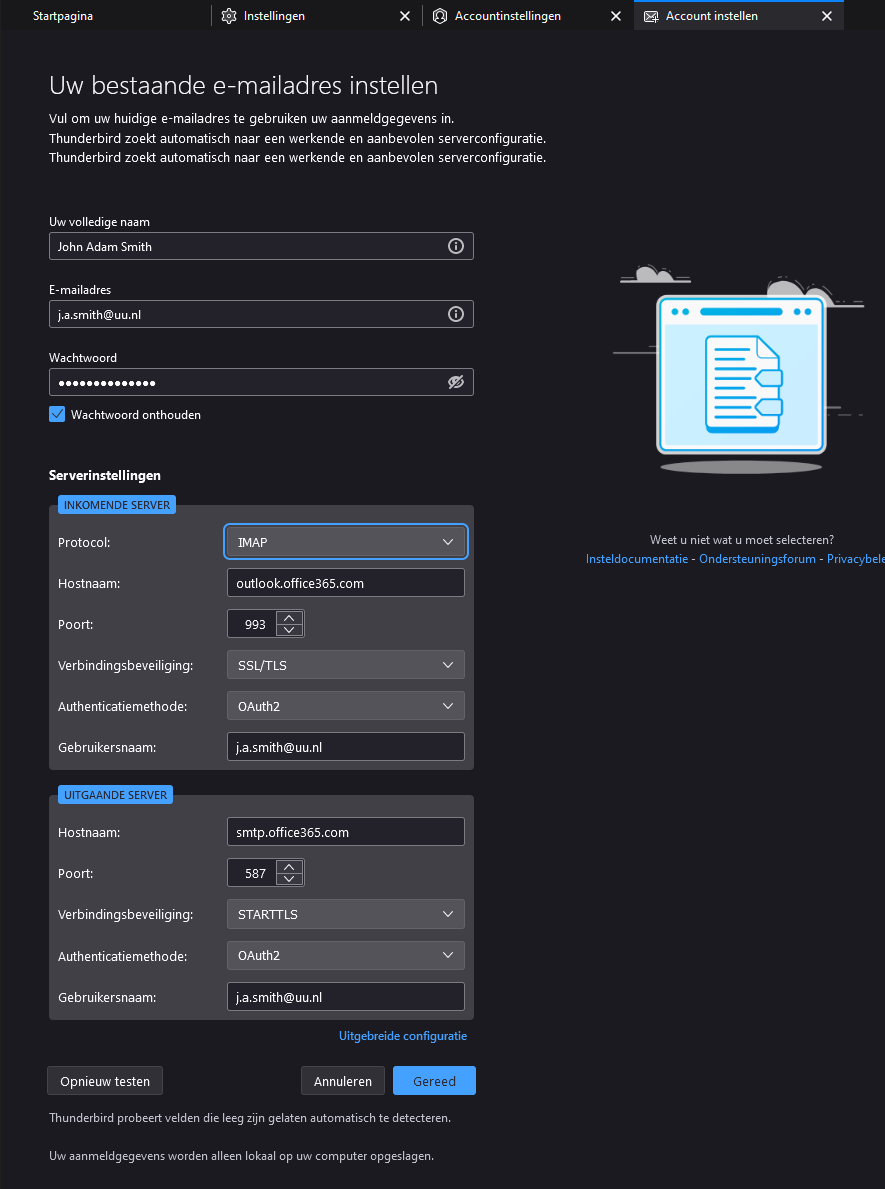
Step 4
After you click “Continue,” the settings are automatically retrieved with the following settings:
Incoming Server
- Protocol: IMAP
- Host name: outlook.office365.com
- Port: 993
- Connection security: SSL/TLS
- Authentication Method: OAuth2
Outgoing Server
- Host name: smtp.office365.com
- Port: 587
- Connection security: STARTTLS
- Authentication method: OAuth2
You can also choose to manually configure your UU-email. For both the incoming and outgoing mail server, make sure the above information is filled in.
-
Step 5
- Log in with your UU email address and password, then follow the steps to log in with 2FA
Your mailbox has now been successfully set up.
If you wish to set up a non-personal mailbox in Thunderbird, follow the rest of the manual below.
-
Part 2 – Set up a non-personal Office 365 mailbox
-
Step 6
- Click the three stripes in the top right of the Thunderbird window and choose ‘Account Settings’
-
Step 7
- In the tab that opens, click ‘Account Actions’ and choose ‘Add Mail Account…’
-
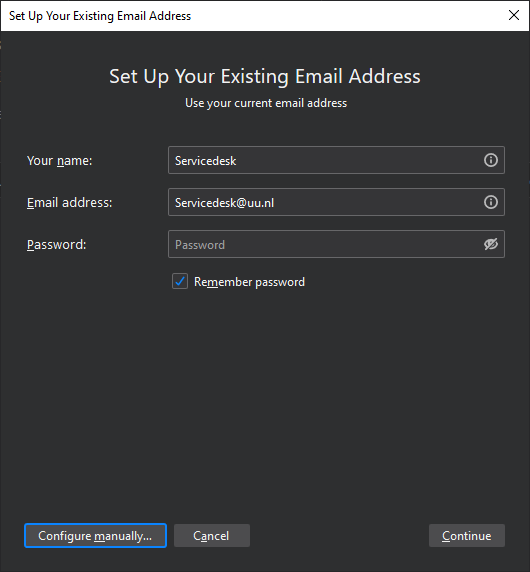
Step 8
Fill in the e-mail address of the NPM you want to add, and the password of your own Solis-ID. Then click ‘Configure manually…’.
-
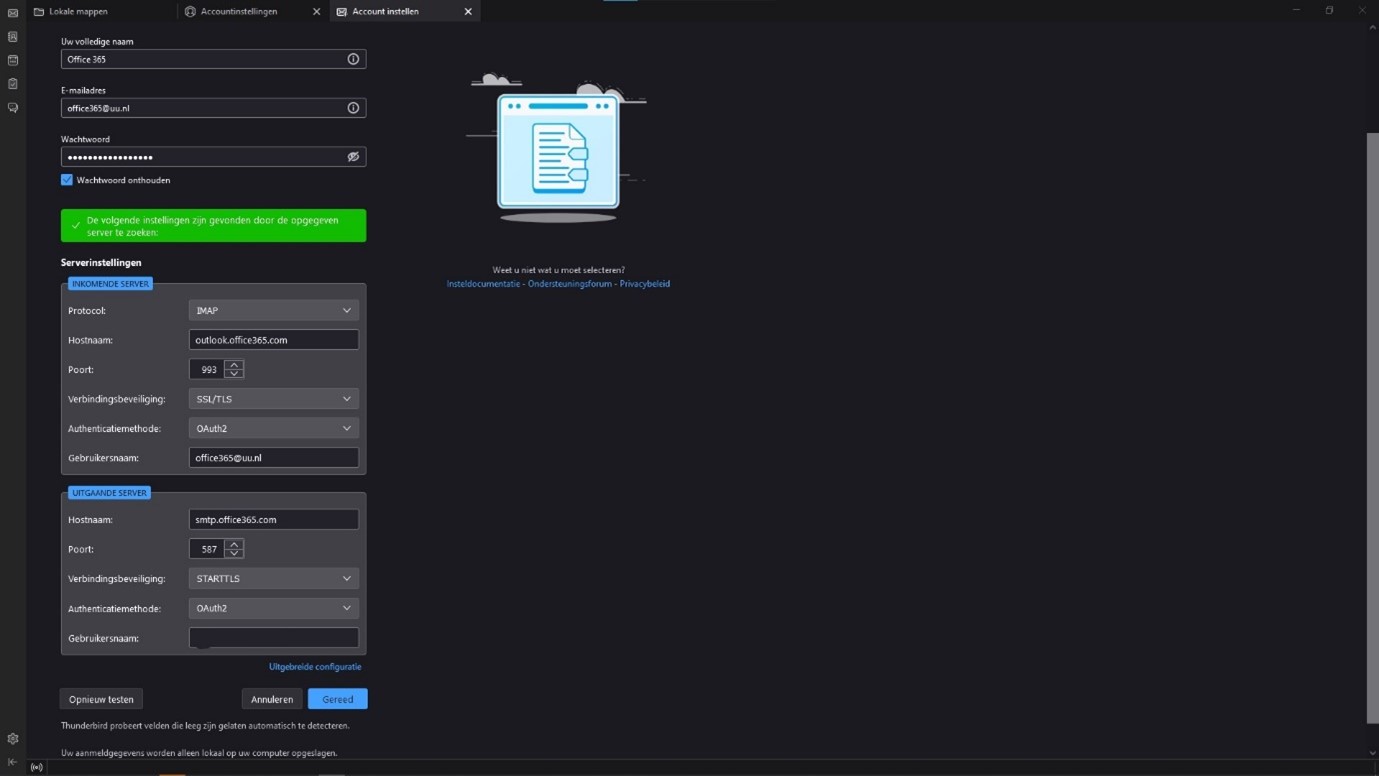
Step 9
Fill in the information like in the picture. Make sure to use the NPM’s e-mail address for the incoming server, and your own Solis-mail address for the outgoing server.
Care! In the current Beta version of Thunderbird, OAuth2 won’t appear right away in the Authentication field. After filling in the other fields, click ‘Test again’. Then choose OAuth2 in the Authentication field.
-

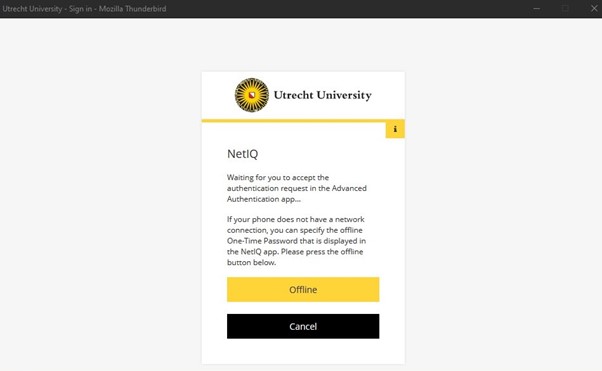
Step 10
Log in using your own Solis-ID and password, and enter your 2FA verification code
-
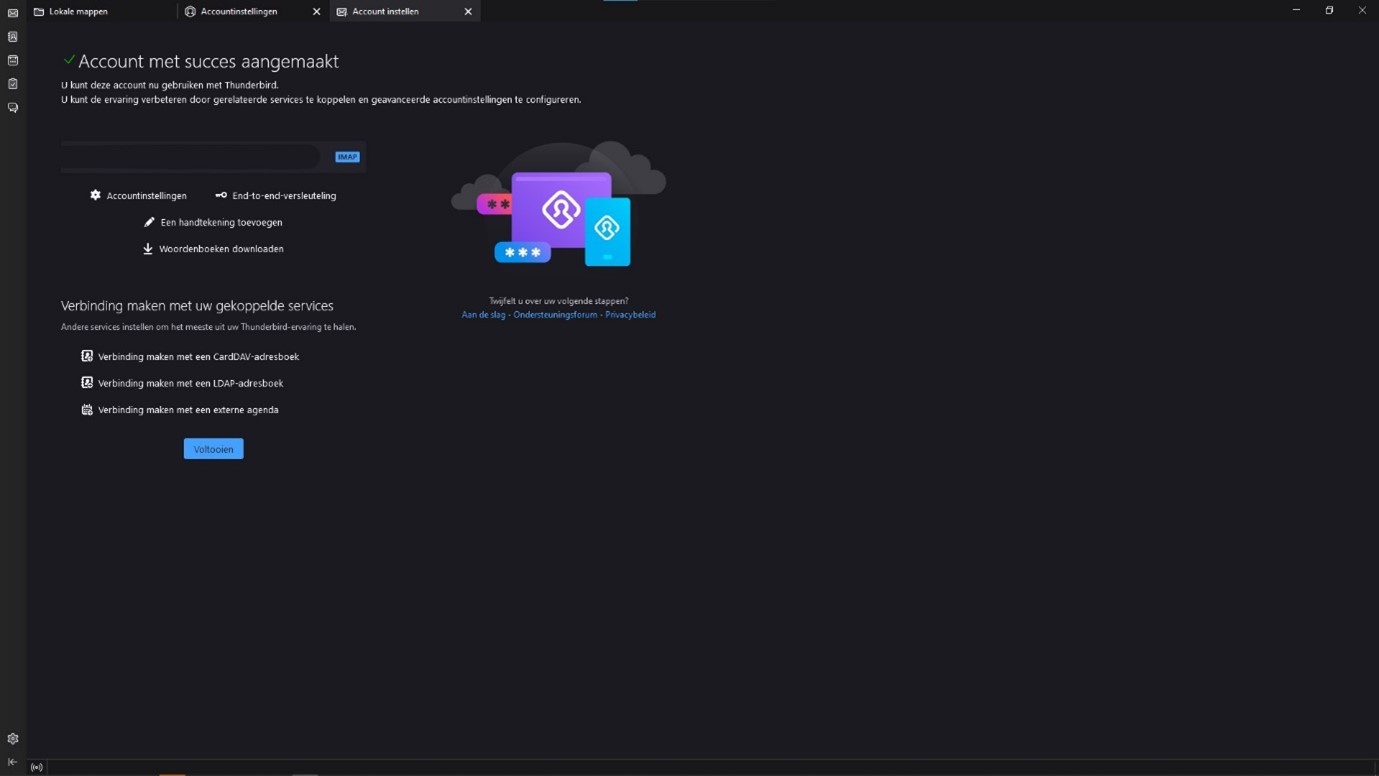
Step 11
Your non-personal mailbox has now been successfully set up.
If you wish to add another non-personal mailbox, repeat Part 2 of this manual.
-
Your mail will (also) be stored locally, so make sure to encrypt your hard drive. Please see File encryption (Bitlocker) | UU Manuals
Last modified: 17/05/2023