
Microsoft Stream: Introduction and usage
Microsoft Stream is the companion video platform to Microsoft 365. It functions as a storage and viewing location for videos for students and employees.
Stream can be found here: https://stream.office.com
-

1. Homepage
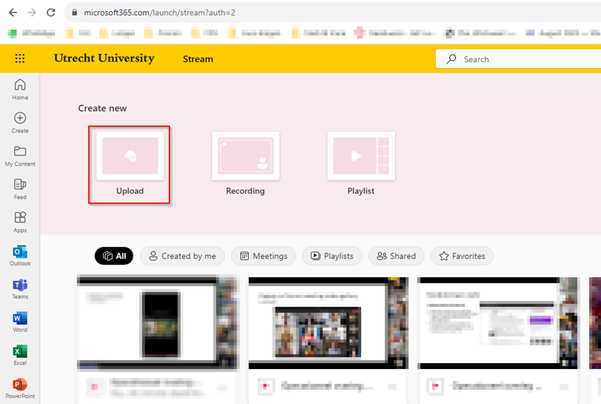
This is what the Stream homepage looks like:

At the top you can see options for adding new material or organizing existing material in a playlist. At the bottom, a selection of existing material to which you have access is shown. This view can be filtered using the buttons.
-
2. Upload
Using the Upload button, you can add files from your computer to Stream. This means this option can only be used for videos that you have created or that have been downloaded to your computer. It is not necessary to upload videos that are already available to you in Teams or OneDrive to Stream – these can automatically be viewed, shared and edited via Stream.
Videos that are uploaded this way will be stored in your personal OneDrive (and count towards your storage space). When you click the button, a Windows Explorer window will open that allows you to locate the file you want to upload. Select the file and click Open.
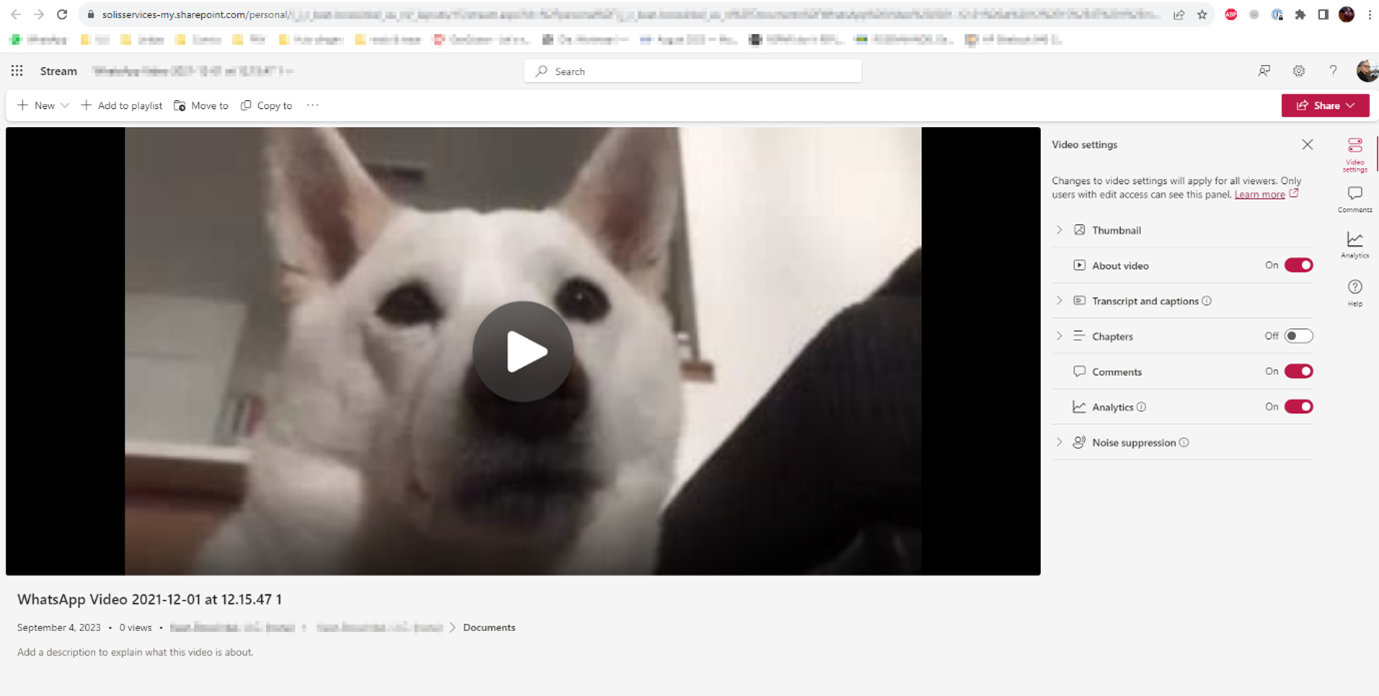
A new tab will open in your browser in which the uploaded video and various settings for editing and sharing the file will appear.
Caution: if you do not see a new tab opening, please check if your browser is blocking Stream from opening new windows or tabs.
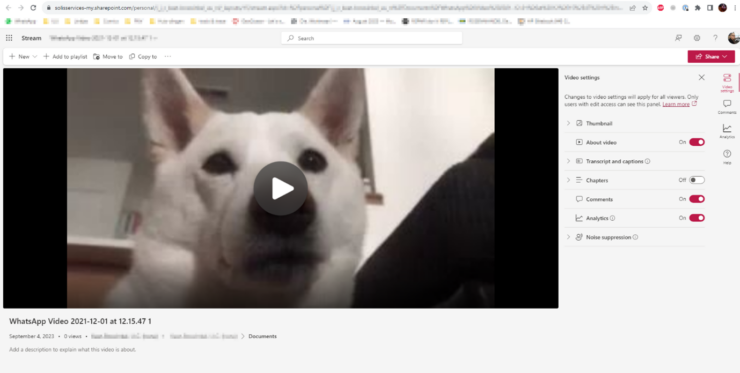
The Share button allows you to create a shareable link to the video or to grant access to users or groups. At the top left, you can see options to move or copy the video to a different location or to add it to a playlist. The panel on the right-hand side contains video settings such as adding chapter headings or subtitles.
Any changes you make here are saved automatically.
-
3. Recording

The Recording button allows you to record a short video directly in-browser. The maximum duration is 15 minutes, making it mainly appropriate for short knowledge clips or demos.
When you click the button, a new browser tab opens in which the recording can be started. The first time you do this, your browser will ask for permission to use your camera and microphone. Without permission, you cannot record a video.
Besides video and audio, you can also record your screen (via the Screen Share option).
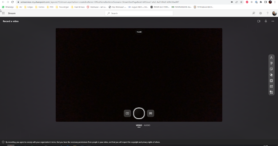
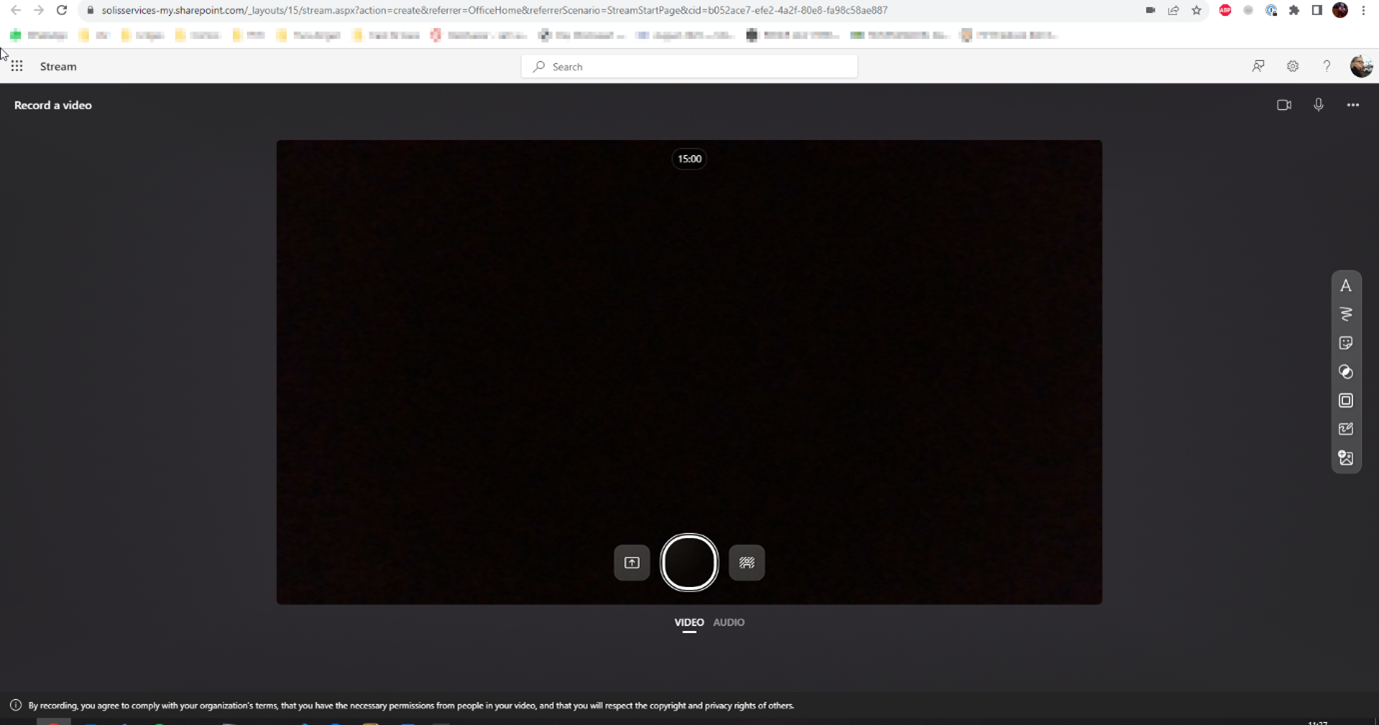
This is what the recording screen looks like. At the top, a timer is shown that counts down the duration of the recording. At the bottom, there are three buttons: left for screen sharing, middle for starting and pausing the recording and right for changing the background (much like in Teams video calls).
The panel on the right-hand side contains options to add text, images, notes etc. to your video.
After completing your recording, click Next to evaluate and edit your video if necessary. If you are happy with the results, click Publish.
The window to edit and share your video, as can be seen in this manual under Upload, will open in a new browser tab, allowing you to edit additional video settings and manage access.
Videos recorded in this manner are saved to your personal OneDrive.
-
4. Playlist
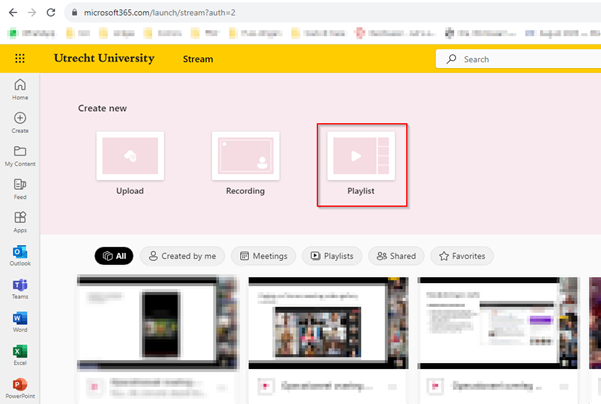
Using the Playlist button, you can create a collection of videos for personal use or to share with others.
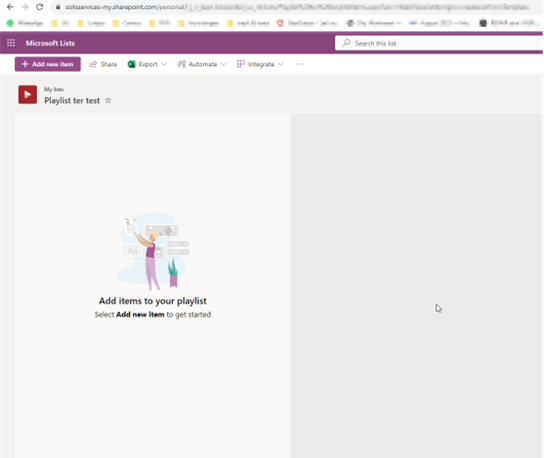
When you click the button, a new tab opens. First, you will be asked to add a name and description for your new playlist. Next, you can choose the location to which the playlist will be saved. By default, “My lists” will be selected. Using the drop-down menu, you can also opt for any SharePoint site you have access to, allowing you to share your list with others.
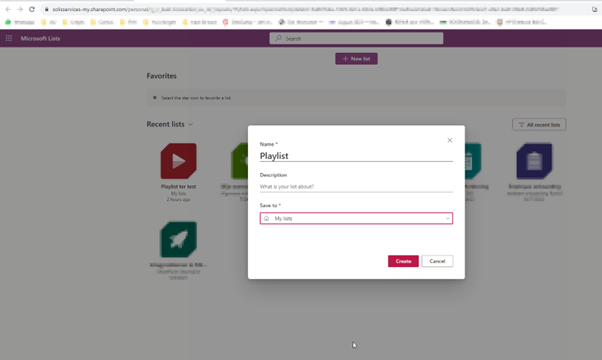
After selecting the location, the window will show an interface to add content.
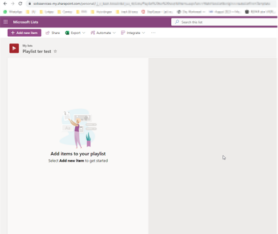
When you click the Add new item button, a window will appear to select files. Both local files and files saved to your SharePoint sites and Teams groups can be added.
Select one or more files and click Select. The files will appear in the playlist.
Caution: the order of the added videos is locked. If you prefer a specific order for videos to appear in your list, make sure to add the videos one by one in that order.
-
5. Content

The bottom half of the homepage shows any videos and playlists to which you have access. This includes both your own recordings as well as any that have been shared with you. Using the buttons in the highlighted section, you can filter these results. Once you have viewed any videos in Stream, this section will also contain a selection of recently viewed or edited material.
Last modified: 22/09/2023