
Teams: chat and work together
Teams is a Microsoft application you can use to work together, chat with colleagues and share files. Everyone at the UU with an Microsoft 365 account has access to this application. Check out this introduction video and this information flyer to learn more about the possibilities and functionalities of Teams.
This manual explains how to install Teams and use some of the basic functionality.
-
Step 1
Teams is installed on all UU Windows 11 computer by default. Is this not the case? Then make use of the web version or download the desktop version from there.
- Go to https://teams.microsoft.com/
- Log in using your UU email address and your solis password
-
Step 2
- Click the icon in the bottom left to download the desktop application
-

You can also download Teams via this link: https://teams.microsoft.com/downloads.

-
Step 3
You might get this error message when you are installing Teams or using it for the first time.
- Click ‘Cancel’
- Teams will install/start up as normal and with complete functionality
-
Step 4
- You will find the desktop version of Teams in your start menu.
- Use your UU email address and solis password to log in when prompted
-

Go to the option ‘Chat’ in the menu on the left. Once you’re there you can click on the icon in the top right to start a new chat. You can invite one or more people in the same chat.
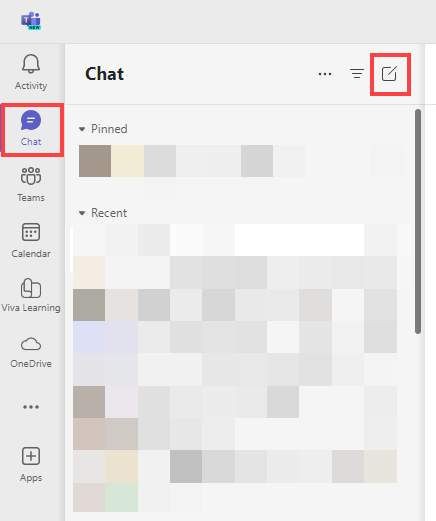
For more information about using the chat function see this instruction: chatting with Teams.
In a Teams channel you can start a new message by clicking on ‘Start a post’ at the bottom of the channel. Next, you can write and format your message and click on ‘Post’.

If you need to use more formatting options, you can click on the icon with an A and a pencil:
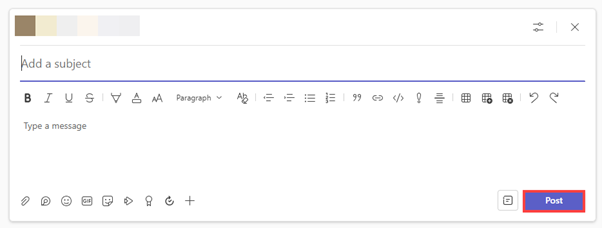
To reply to an existing message in a Teams channel, click on ‘reply’ at the bottom of any message.
For more information see: create a new post.
To create an new team you must select the plus-icon in the top right corner. Next, select ‘Create team’.
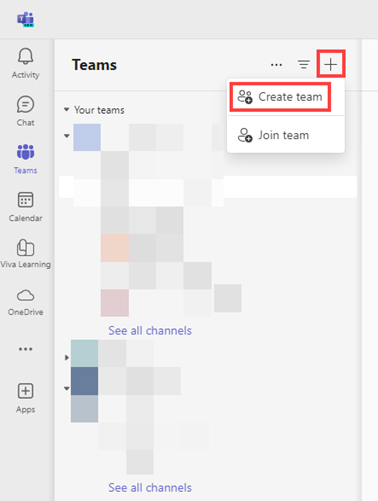
You can then choose the type of team you want to create.
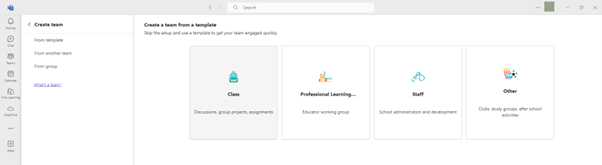
Follow the prompts and fill in the required information.
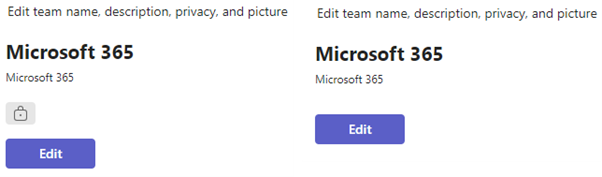
When you open a team, you can go to the ‘Settings’ and check if a team is public or private. When a team is private, it shows an icon with a lock. When a team is public, there is no icon (see images below). ‘Public’ means that the content of the team is available to all UU employees and students. ‘Private’ means that the content of the team is available only to the owners and members of the team.
If you want to look up or change the privacy settings, follow the steps below:
- Click on the team whose privacy settings you want to change.
- Click on the three dots behind the team name.
- Click on ‘Manage team’.
- Select the tab ‘Settings’.
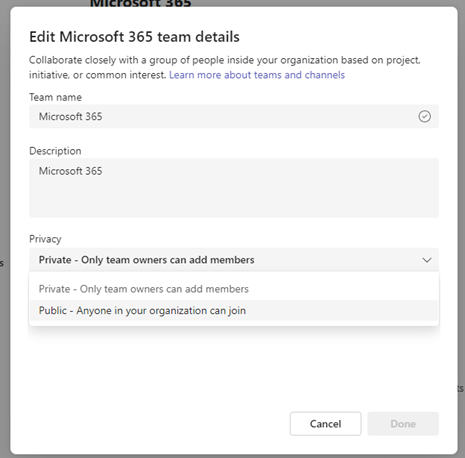
- Below ‘Team details’ you see the current privacy settings. If you want to change the settings, select ‘Edit’.
- In the screen that appears, you can select ‘Private’ or ‘Public’ below ‘Privacy’. Next, click ‘Done’.
The new privacy settings are applied immediately.
Beware! For saving videos Teams is making use of another service named Stream. It can take up to one or two hours before the new privacy settings are also applied over here.
If you are the Team owner you can add people to your Team straight away. When you are not the owner, you can still add people, but the owner will have to approve the request. The Team owner automatically receives a notification of this request.
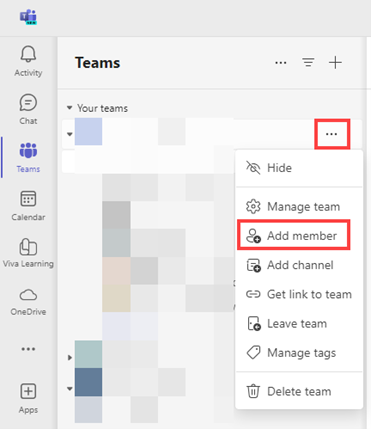
First click on the three dots next to the team name. Next, choose ‘Add member’.
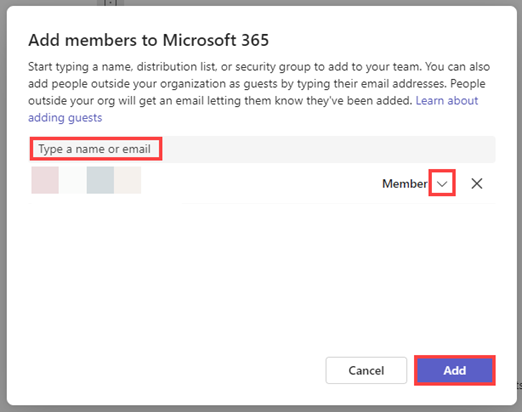
In the screen that appears, you fill in the name or the email address of the person you want to add. By clicking the arrow you can choose which role/permissions this person must have (member or owner). Next, select ‘Add’.
To change the rights a person has in the Team go to ‘Role’ and give them the role they need.Teams can be used to organize meetings with your colleagues. The manual Instructions for meetings via Teams describes in detail how to start and participate in meetings.
Last modified: 24/03/2026